At Home Projects
Lesson #1 Summer
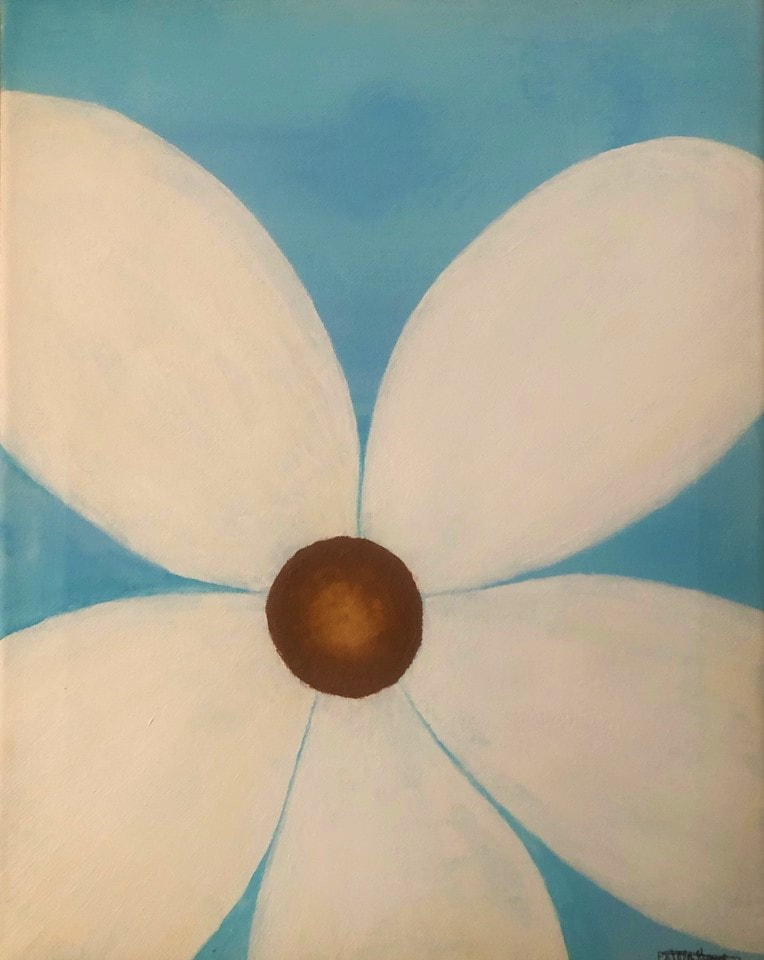
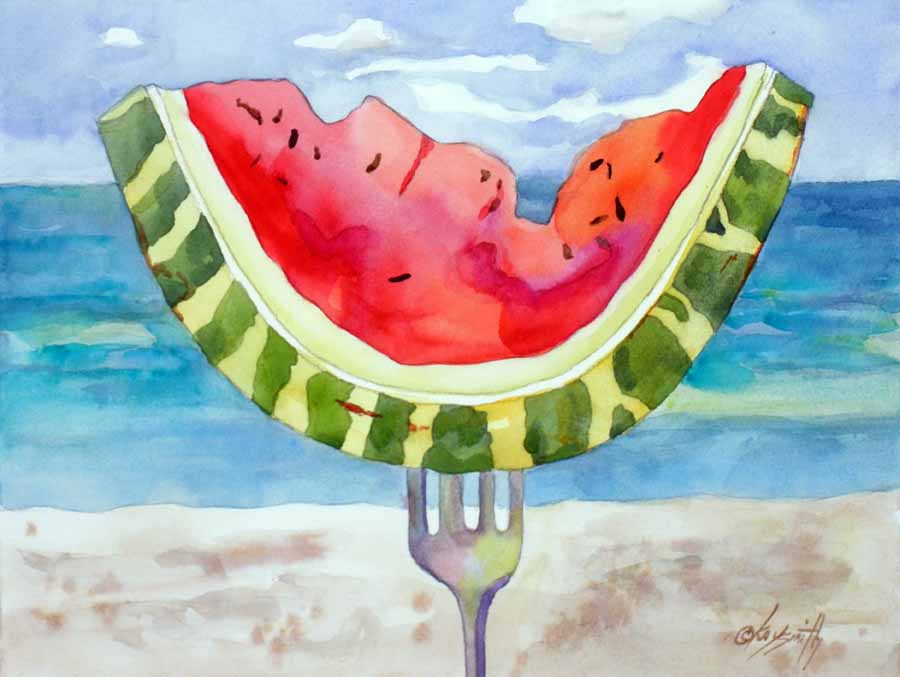
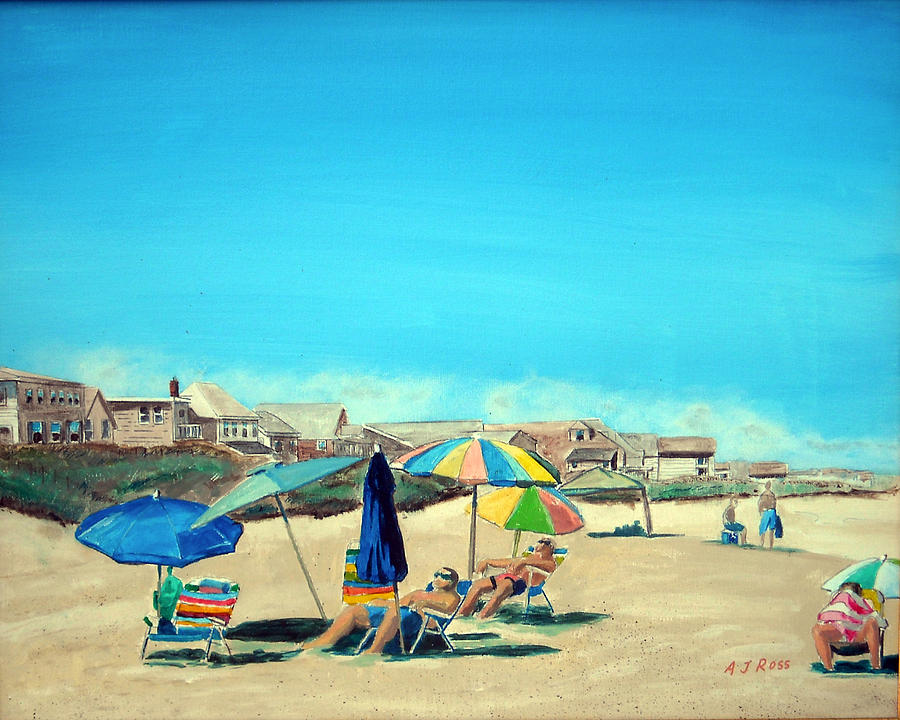
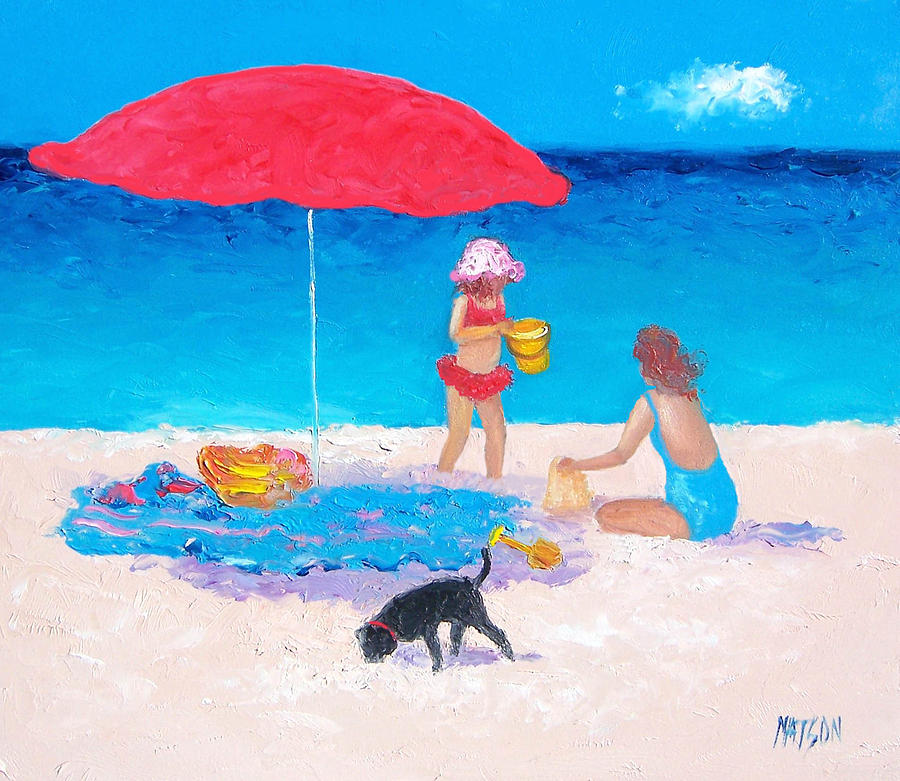
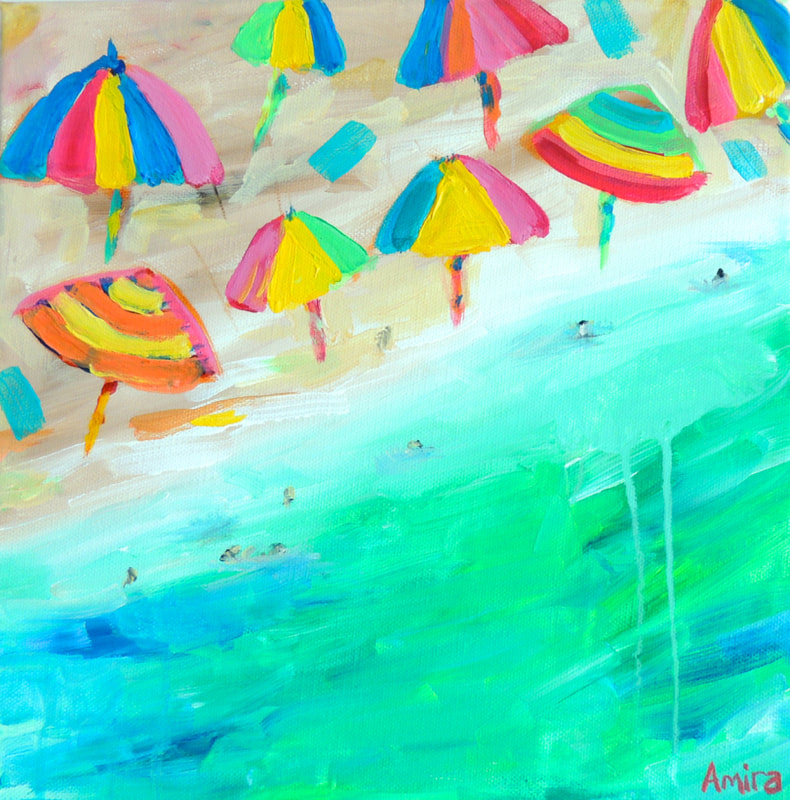
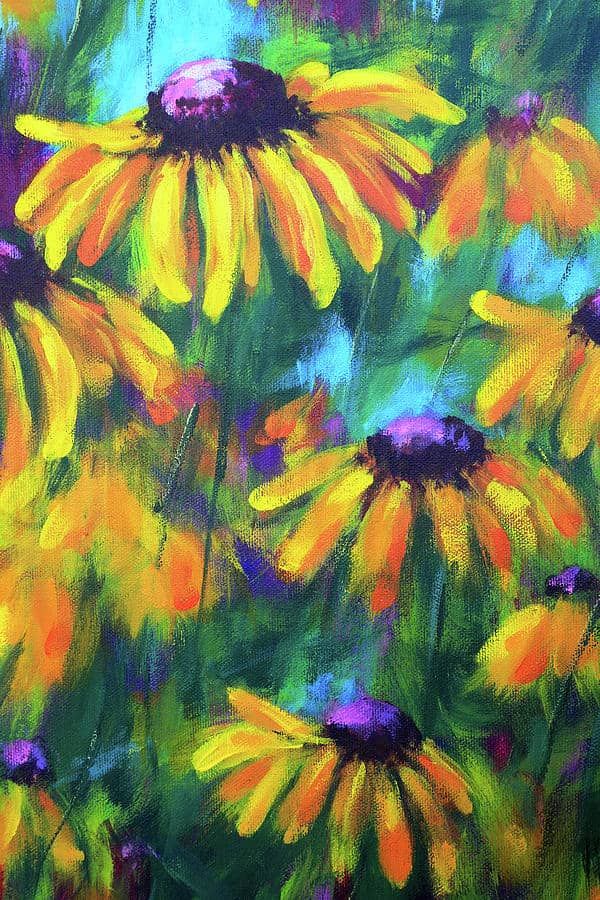
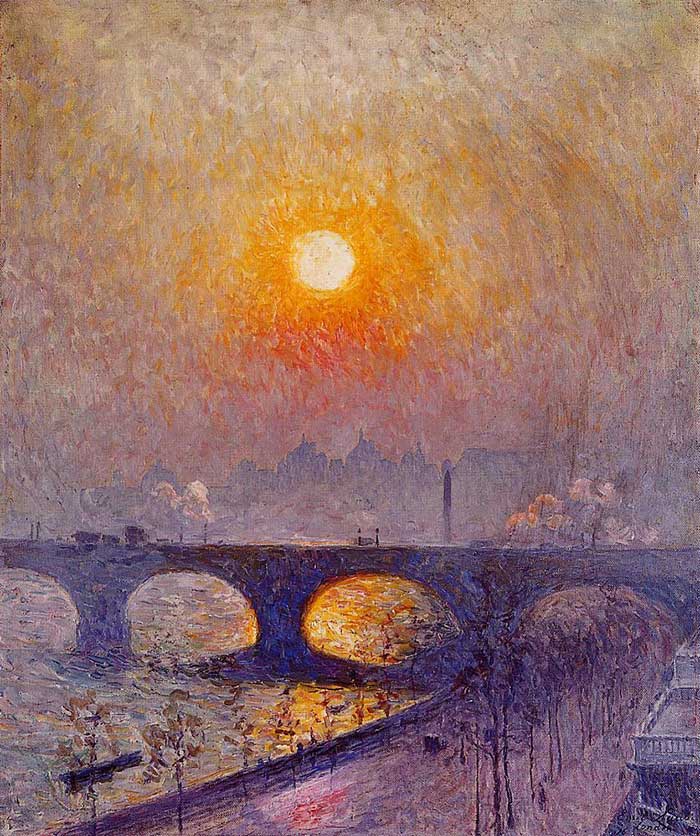
Summer is here. Draw or paint something you are doing to enjoy summer. You can work from imagination, take a pic, or make a quick sketch from observation of a scene, or activity. Bright colors are fun to use when you are illustrating how the hot sun appears to shine on everything. Have fun, and I am looking forward to seeing your work.
Summer is here. Draw or paint something you are doing to enjoy summer. You can work from imagination, take a pic, or make a quick sketch from observation of a scene, or activity. Bright colors are fun to use when you are illustrating how the hot sun appears to shine on everything. Have fun, and I am looking forward to seeing your work.
Lesson #2 Focal Point / Emphasis in Composition
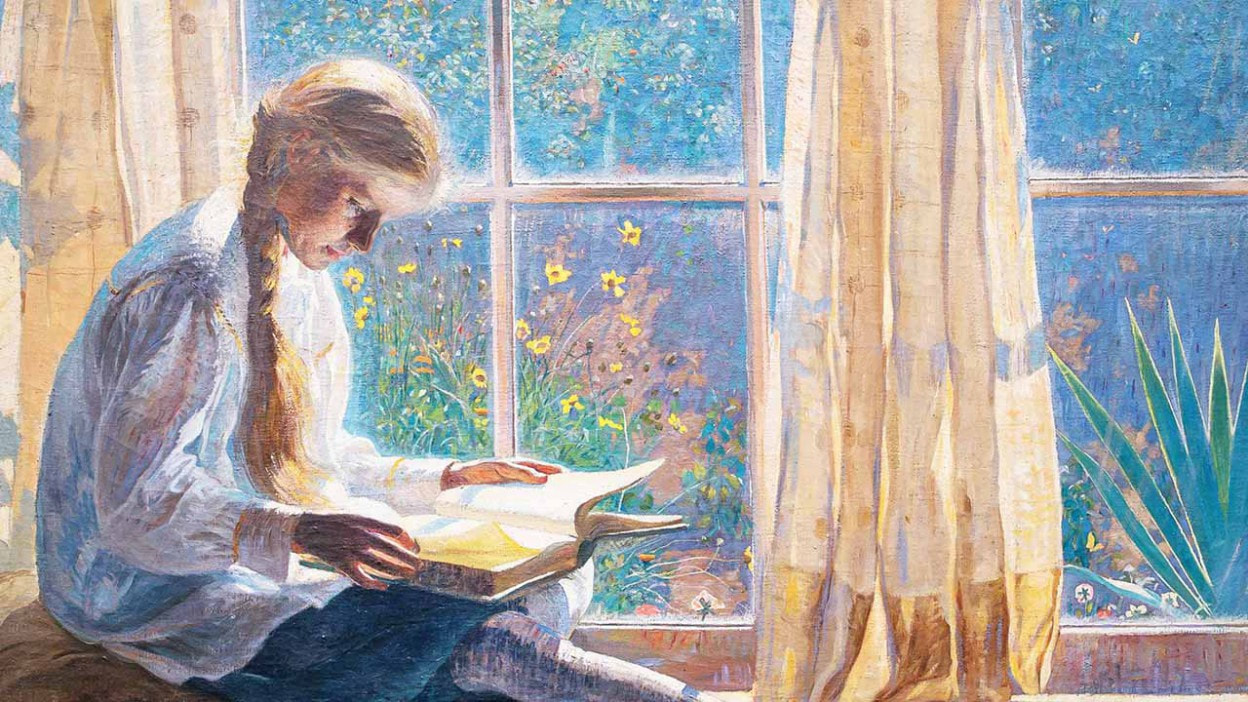
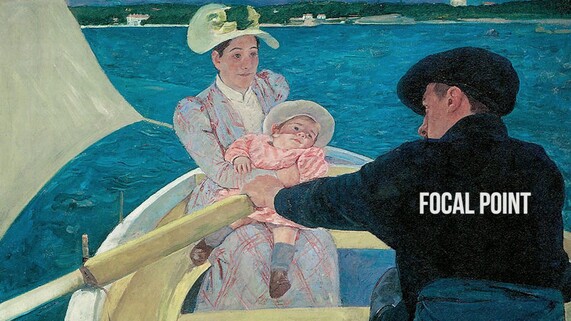
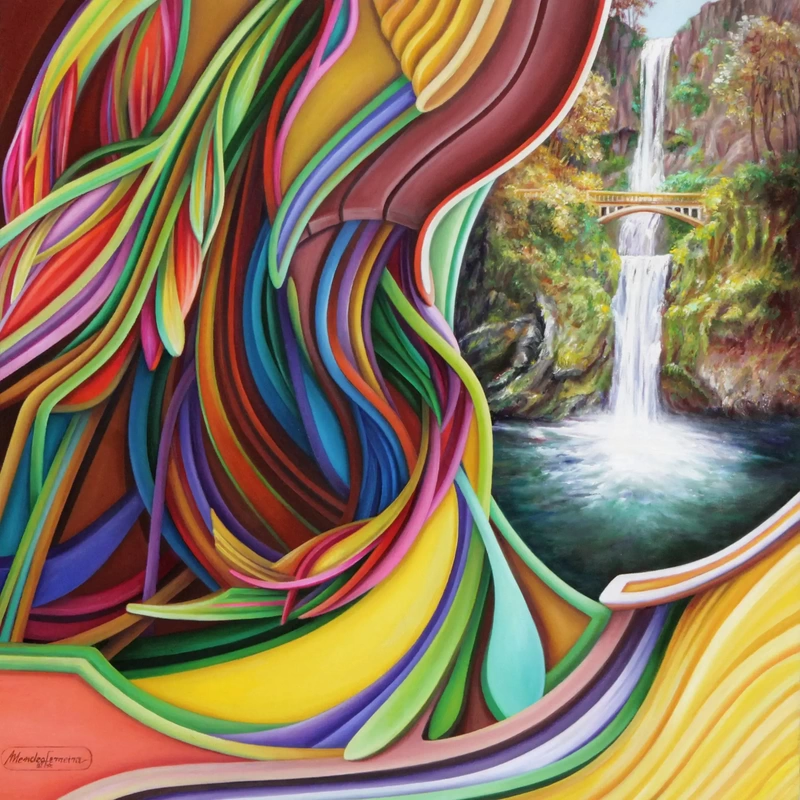
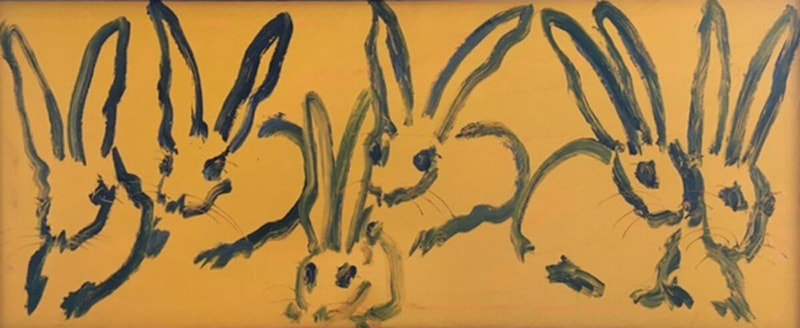
There are many ways for you as an artist to direct the viewers eyes to a focal point in your composition.
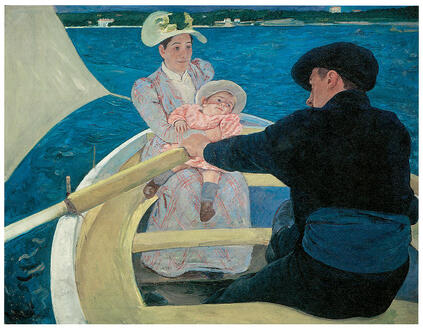
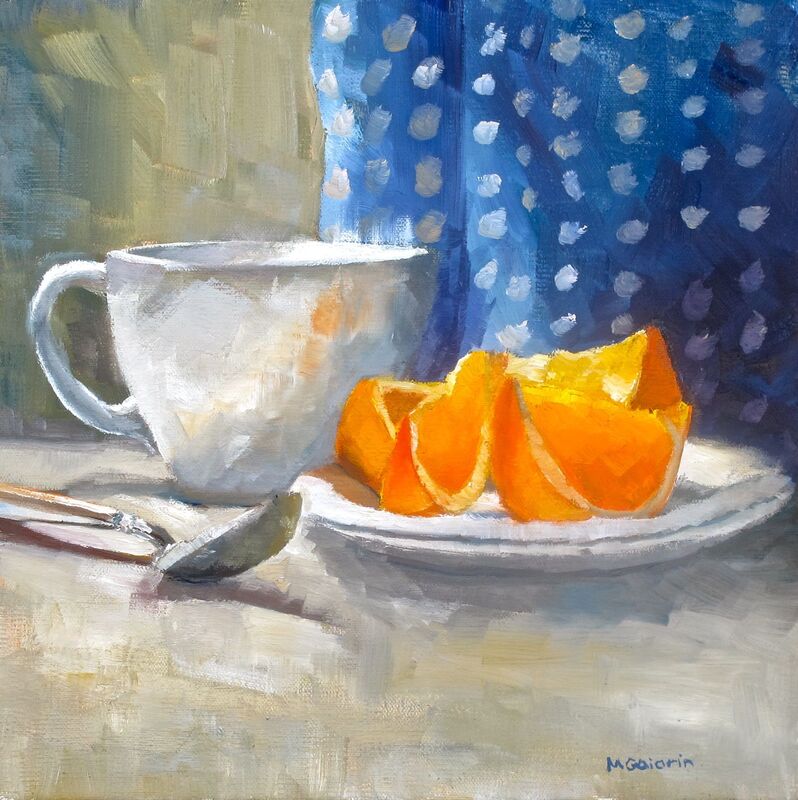
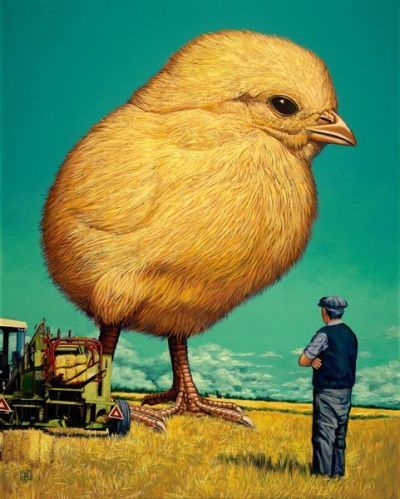
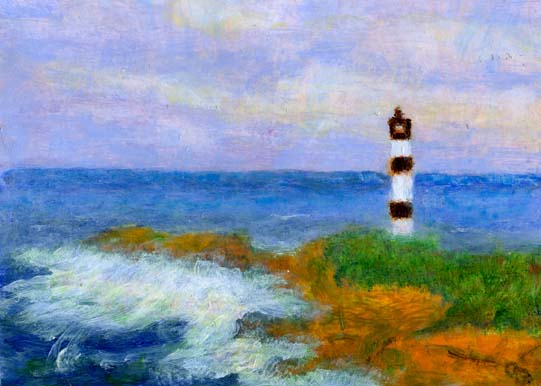
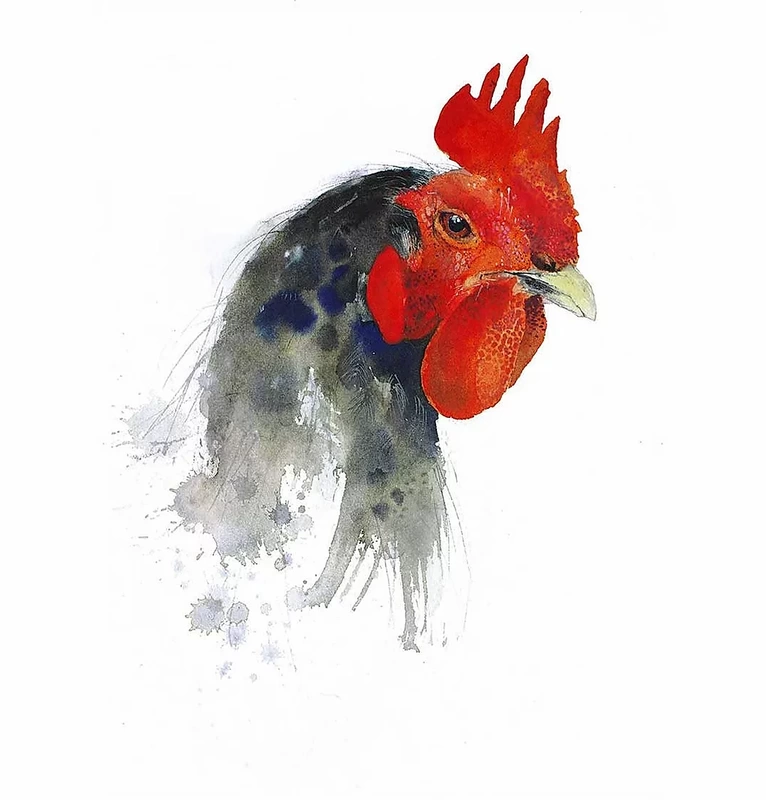
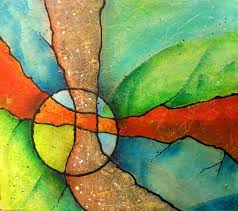
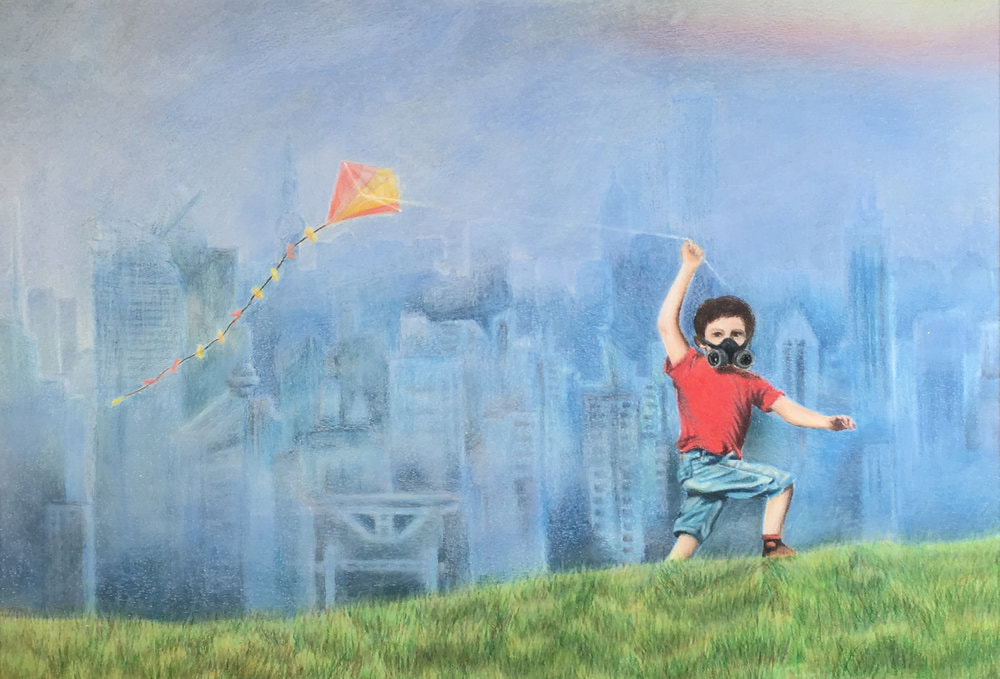
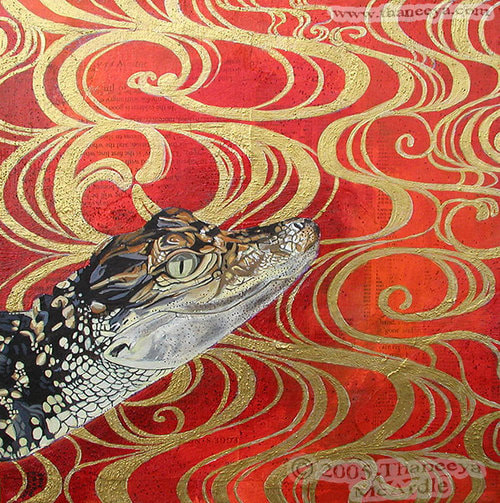
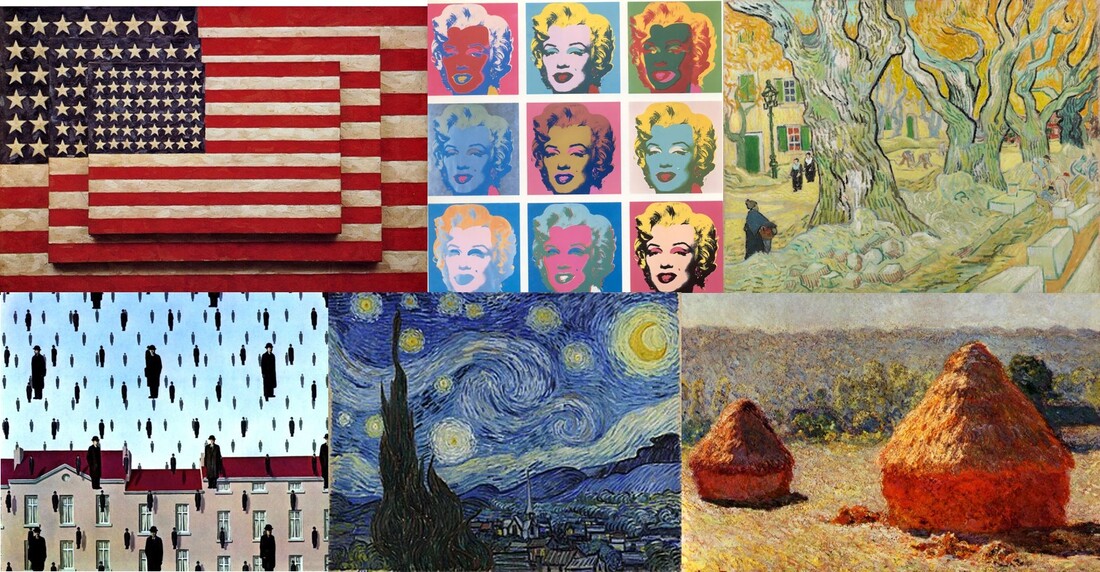
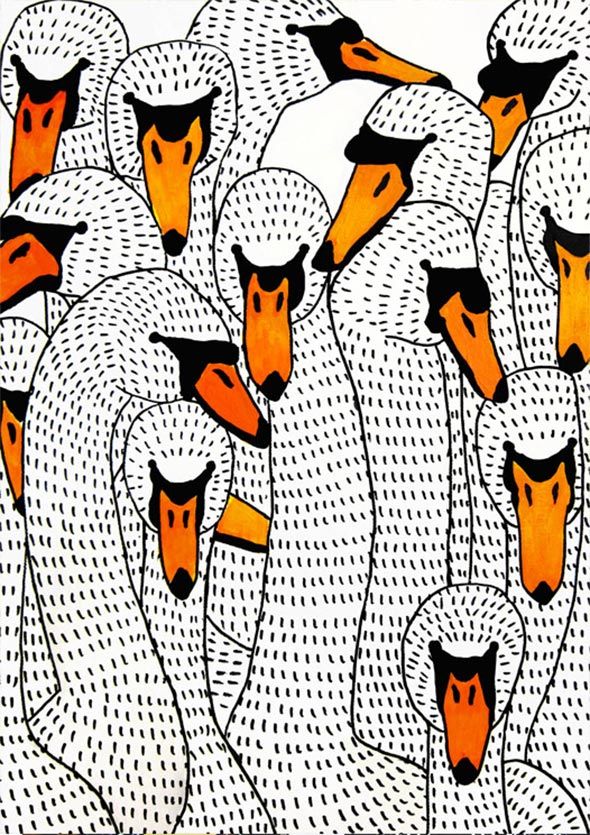
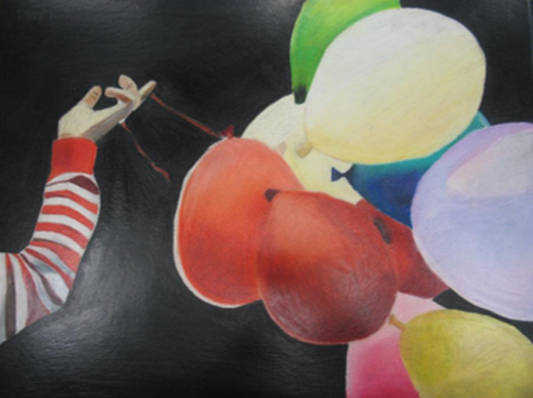
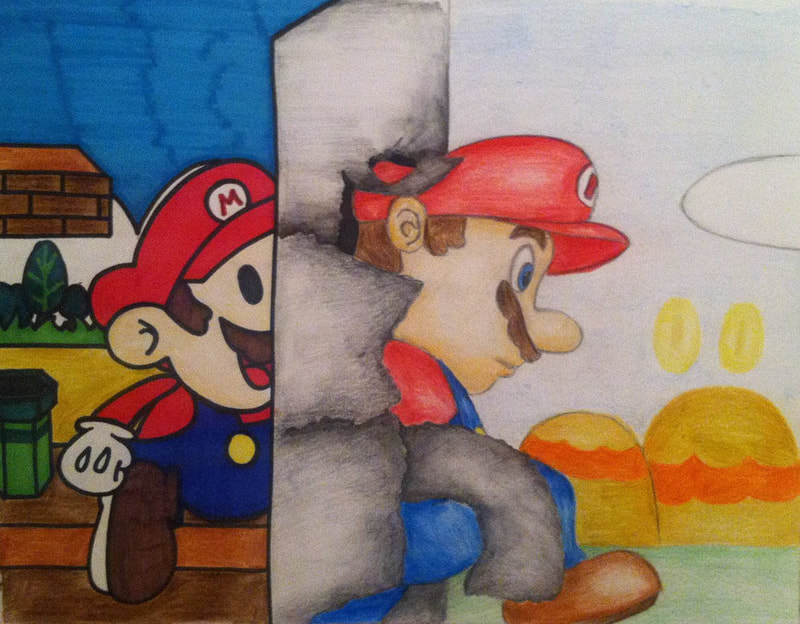
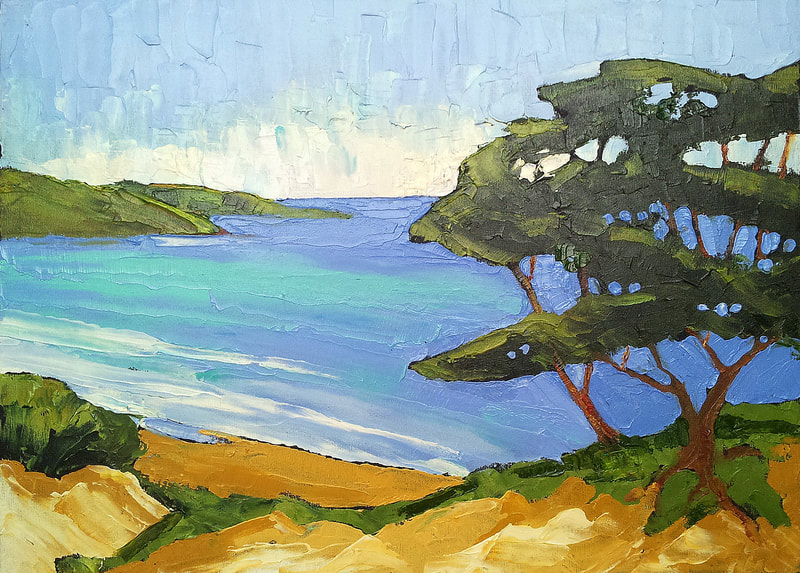
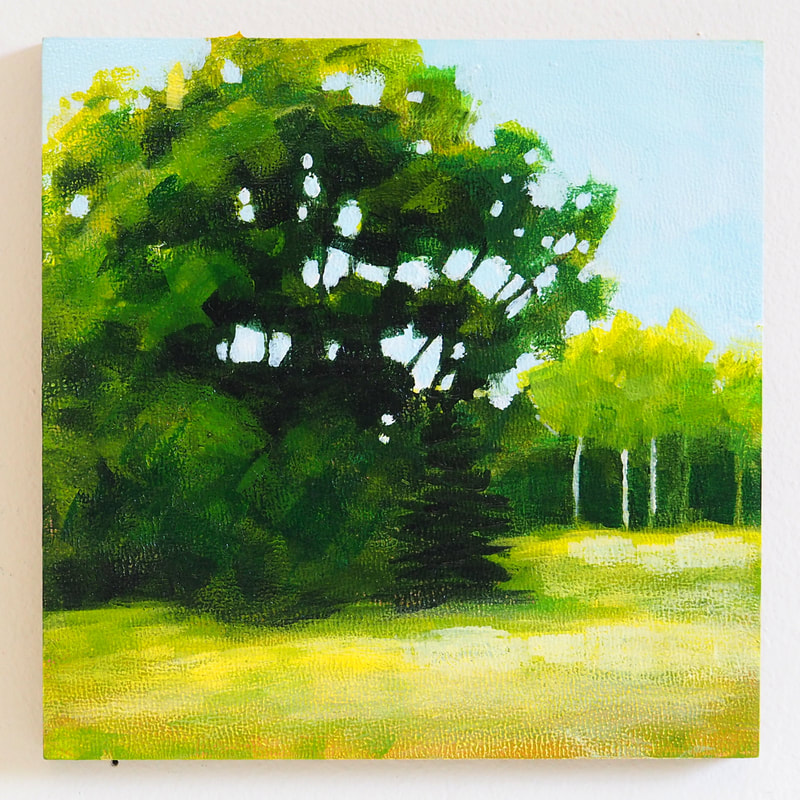
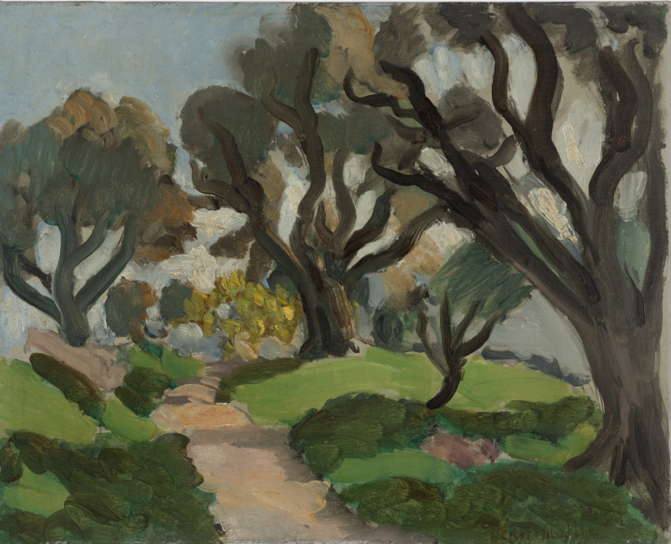
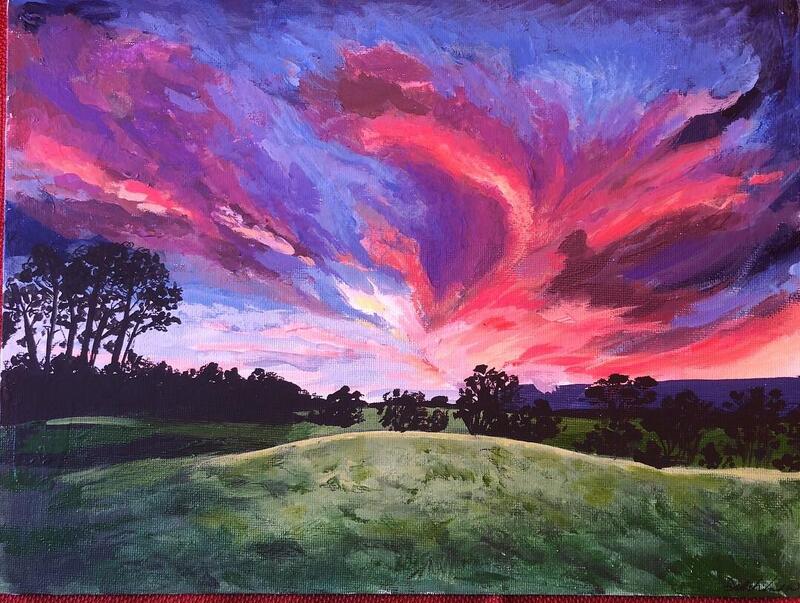
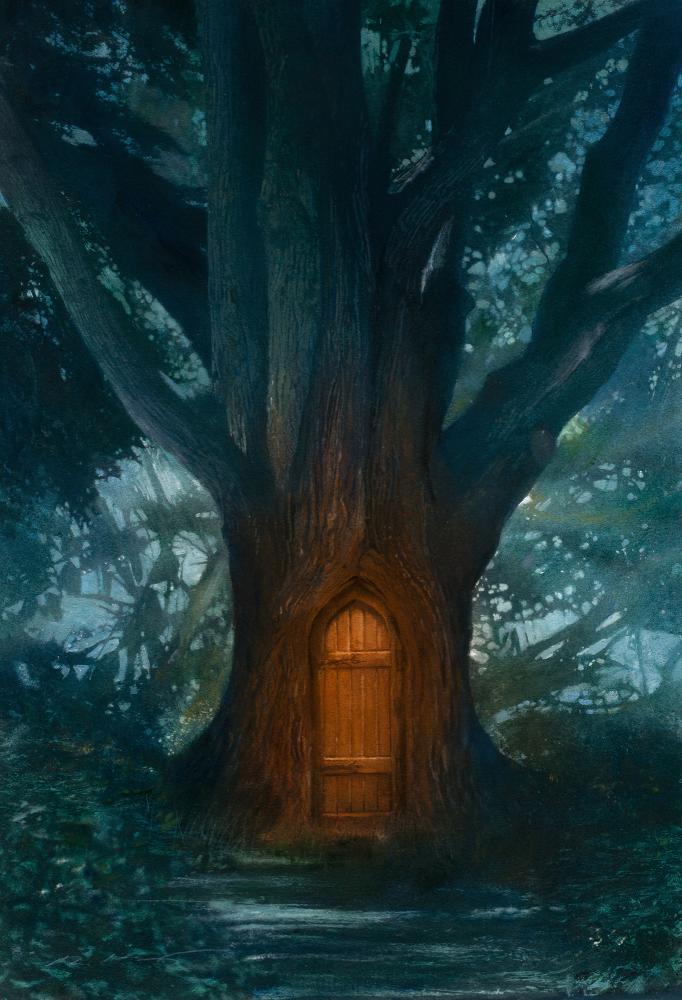
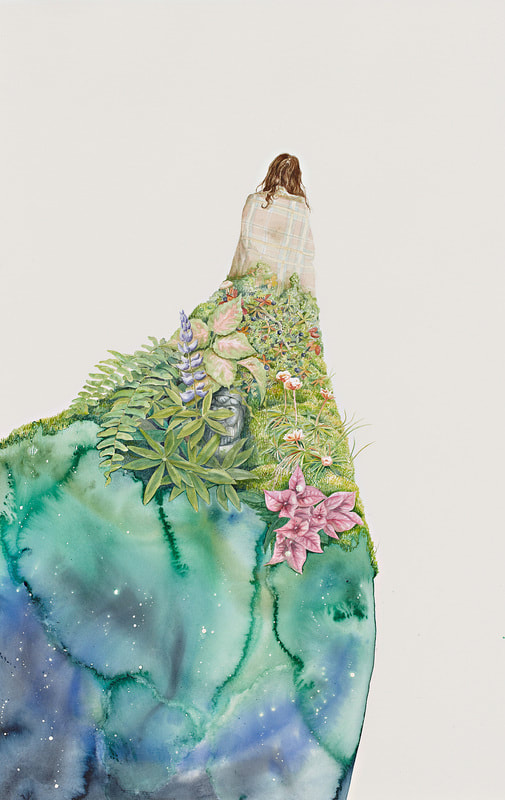
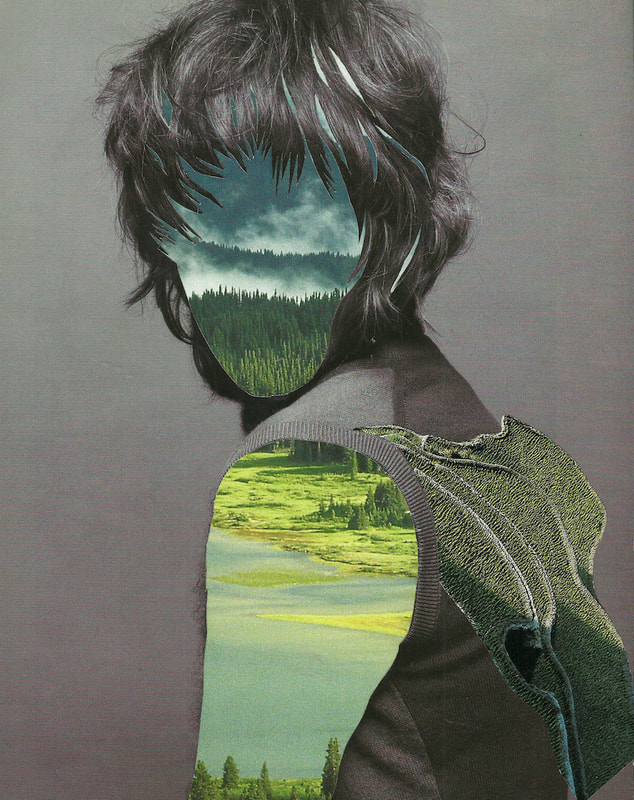
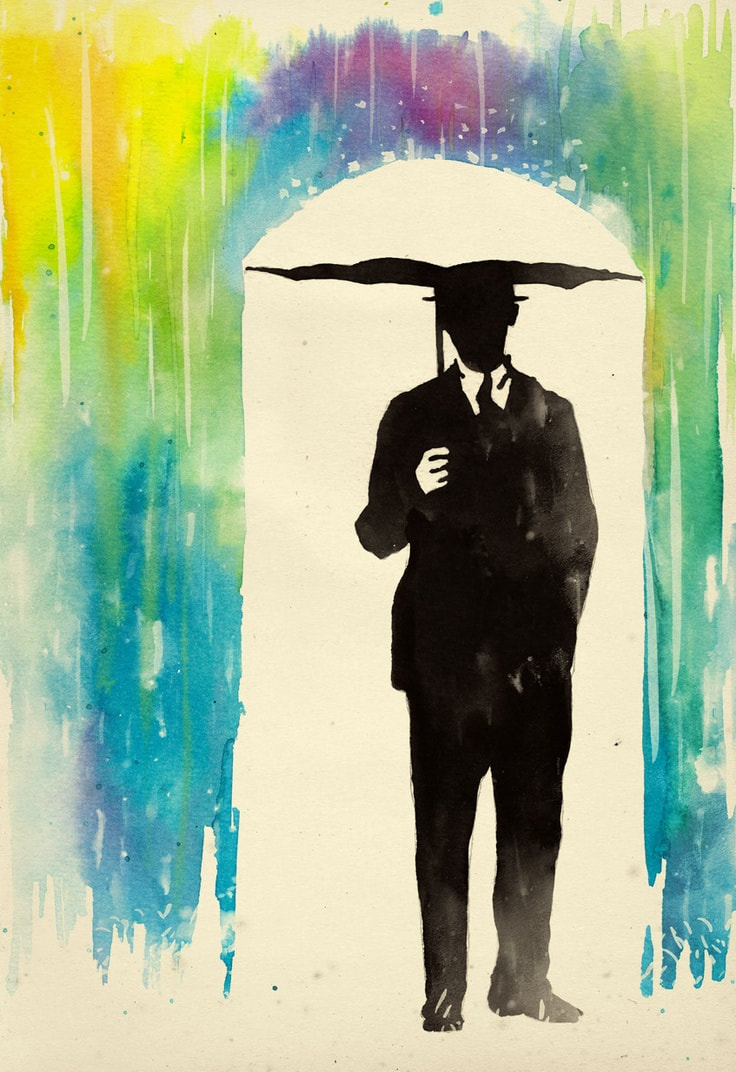
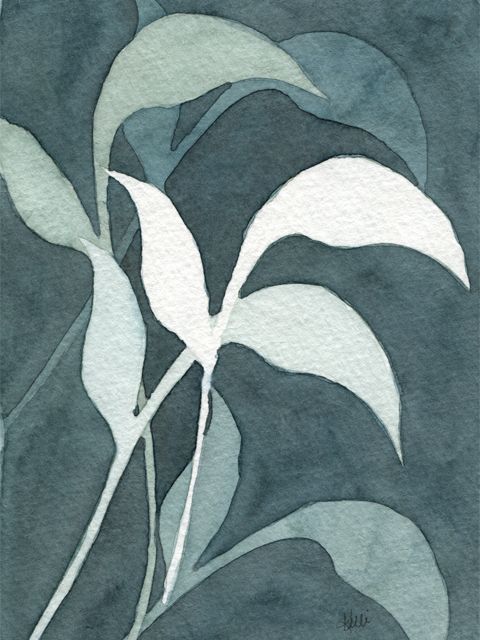
A focal point can be determined by placement on the page, contrasting colors and sizes, limited color, directional lines, hard and soft edges in painting, movement next to a stationary object, placing an unusual subject in the work, and perspective. Can you find the focal points in the samples below? Can you figure out how they were achieved?
Create an interesting drawing or painting that leads to a focal point. Use any supplies you have at home, and use your imagination or observation.
To view an excellent online video that I recommend on creating a focal point click here.
Lesson #3 Composite Realism
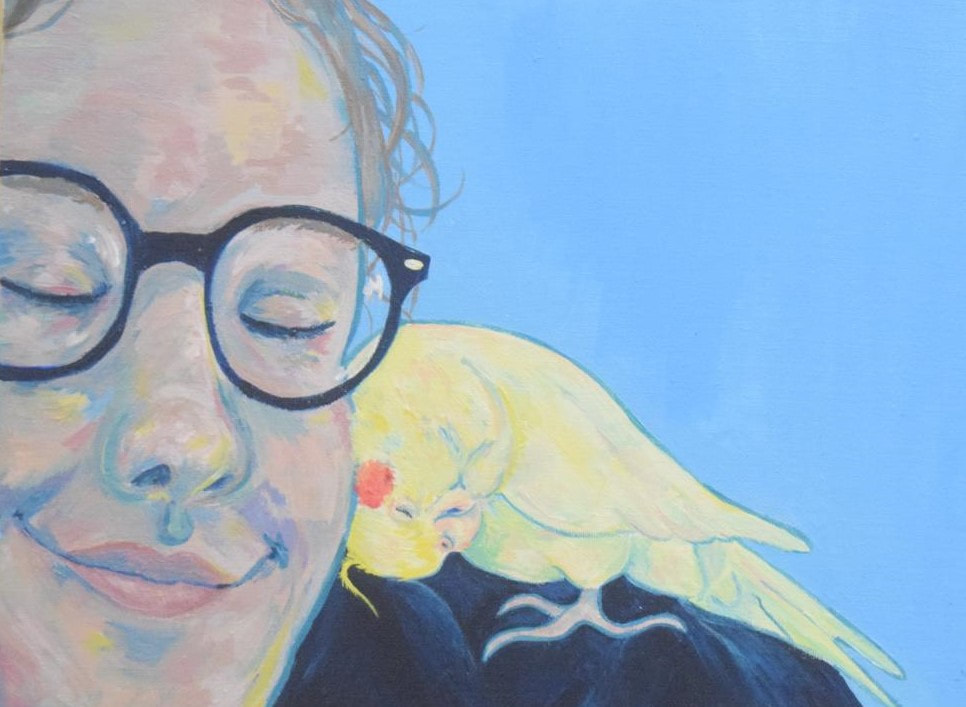
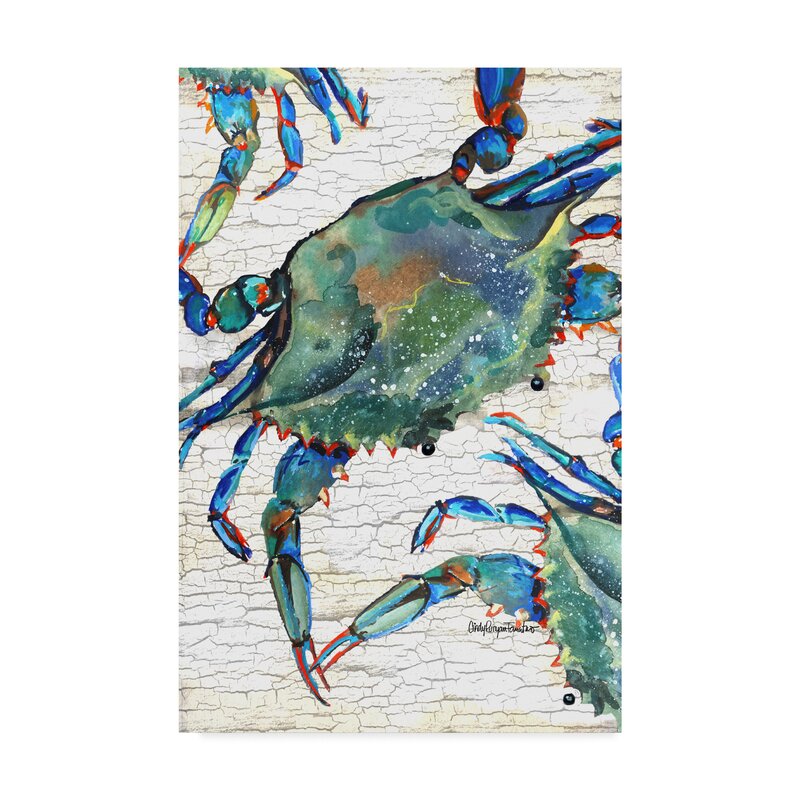
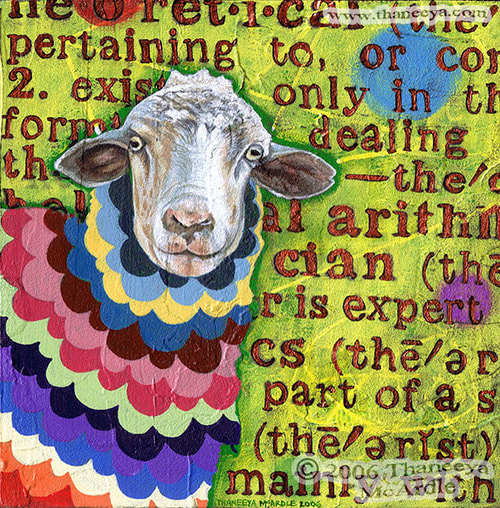
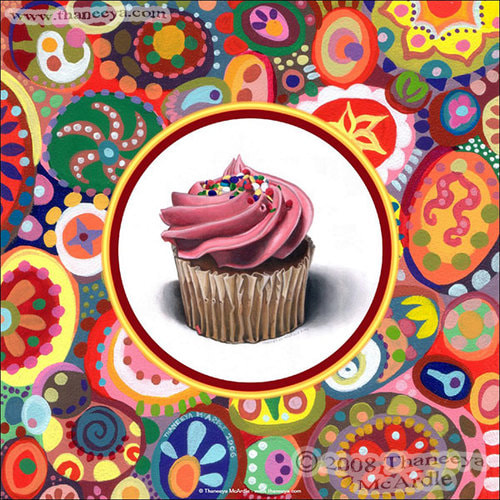
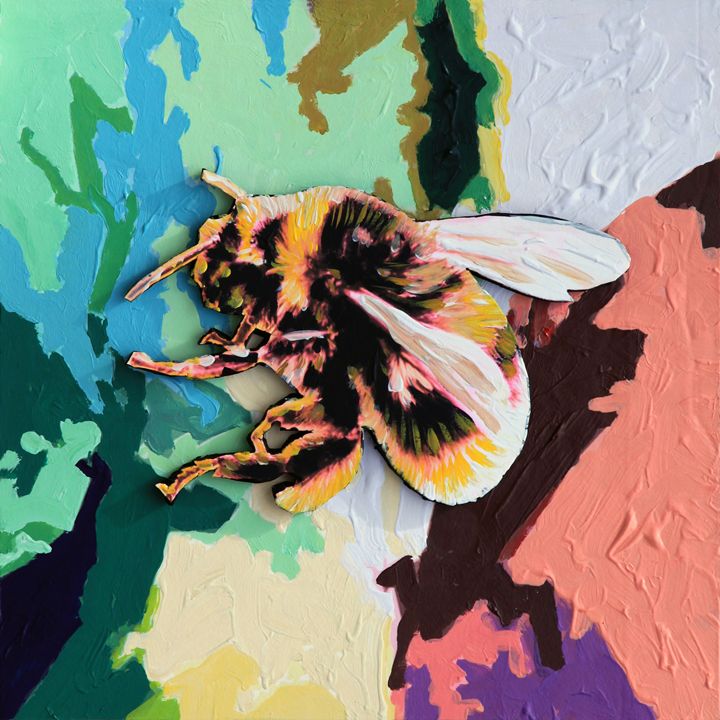
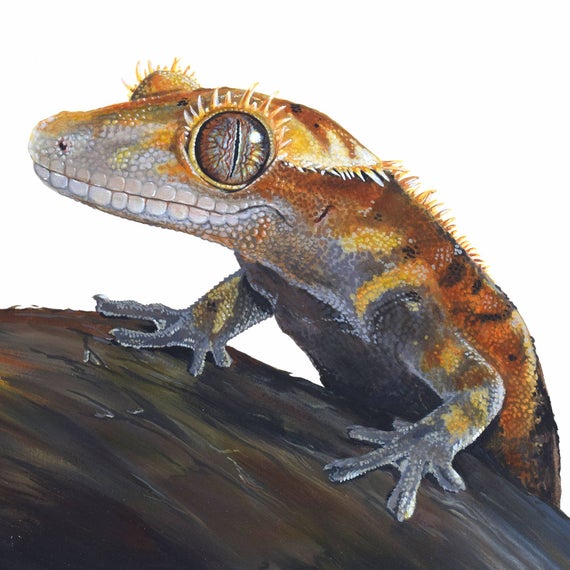
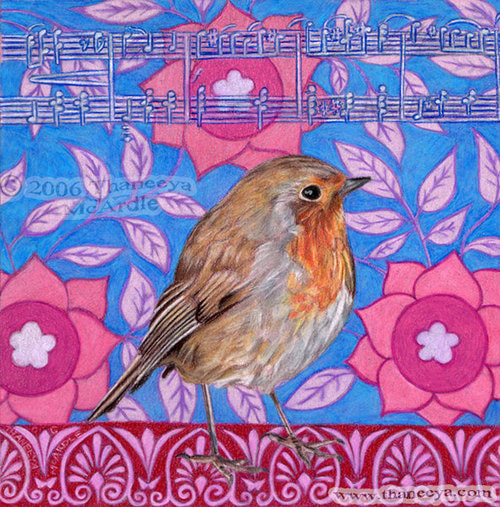
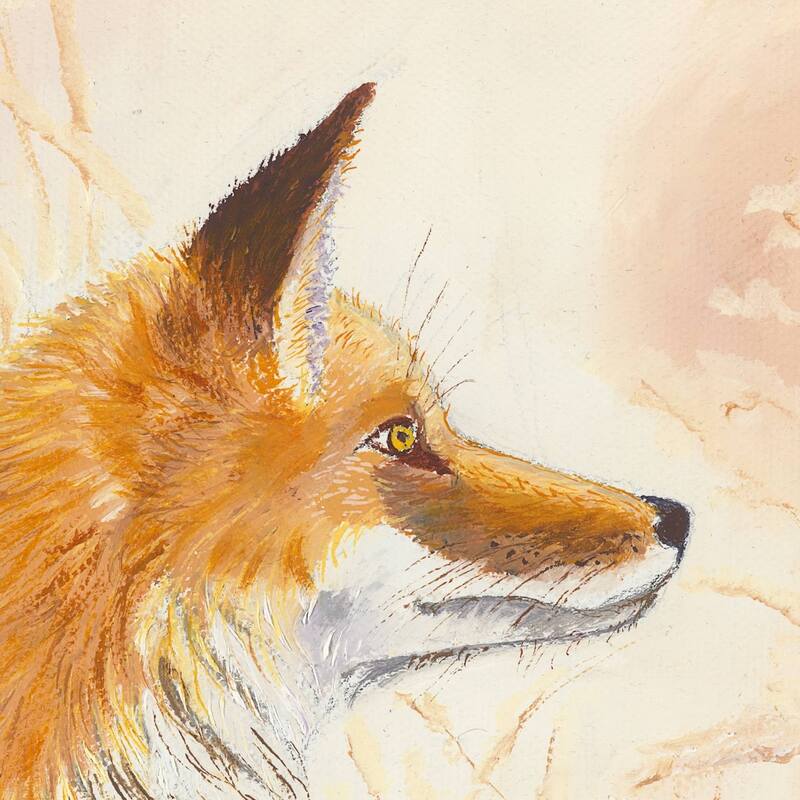
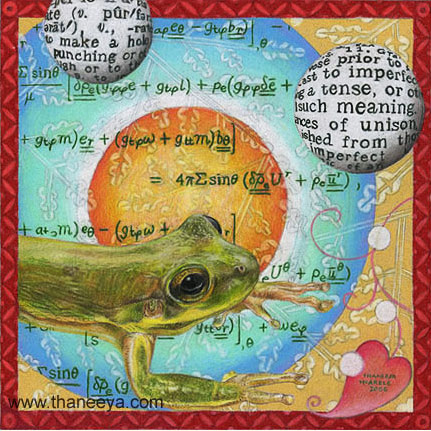
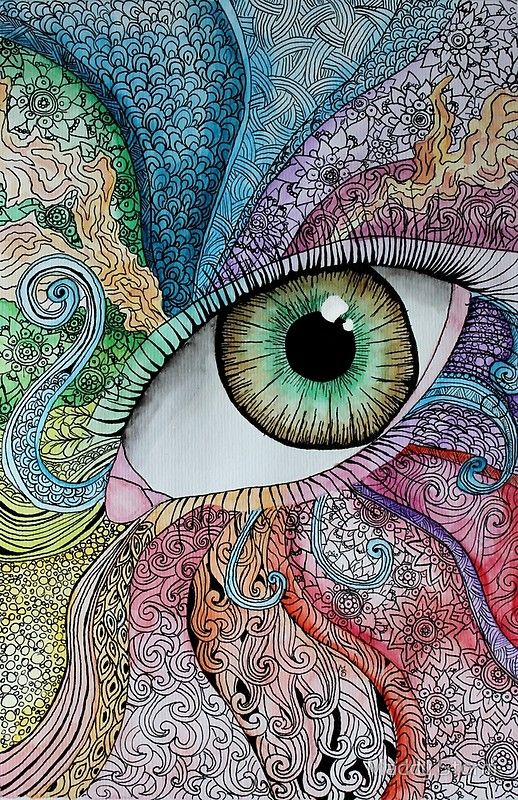
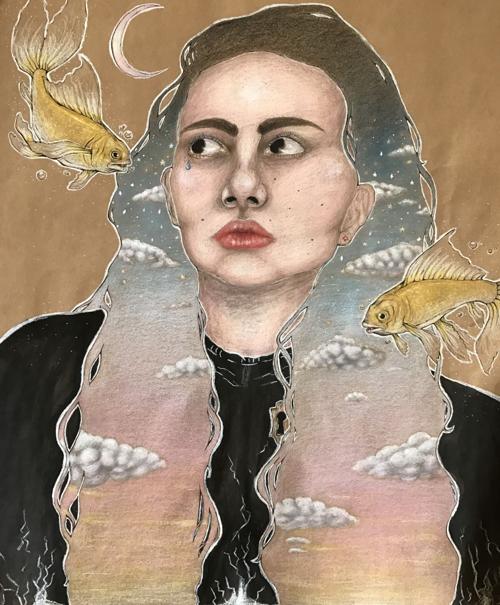
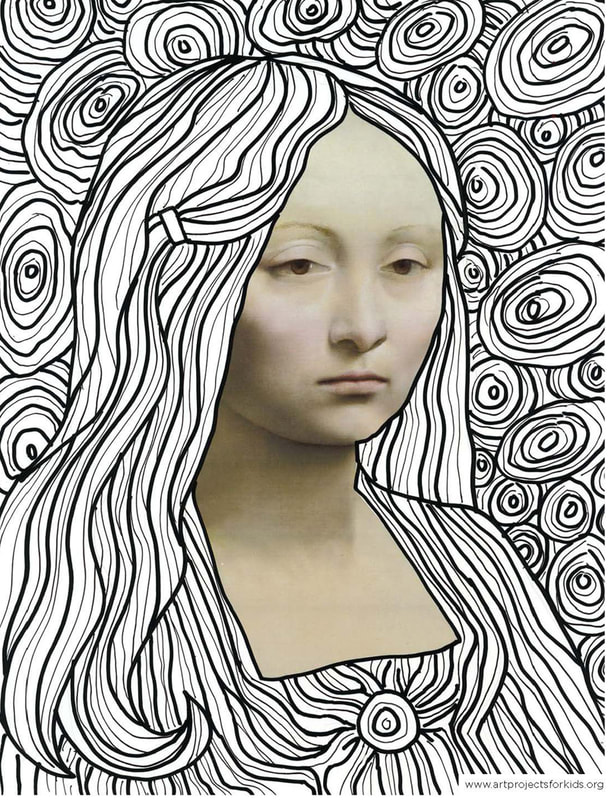
In this project we find connections between realism and abstraction in art. Draw a very realistic animal, bird, object,
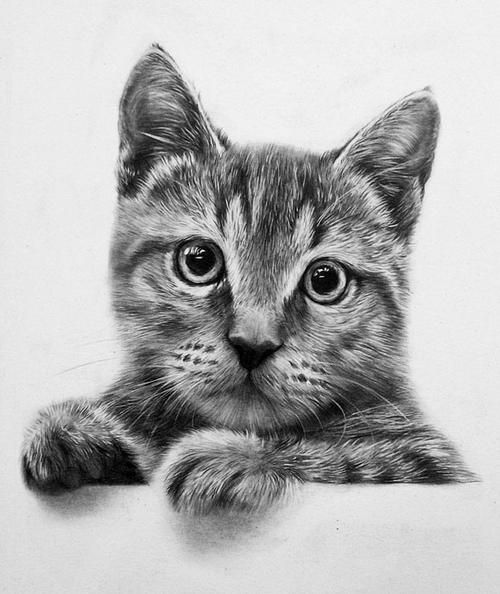
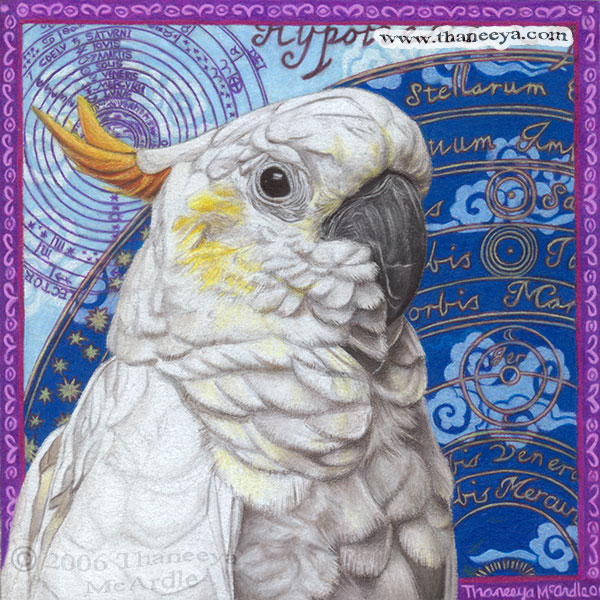
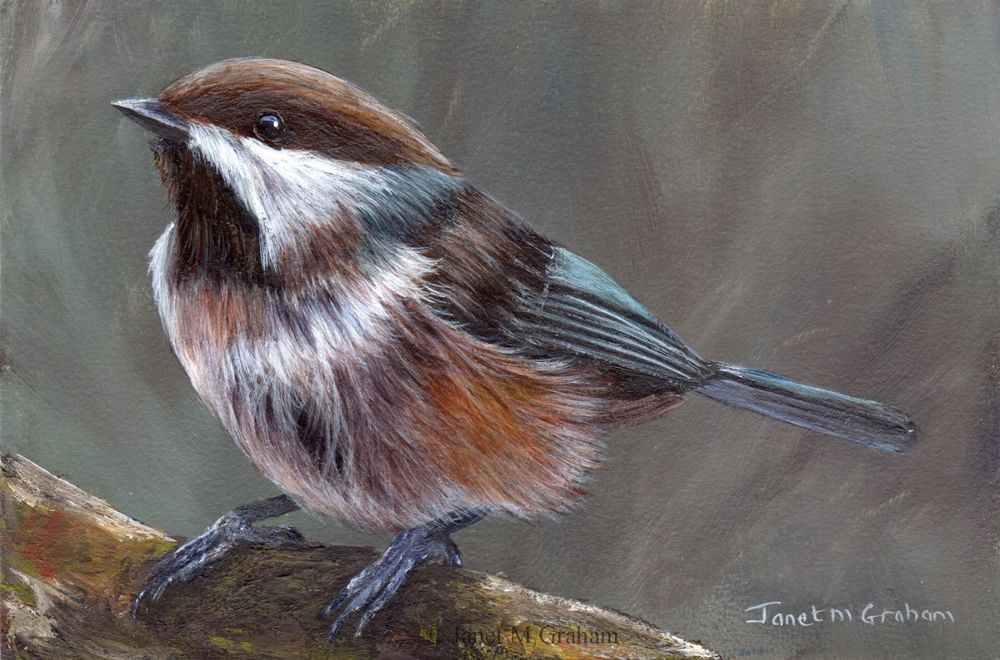
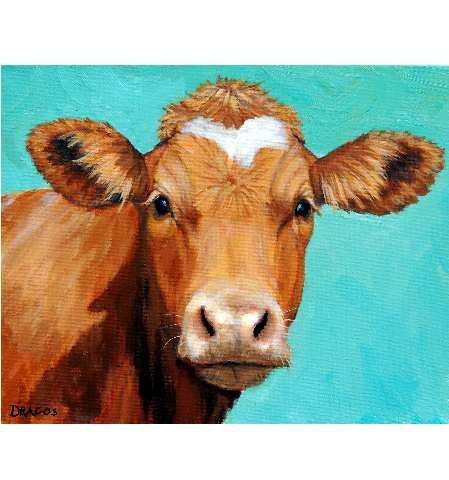
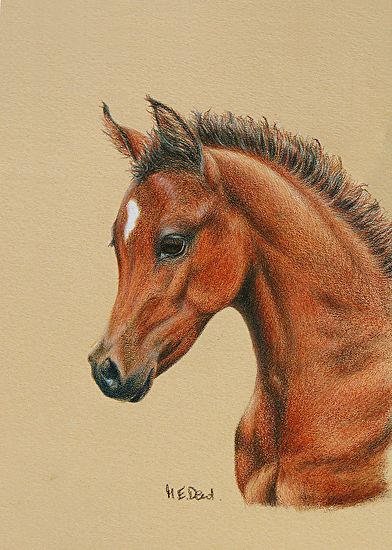
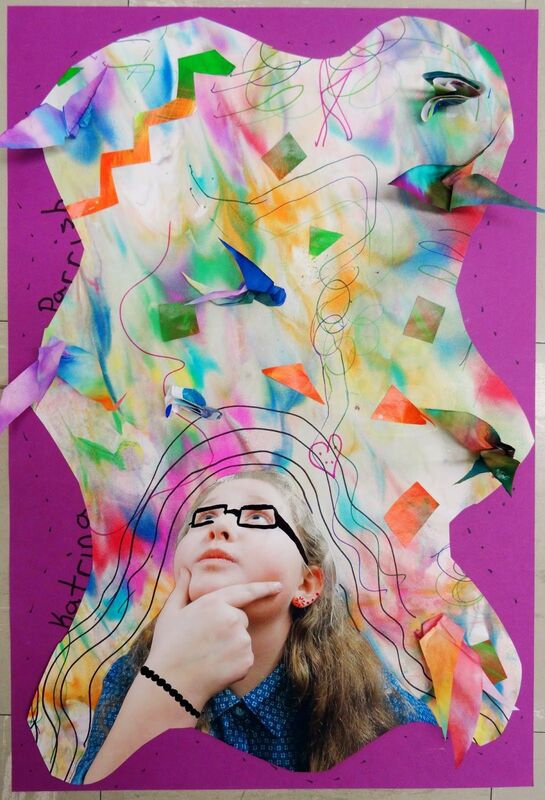
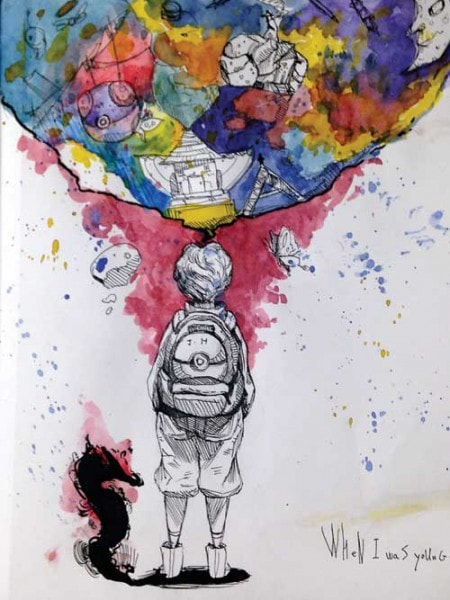
or scene, and combine it with an abstract background or area of your composition. You may add words and thoughts or ideas. Combining both styles into one artwork makes the viewer see things in a new way. Below are some pictures if you need reference material. You can use photo references you find yourself or draw from observation. Make your own designs for backgrounds. you can use colored pencils, or paint.
Lesson #4 -Chairs are not just for sitting!
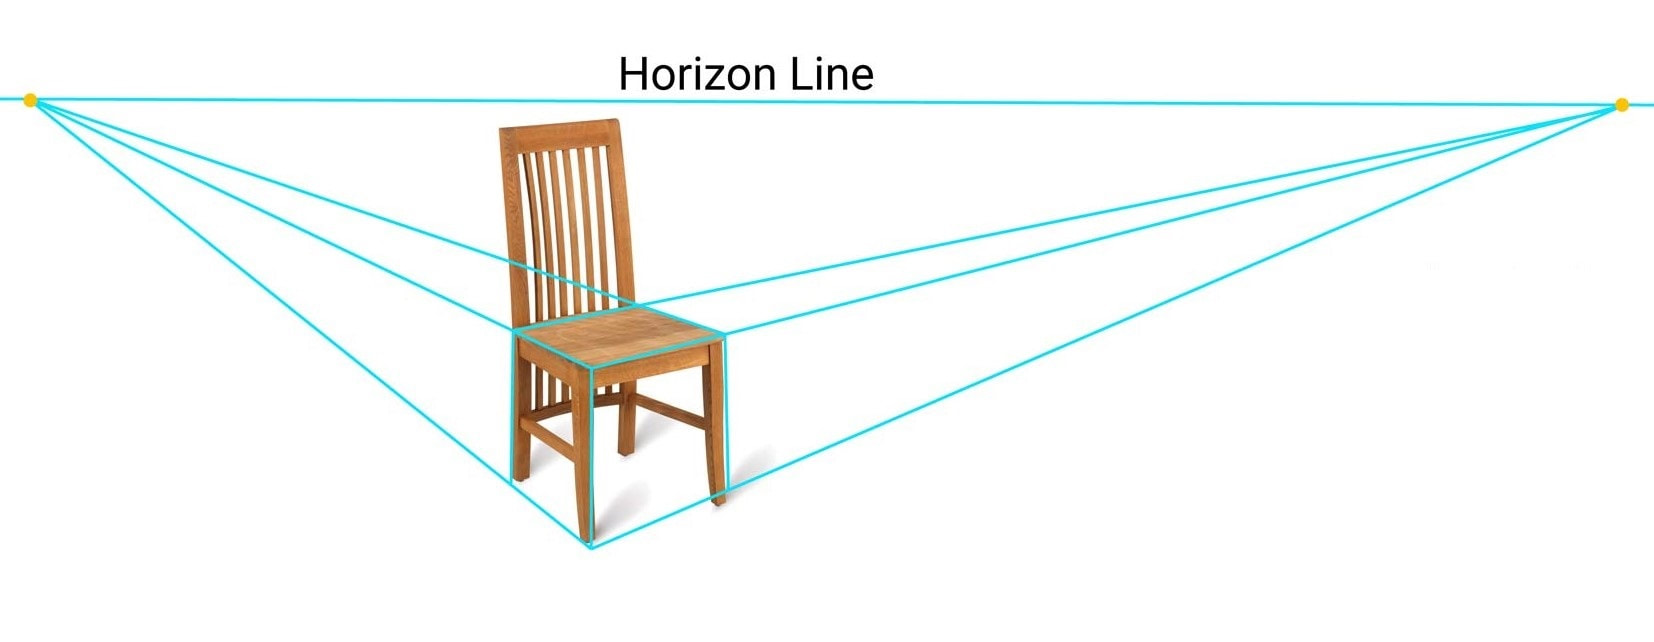
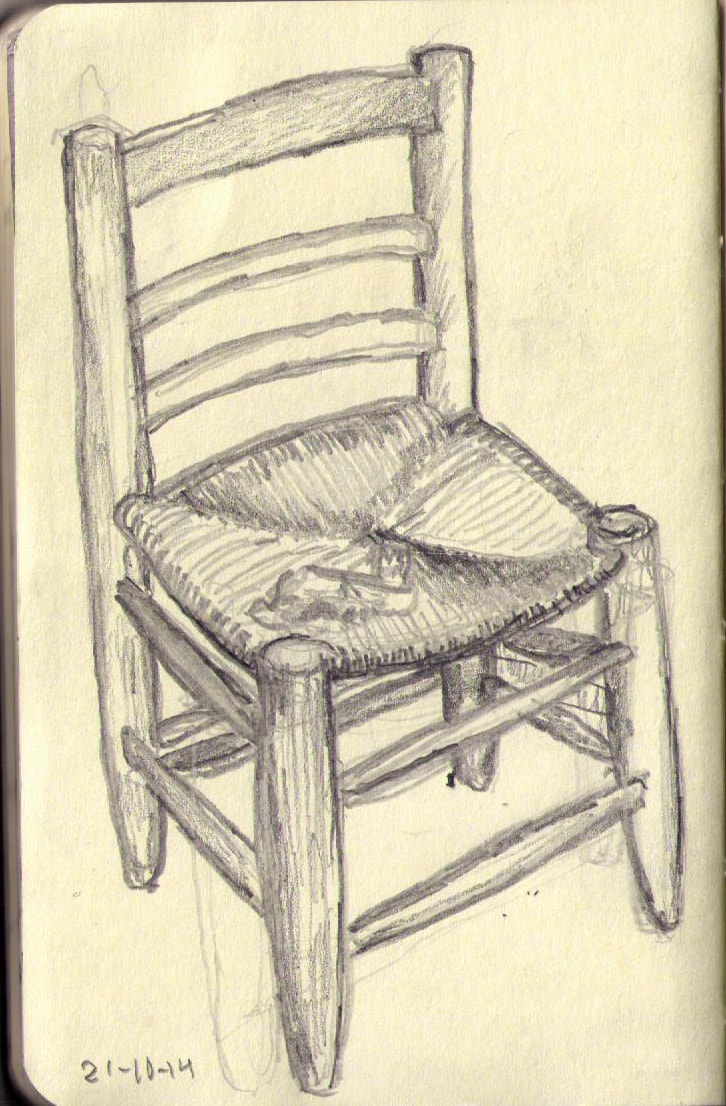
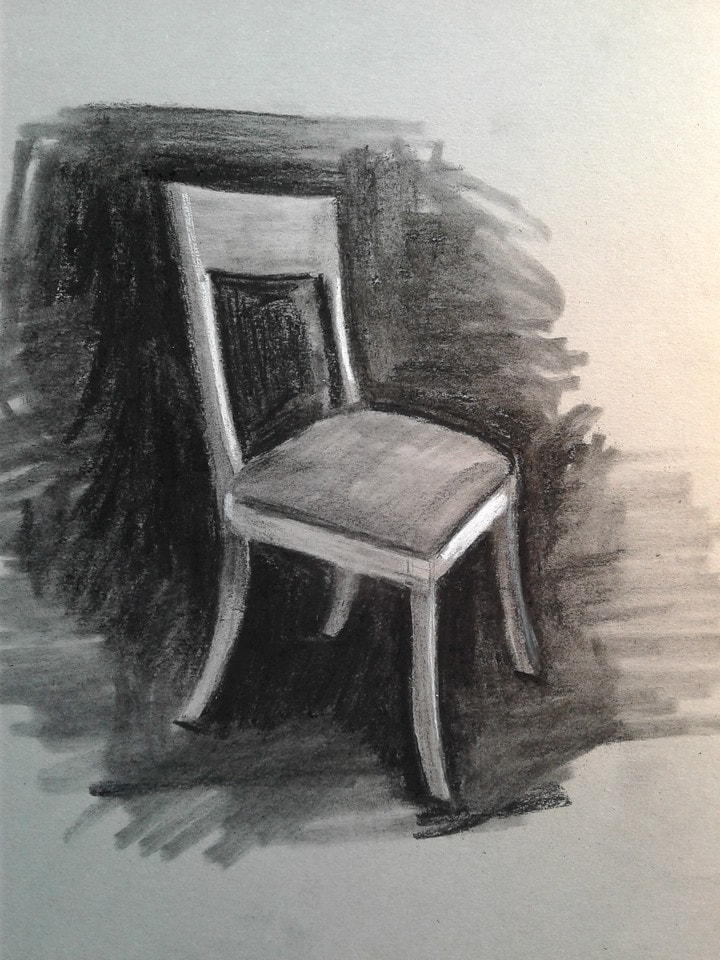
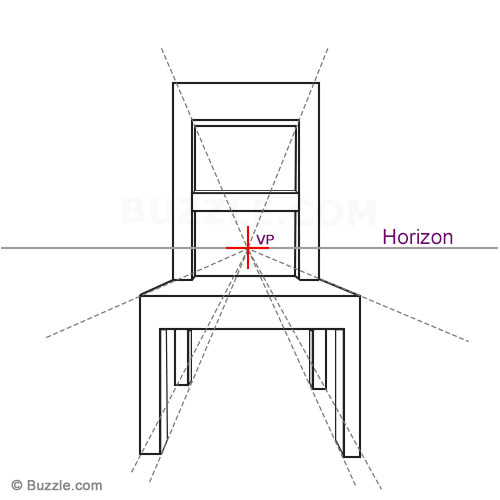
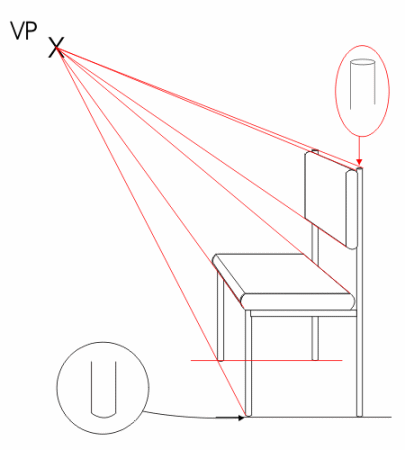
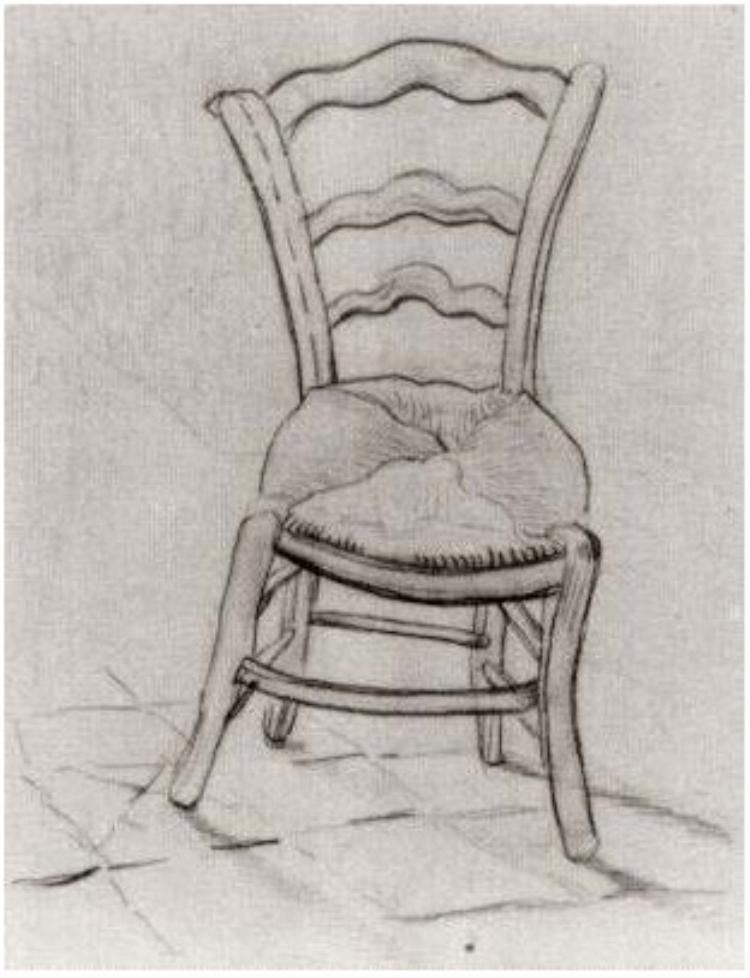
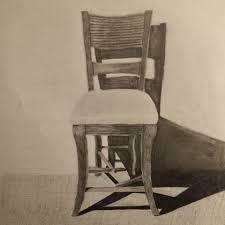
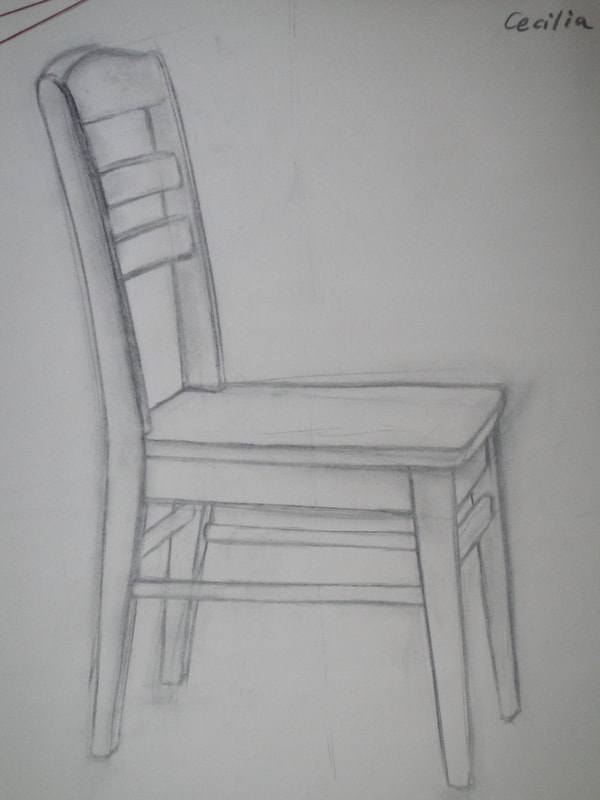
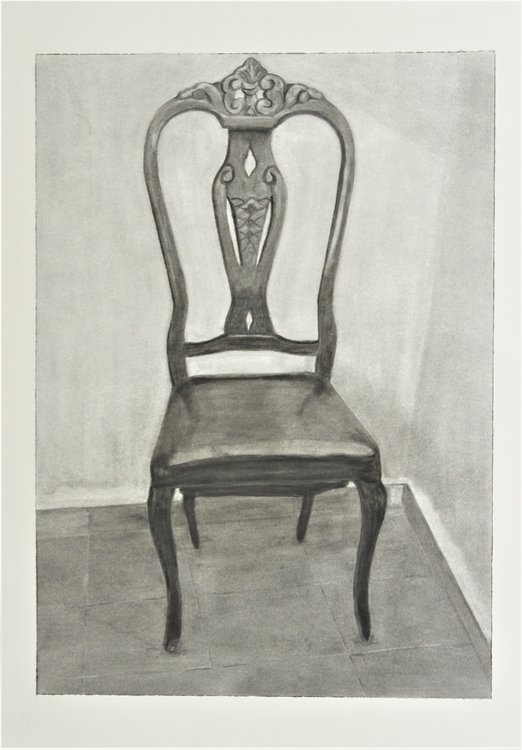
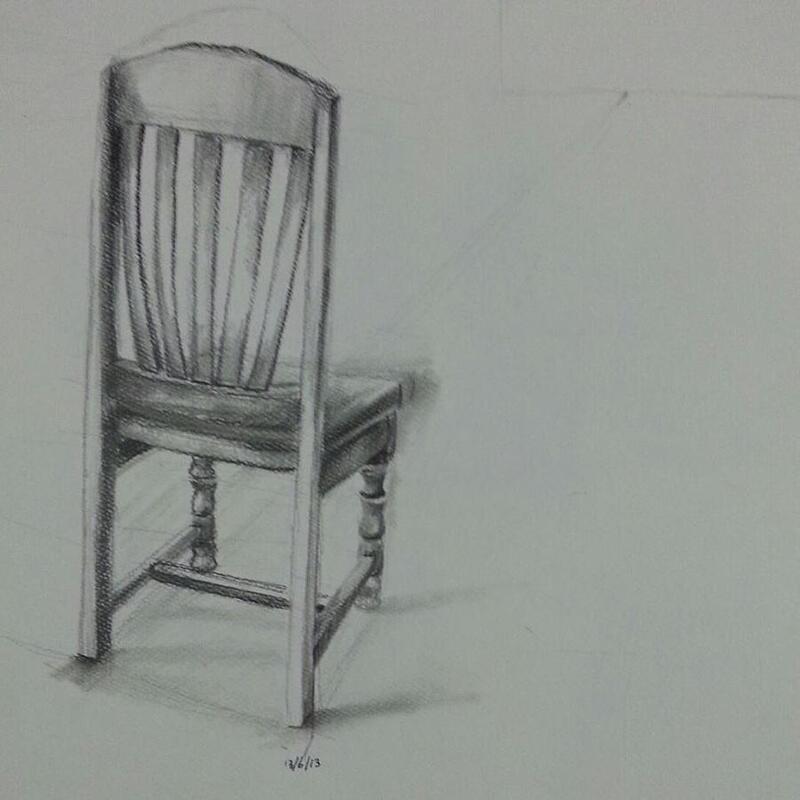
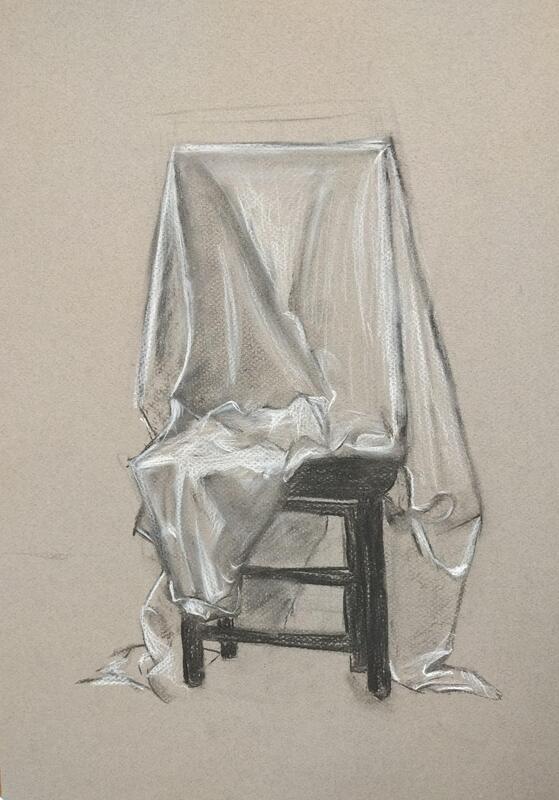
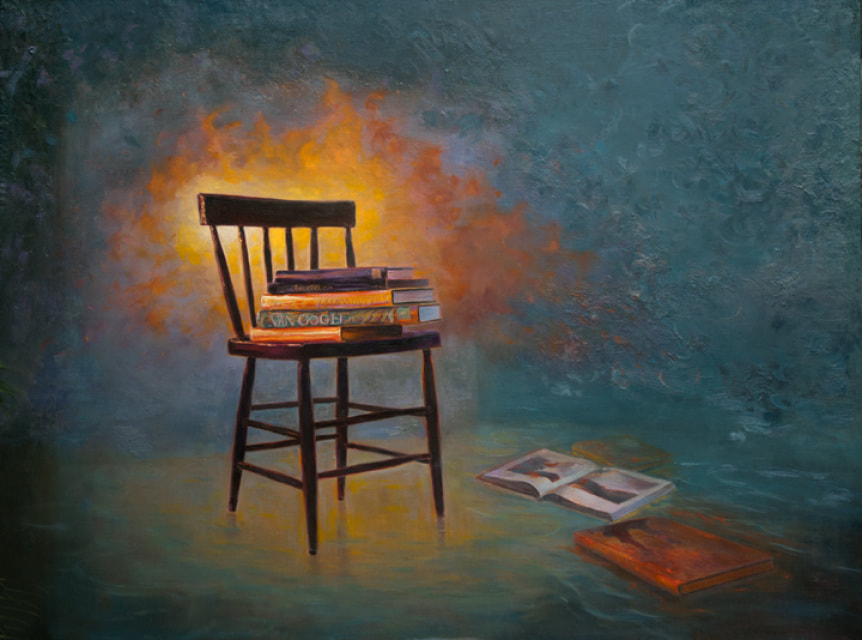
Drawing a chair can be a fun (and challenging) way of practicing perspective and negative space. For this lesson pick a chair in your home to use as a subject in your drawing. You can move it into a position that you like, and draw it from observation. Depending on where you sit when drawing you will have different viewpoints to work from. You may also take a photo of the chair and work from it if you like. First study the chair by looking at it. Use your "artists eye" to look for perspective, shape, negative spaces and proportion. Try to draw it in perspective first without using any vanishing points. Remember one point perspective the chair is in a different position than two point perspective. Bring some unique character to your work by using line and sketching that feels most comfortable to you. Look at the sketch and painting Vincent Van Gogh did to see his unique way of seeing. Sometimes when drawings are not in perfect perspective it adds character to the artwork. For an extra challenge you can stack chairs. Get help from a family member to do this. You can also drape a jacket or fabric on the chair.
Drawing a chair can be a fun (and challenging) way of practicing perspective and negative space. For this lesson pick a chair in your home to use as a subject in your drawing. You can move it into a position that you like, and draw it from observation. Depending on where you sit when drawing you will have different viewpoints to work from. You may also take a photo of the chair and work from it if you like. First study the chair by looking at it. Use your "artists eye" to look for perspective, shape, negative spaces and proportion. Try to draw it in perspective first without using any vanishing points. Remember one point perspective the chair is in a different position than two point perspective. Bring some unique character to your work by using line and sketching that feels most comfortable to you. Look at the sketch and painting Vincent Van Gogh did to see his unique way of seeing. Sometimes when drawings are not in perfect perspective it adds character to the artwork. For an extra challenge you can stack chairs. Get help from a family member to do this. You can also drape a jacket or fabric on the chair.
Lesson # 5- Figurative Drawing from Observation
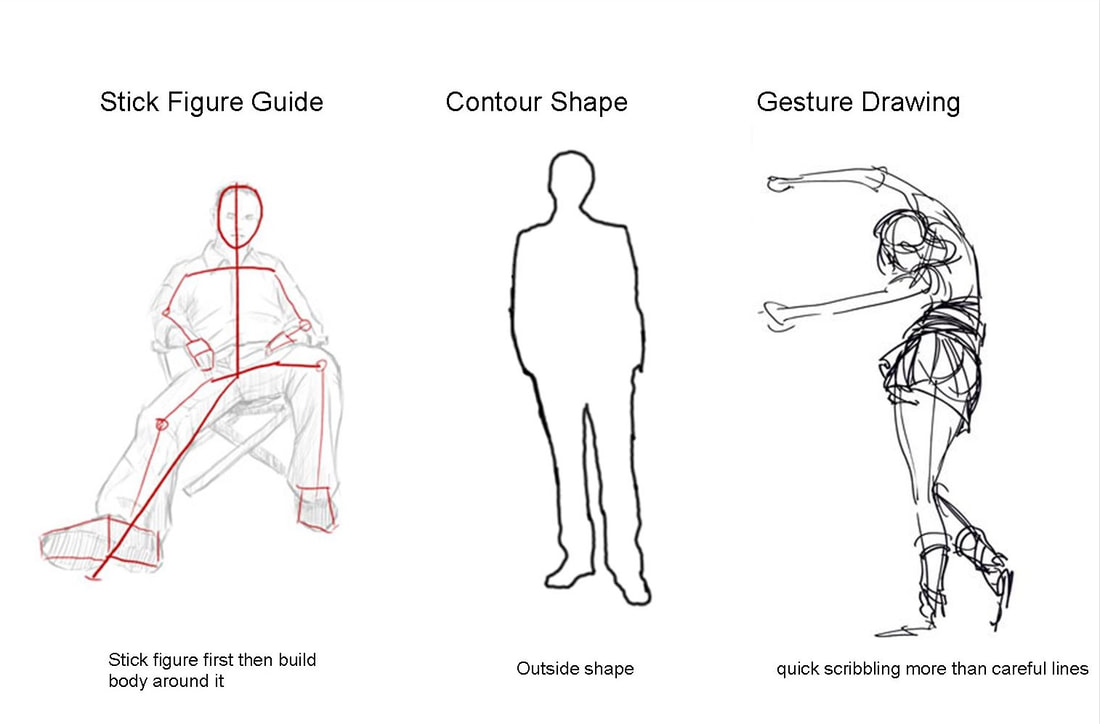
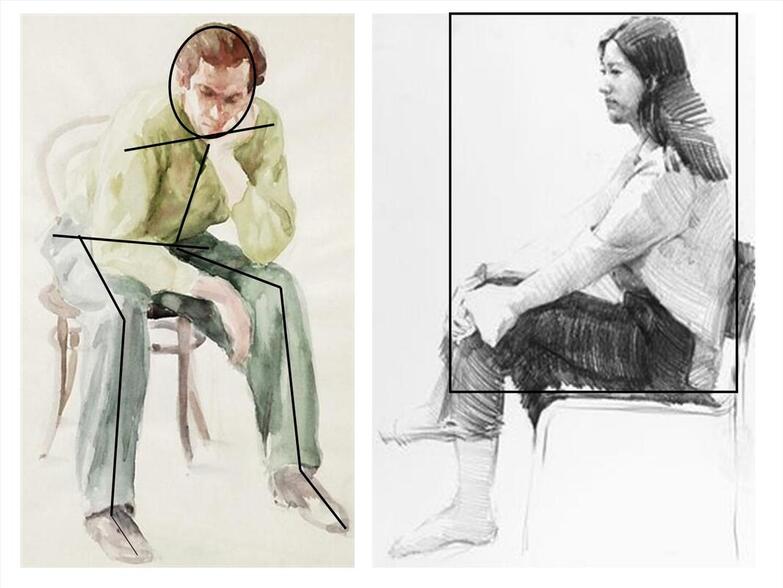
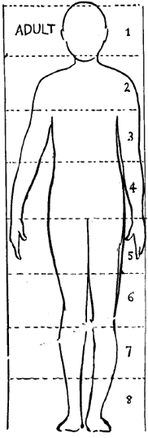
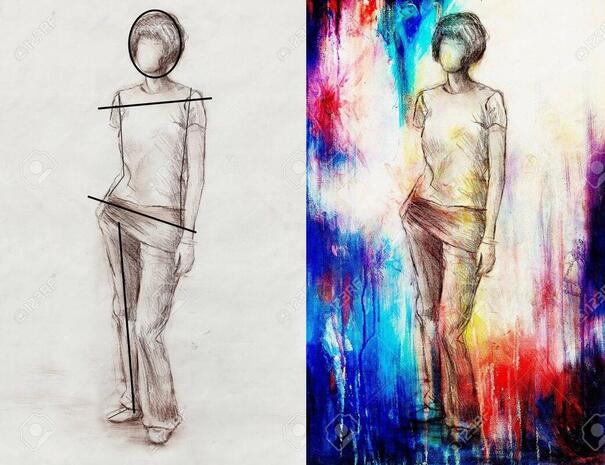
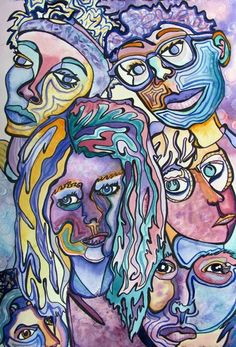
Ask a family member to pose for you standing or seated on a chair or couch, and do sketches. You may also work from a photo. Don't be afraid to start the drawing. Sometimes the hardest part is looking at the empty paper and not knowing how to start. You can begin with an oval for the head, guide lines for direction of shoulders and hips, and stick figure. Sketch in the basic shapes and check proportion. (How one thing relates to the other). Once you have a light sketch you can begin drawing darker with your pencil to get the detailed lines. Remember to constantly check back and forth from looking at the person to your drawing. Don't rely on memory for an observational drawing. I want you to train your eyes to see the figure in 3 ways. Contour outside shape, gesture movement if present, and stick figure guide lines. Negative shapes can help you to draw the positive figure. You can finish your sketch with tonal shading if you like or a colorful background.
Ask a family member to pose for you standing or seated on a chair or couch, and do sketches. You may also work from a photo. Don't be afraid to start the drawing. Sometimes the hardest part is looking at the empty paper and not knowing how to start. You can begin with an oval for the head, guide lines for direction of shoulders and hips, and stick figure. Sketch in the basic shapes and check proportion. (How one thing relates to the other). Once you have a light sketch you can begin drawing darker with your pencil to get the detailed lines. Remember to constantly check back and forth from looking at the person to your drawing. Don't rely on memory for an observational drawing. I want you to train your eyes to see the figure in 3 ways. Contour outside shape, gesture movement if present, and stick figure guide lines. Negative shapes can help you to draw the positive figure. You can finish your sketch with tonal shading if you like or a colorful background.
|
Lesson # 6 A Visual Echo- Repetition in Art
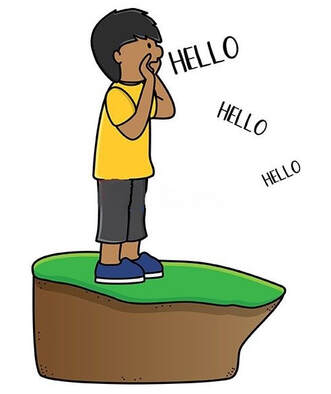
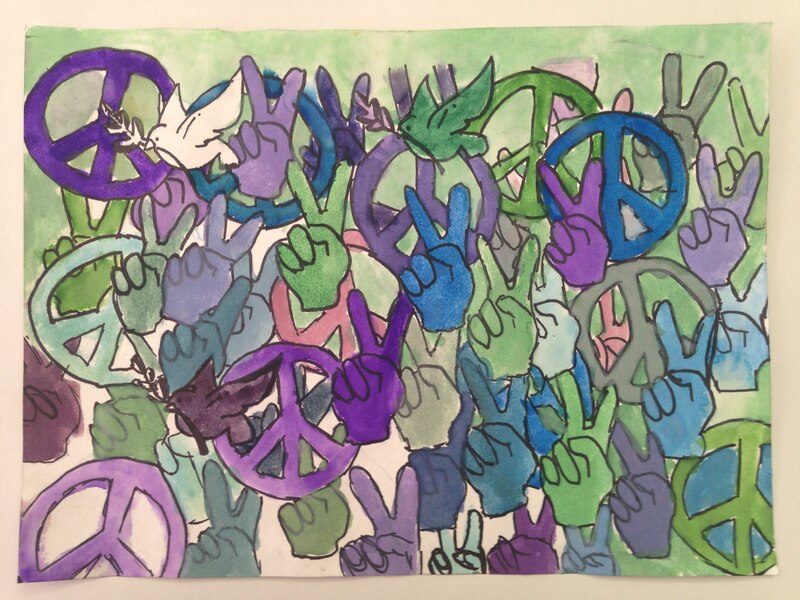
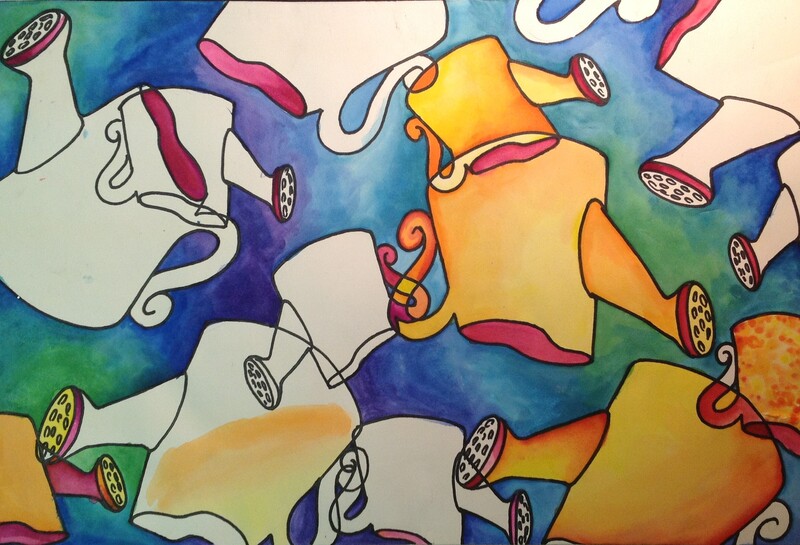
Hello...Hello...Hello!!! Have you ever heard someone calling out from a mountain top and heard an echo? This project is about repetition in art. I like to think of repetition as a visual echo. The challenge with repeating in art is to keep it exciting. You may want to repeat an object or two with variation in size to make it interesting, or design a pattern that creates rhythm. Work from observation or imagination and have fun! If you have crayons and watercolors, you might have fun making a resist painting drawing your hand a few times in different directions. |
Lesson #7- Still Life- Drawing from Observation
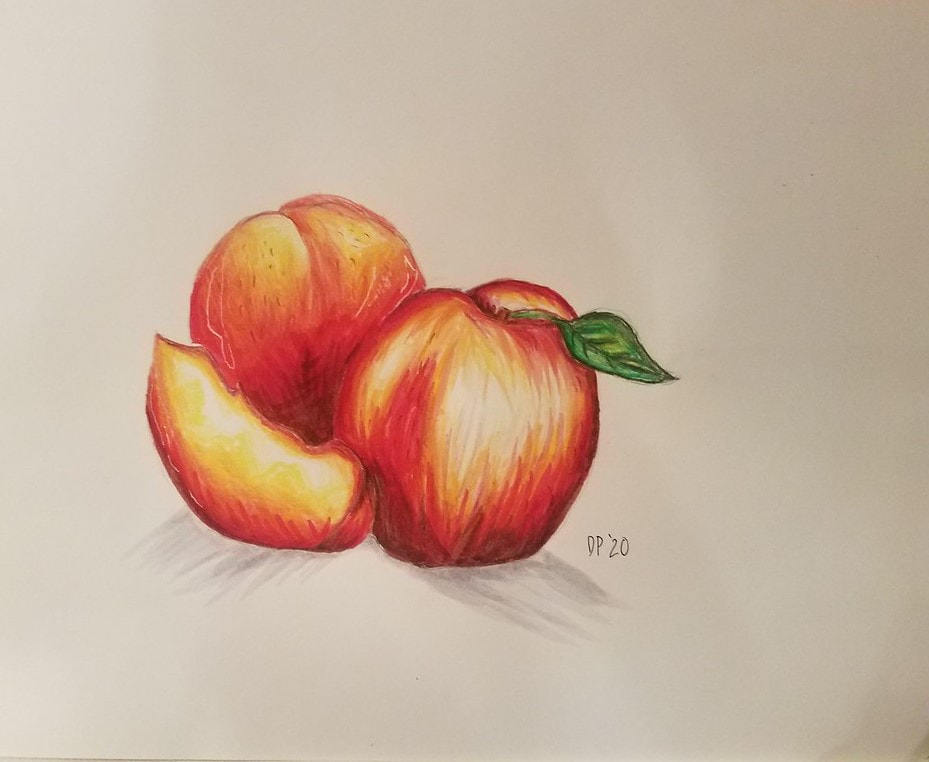
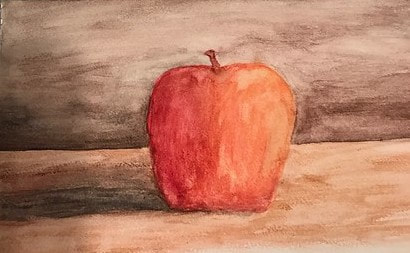
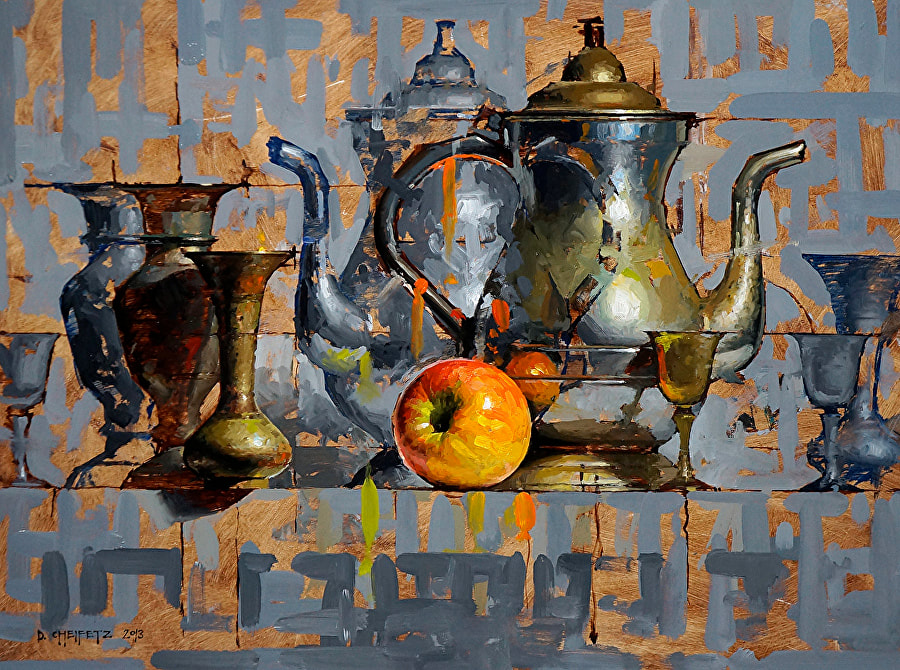
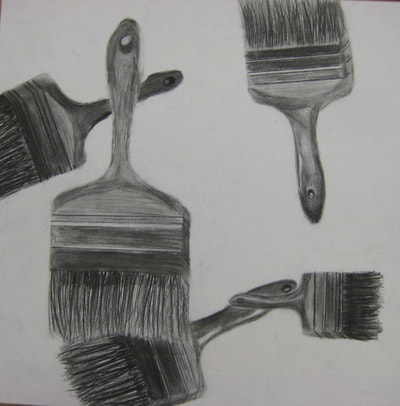
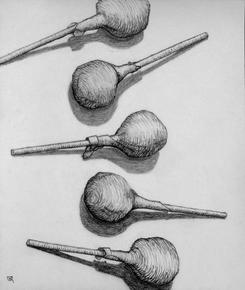
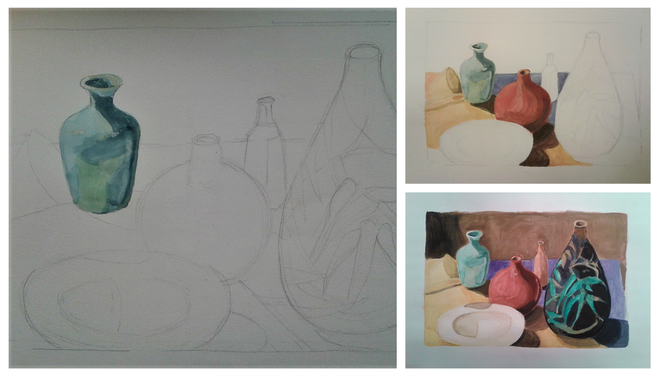
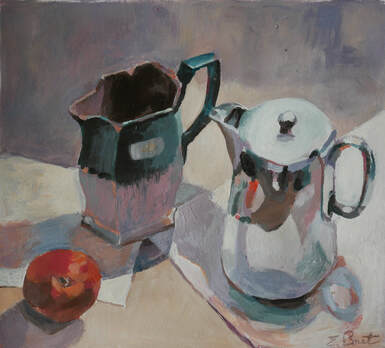
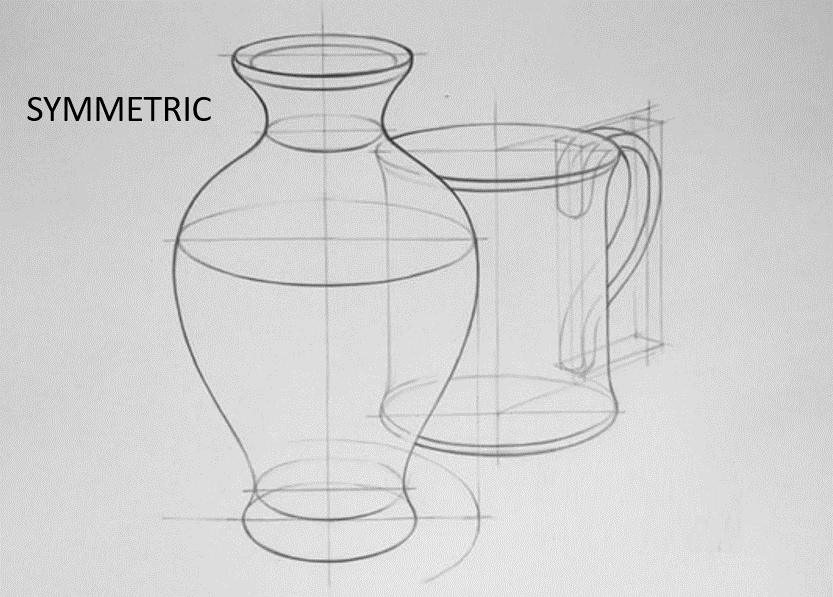
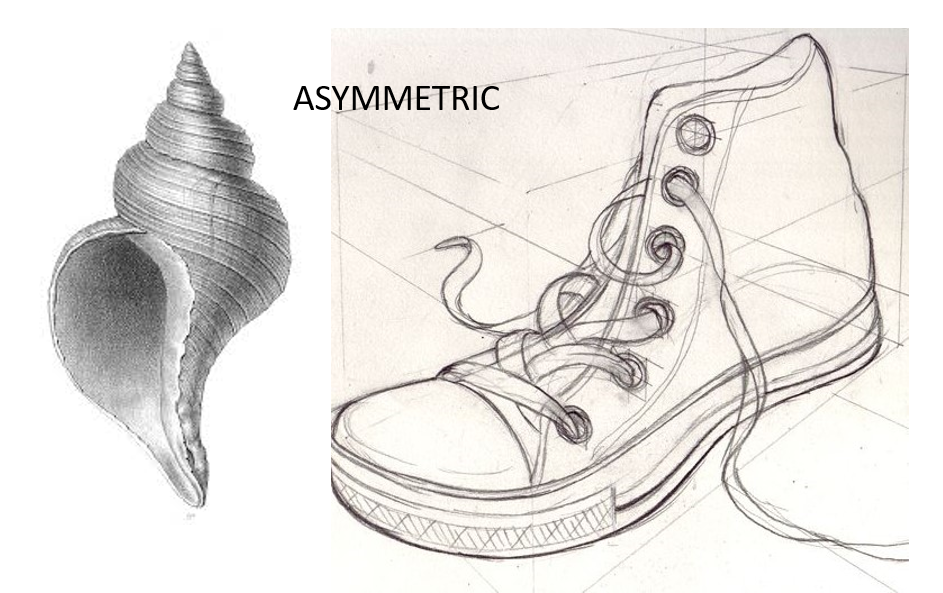
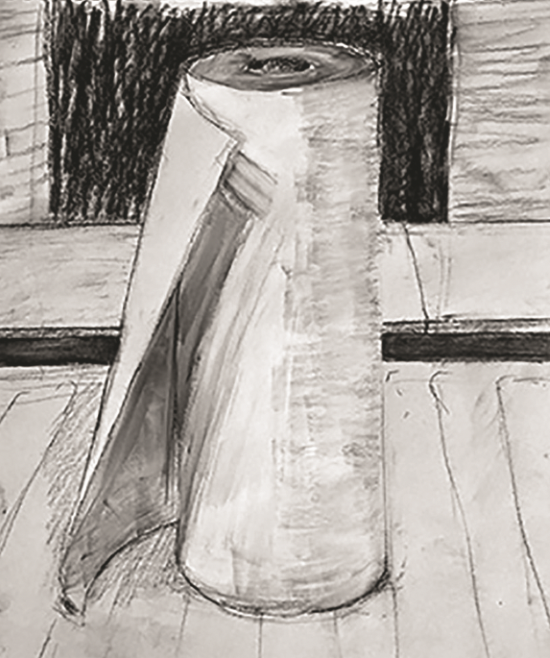
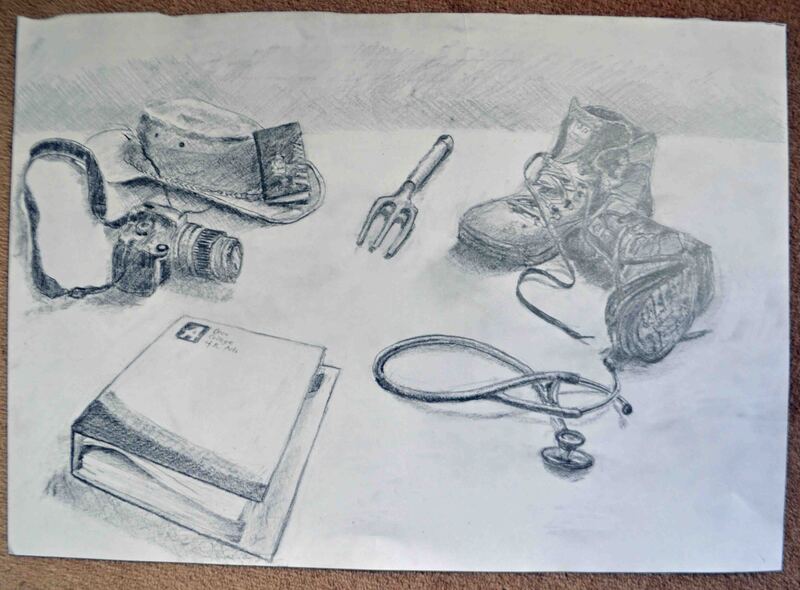
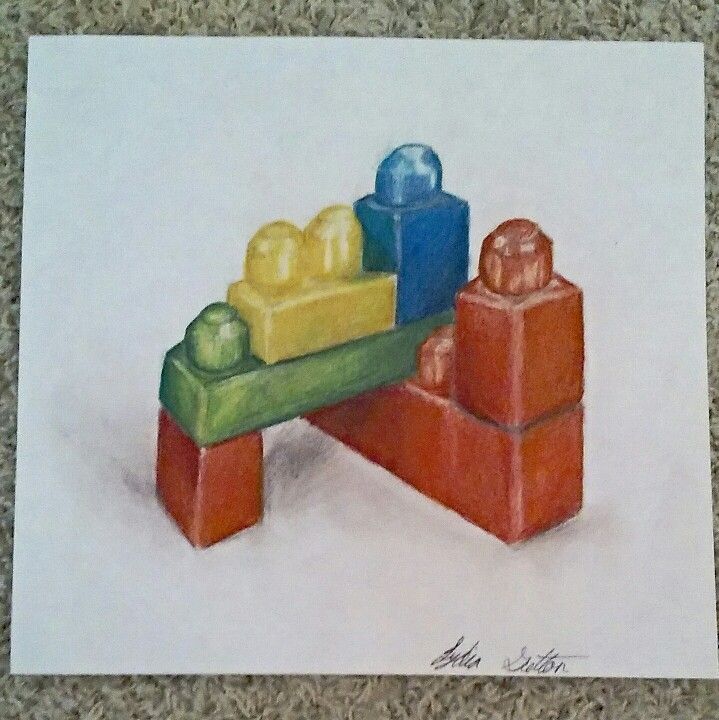
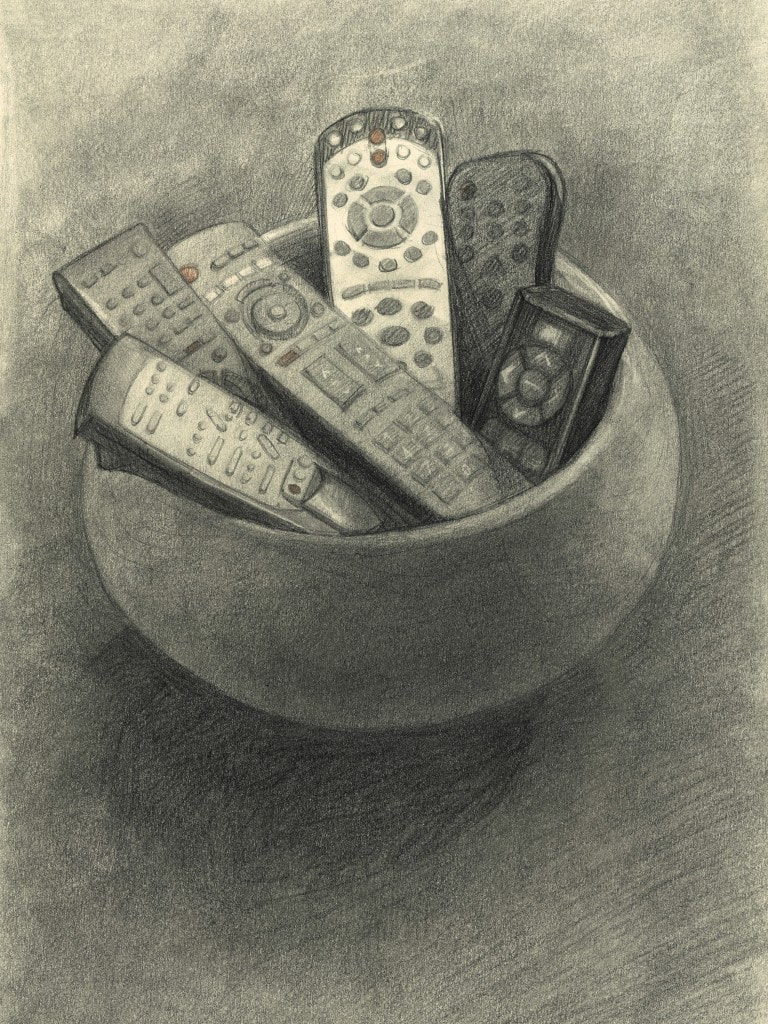
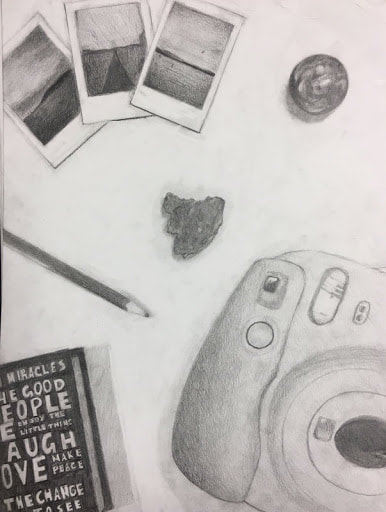
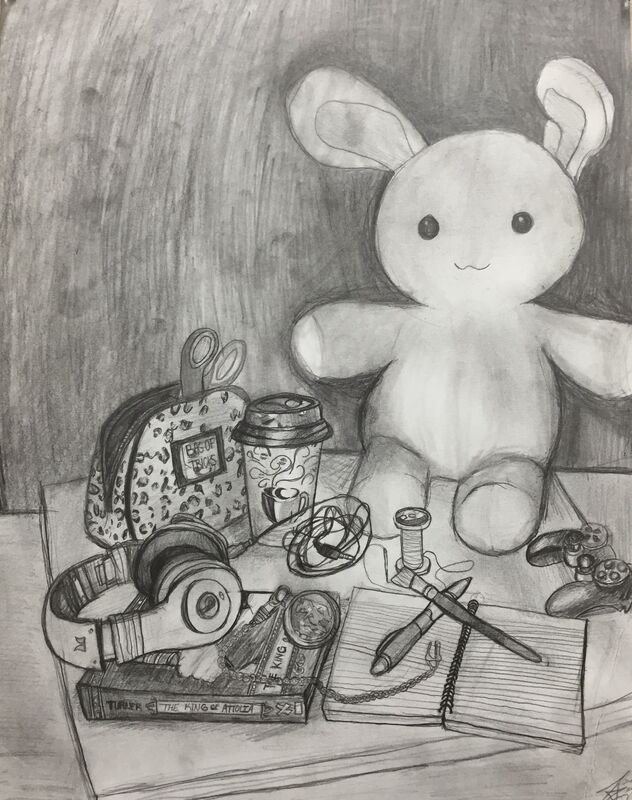
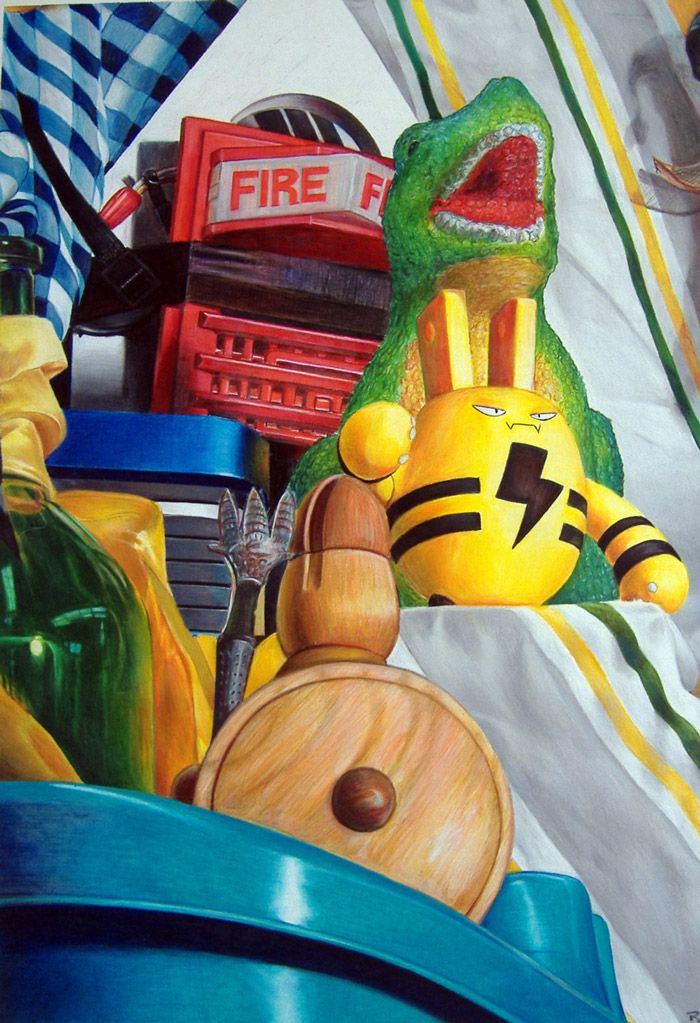
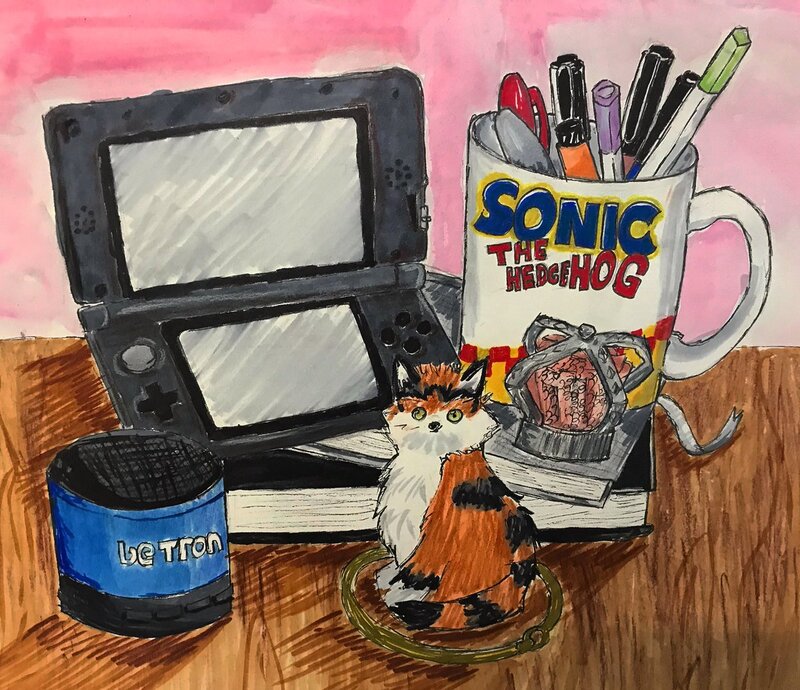
Choose 3-5 objects from home and arrange them in front of you. Many objects you have at home will be symmetrical. You can draw a guide line down the middle to help you draw each side. Remember if there is an ellipse shape, pay attention to the viewpoint you are seeing it and it's shape. Draw the forms lightly with pencil on your paper. Depending on what supplies you have at home, you can paint, colored pencil, or tonal sketch. Remember, don't be worried about making a perfect drawing like a photo. You naturally have your own style of interpreting what you are seeing in front of you, recreating it on paper. If you are using watercolors practice techniques such as a flat wash, wet in wet, and dry brush. Remember if you are making a flat wash, mix enough of the color and water on your pallete to fill in the form to get an even result. Have fun!
Use pencils, craypas, colored pencils, crayons,or paints. ( Whatever you have at home is fine)
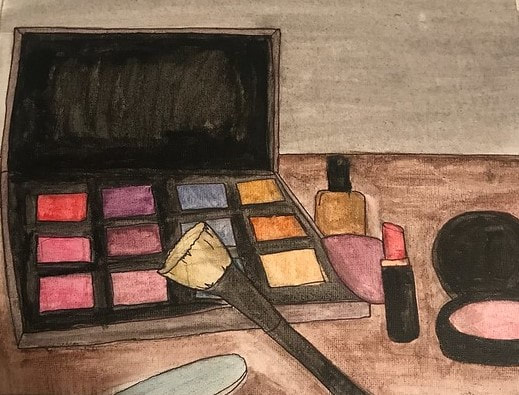
These are some objects I decided to paint. They are symmetrical and asymmetrical Hope you can find some interesting objects at home and have fun creating art!
|
Lesson #8 Independent Project
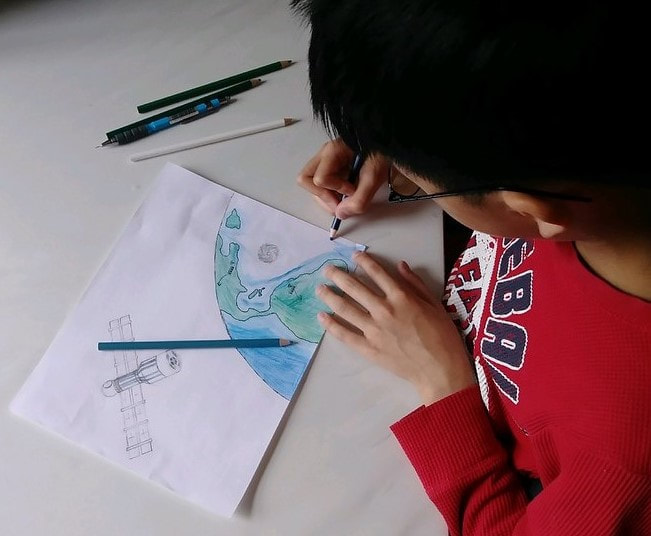
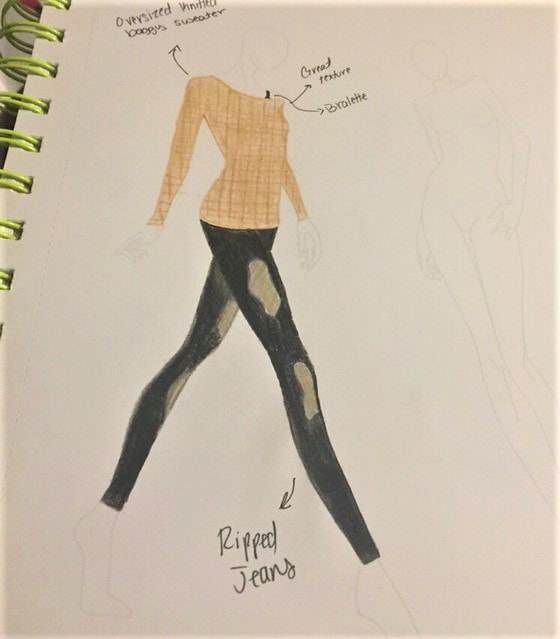
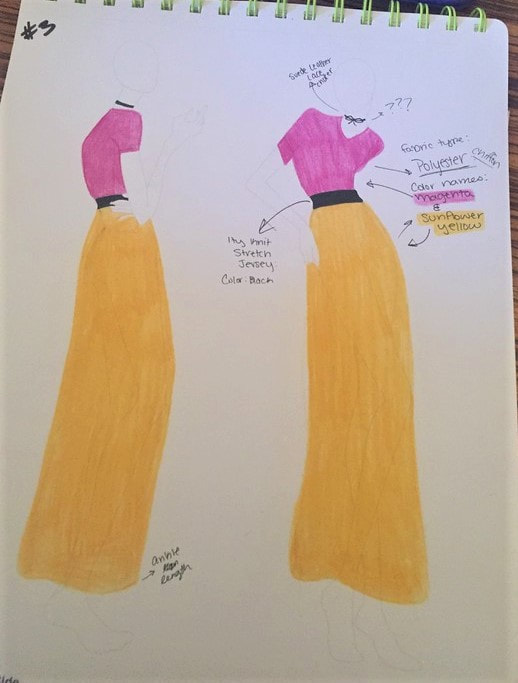
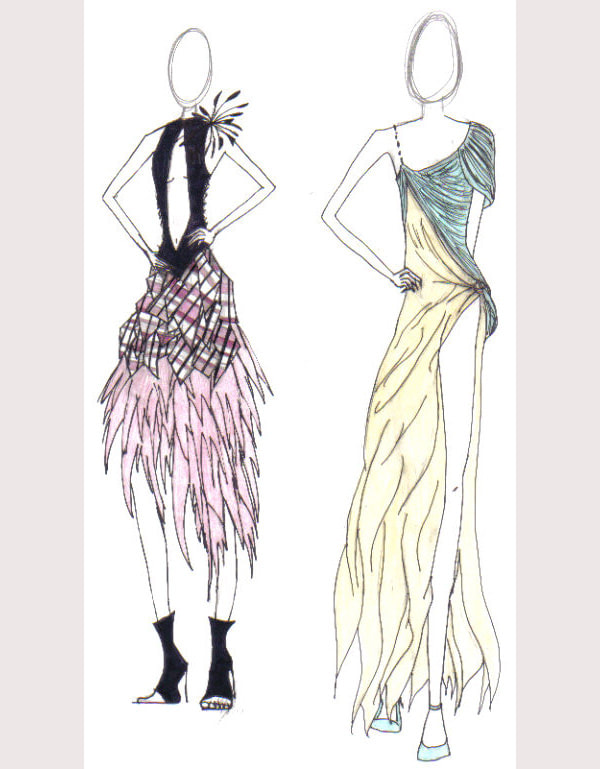
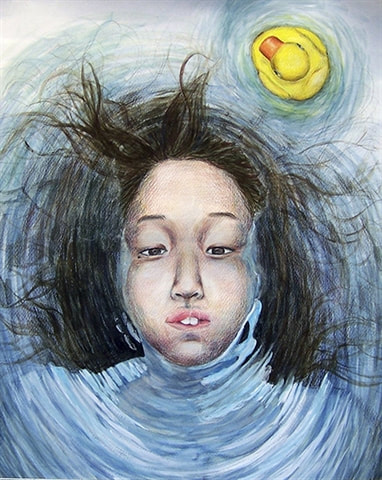
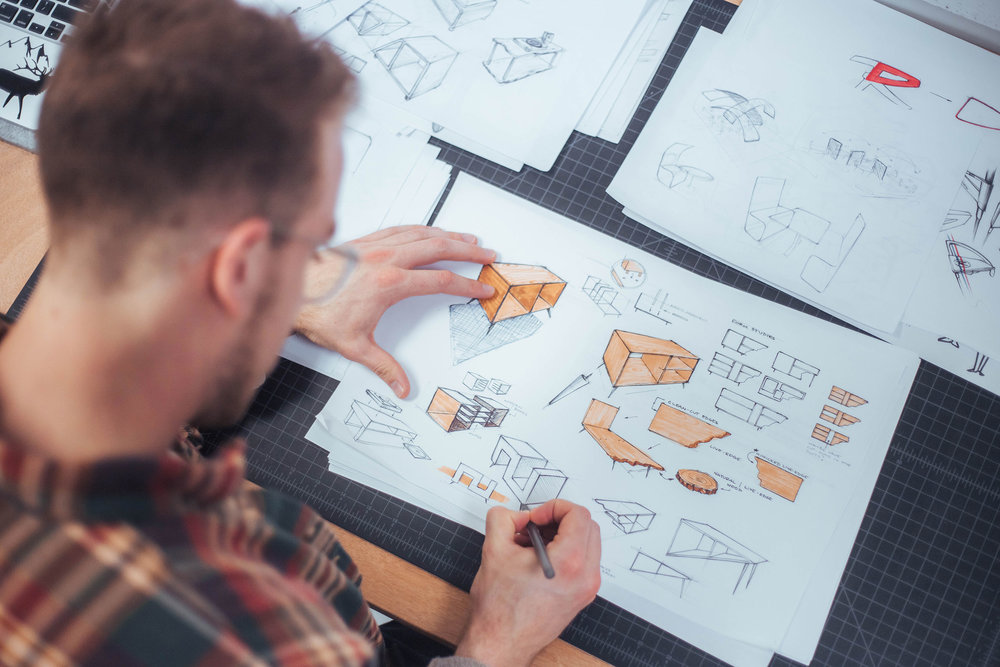
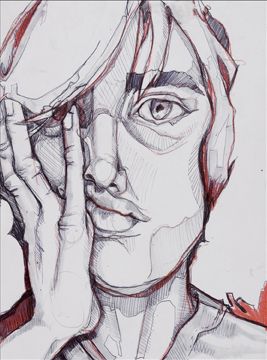
Everyone has their own interests and ideas. Create some interesting drawings that convey your unique vision. Perhaps you want to design some drawings for a new video game, or love to draw fashion design. Maybe you dream of being an industrial designer, and draw some ideas for products you use at home, or a car. Choose fine art or commercial art. You might want to include some of your thoughts next to the drawings, or describe some of the challenges of drawing them. You can research your interests and find inspiration online or around you in your own life. You may want to express emotions you are feeling right now through your drawings. Use whatever drawing and painting materials you have at home. |
Lesson #9 Landscape Painting
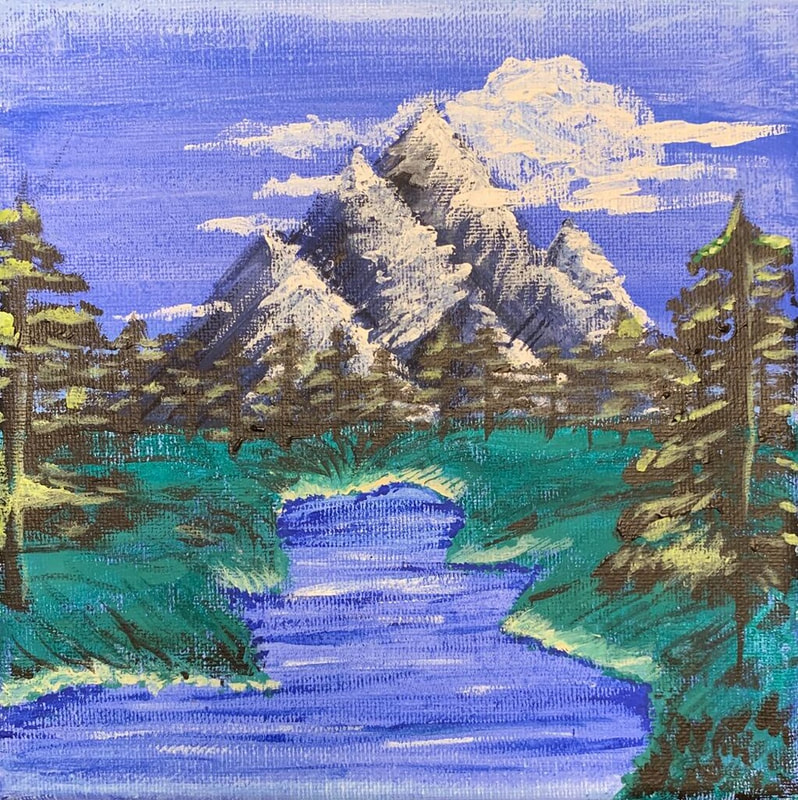
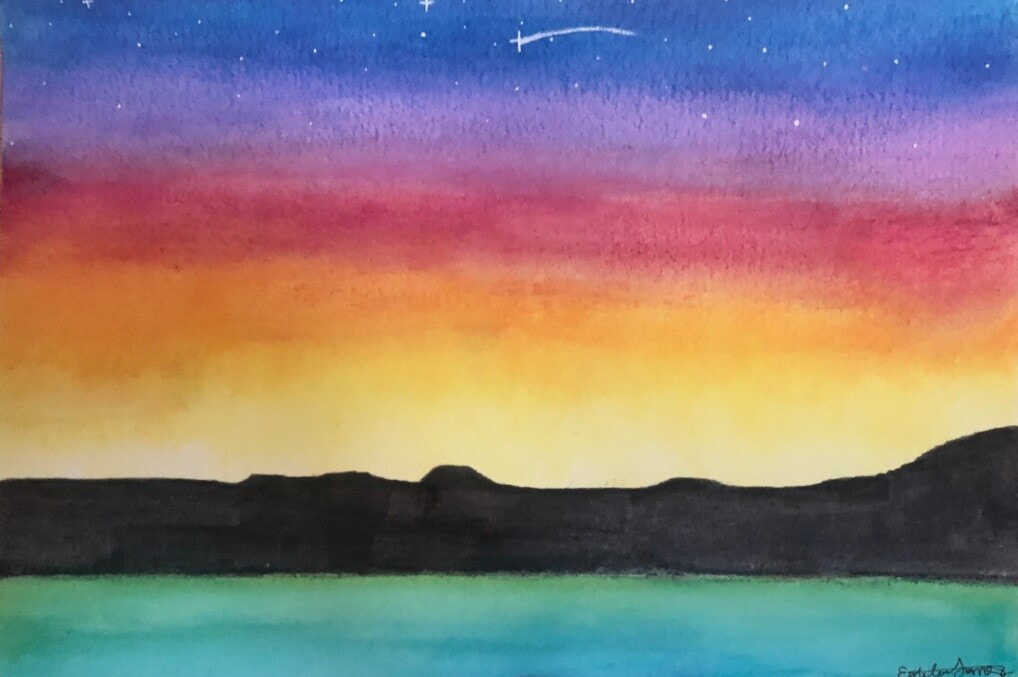
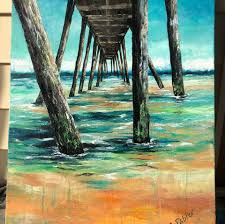
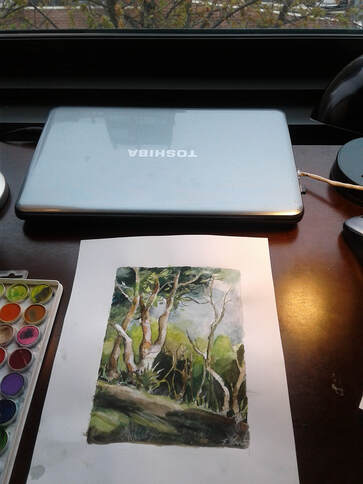
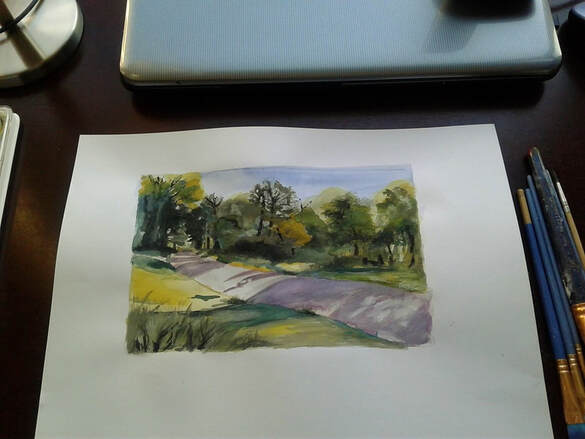
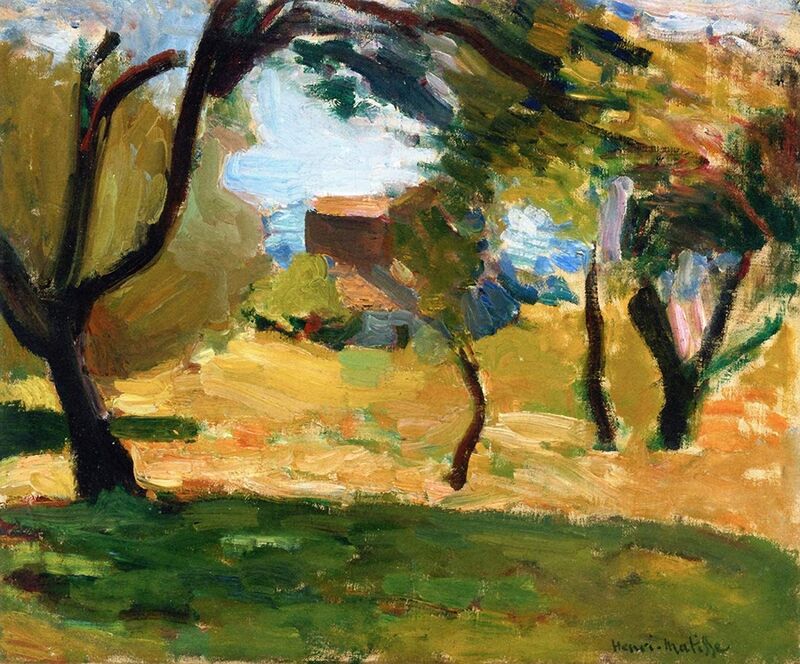
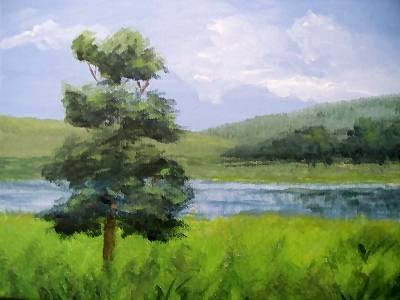
Select a photo or several photos of landscapes for inspiration for your painting. If you find a painting that inspires you to work from make changes to it while you work to make it your own. If you are outside draw what you see.
Sketch in the main subject lightly with pencil. Try and locate where the horizon line is and pay attention to background, middleground and foreground. I found a photo for inspiration and did a quick watercolor painting using the paints we use in class. I used techniques of wet in wet, flat wash and dry brush. If you are using colored pencil, remember to do "professional level" blending. Paint in a style that feels most like you. Maybe you prefer more of a simple abstract, or bright colors. Have fun!
Lesson# 10- Who? What? Where? Line Drawings
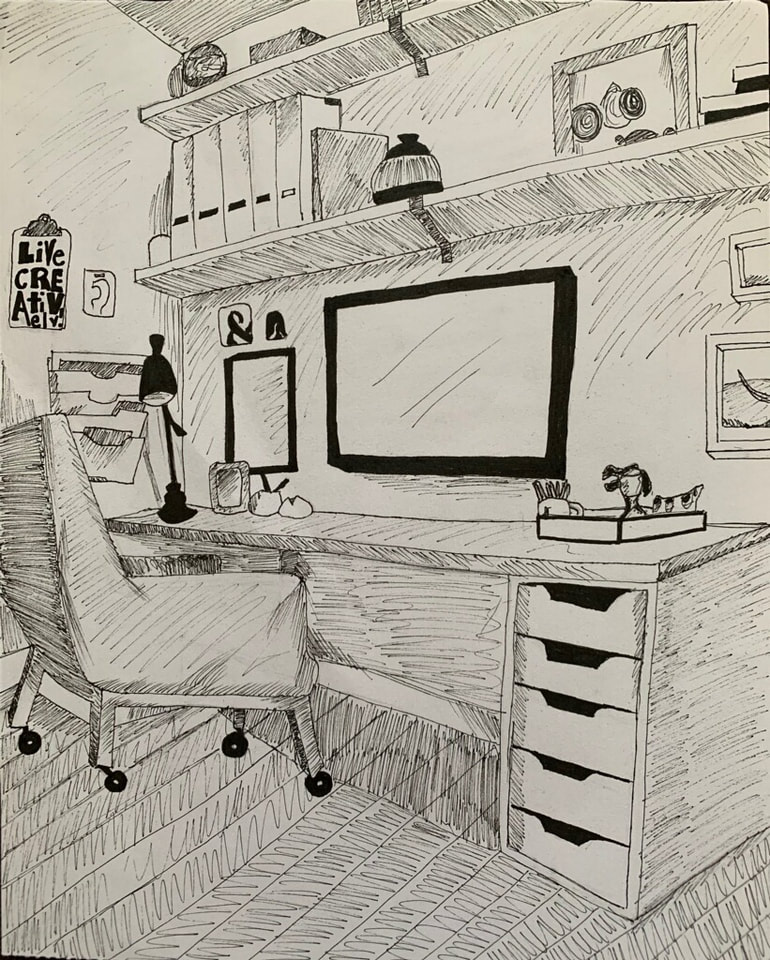
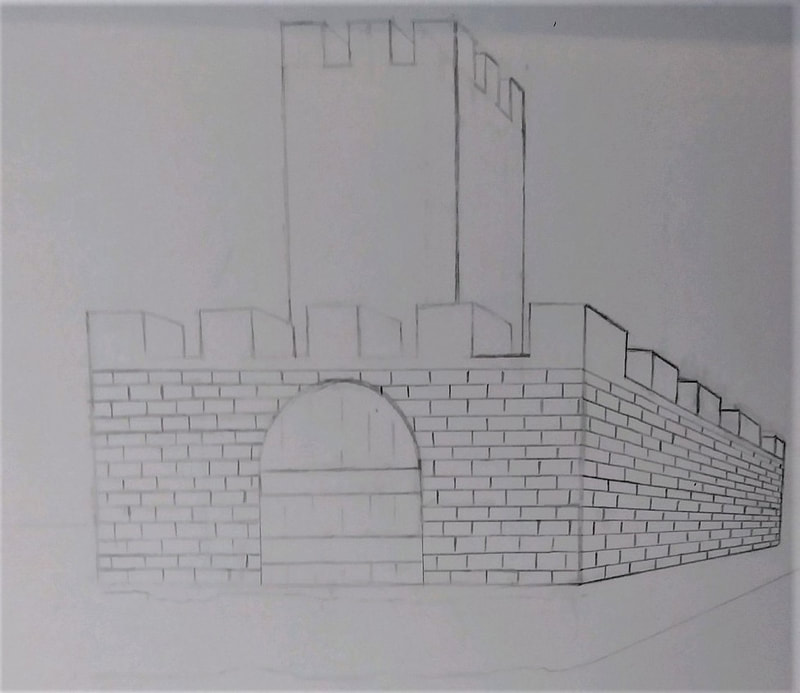
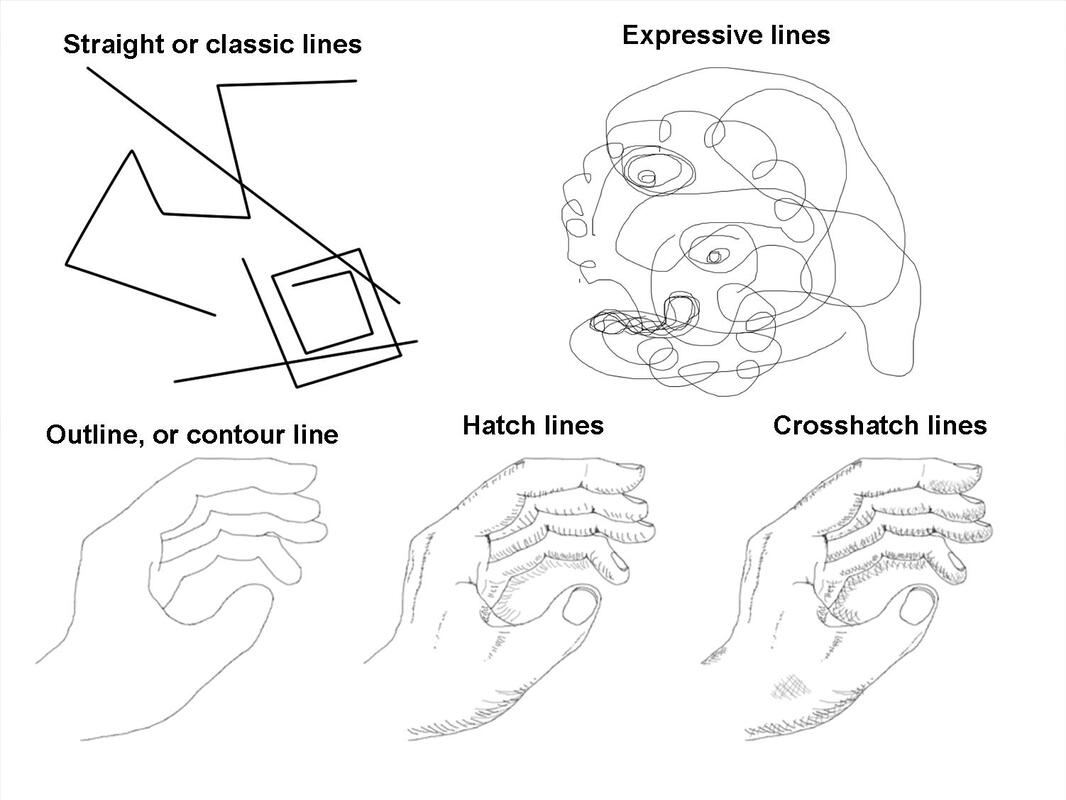
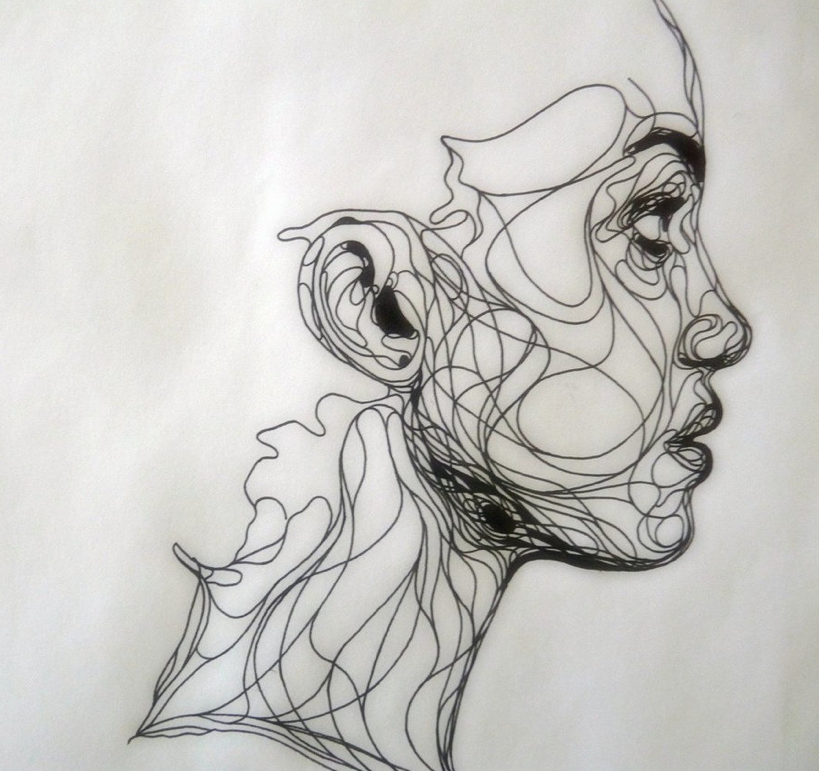
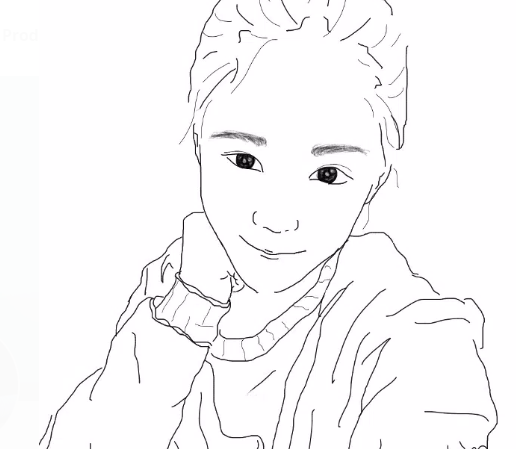
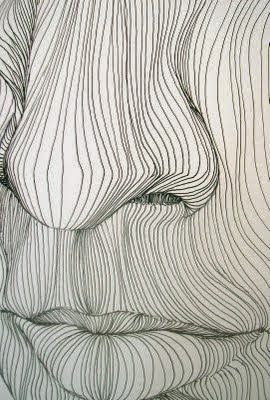
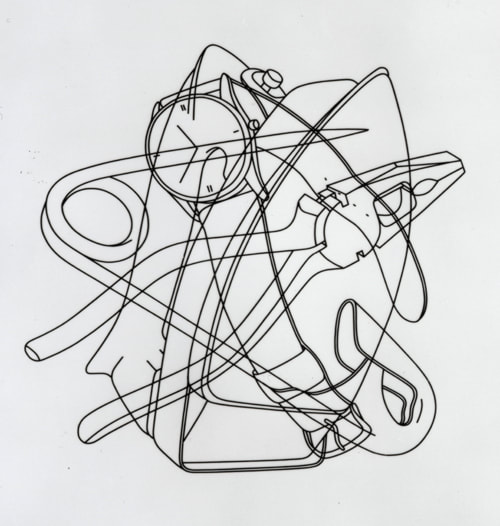
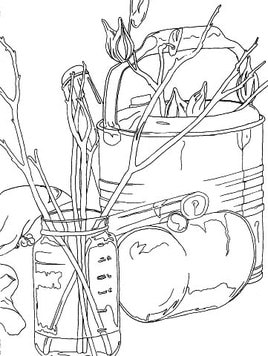
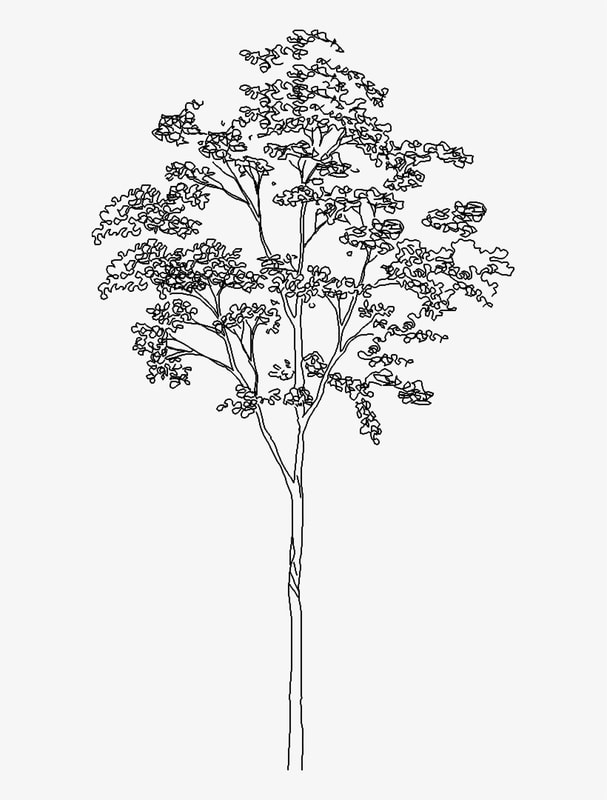
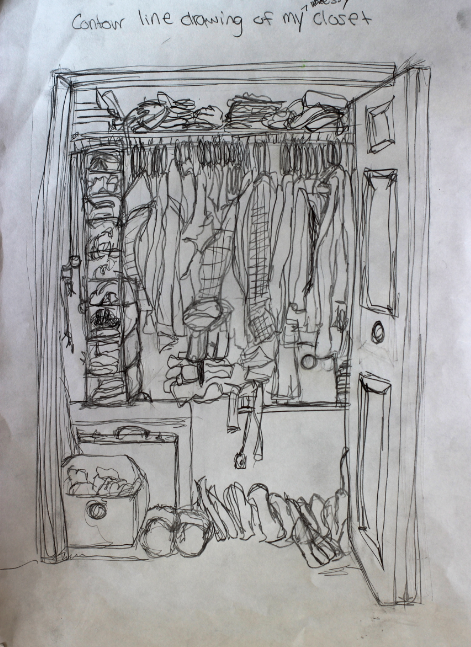
When you draw lines on paper you are interpreting a 3D object or environment on to a 2D surface.
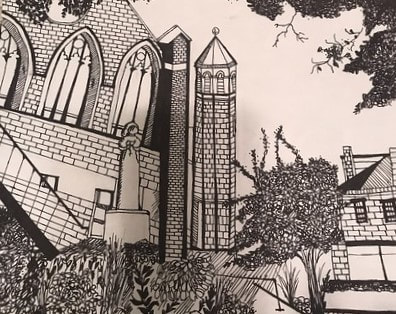
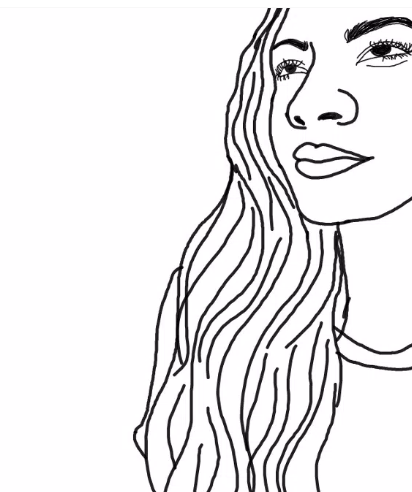
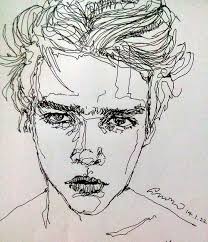
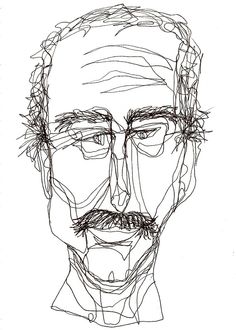
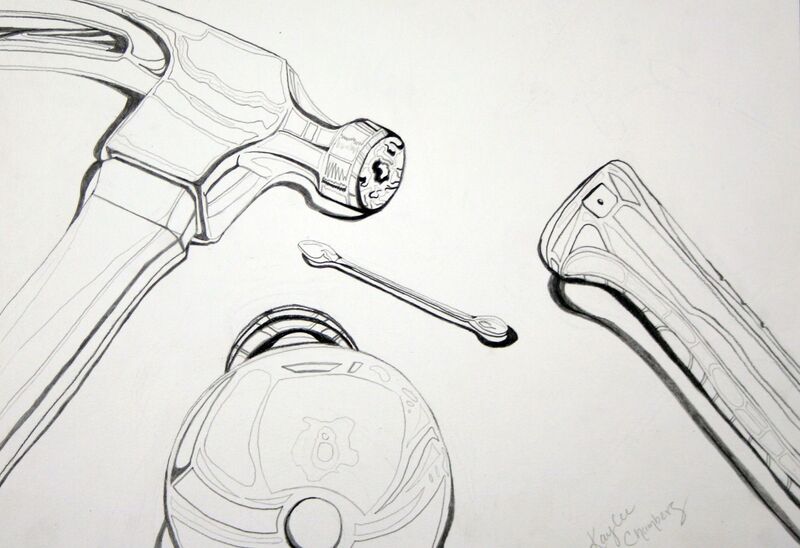
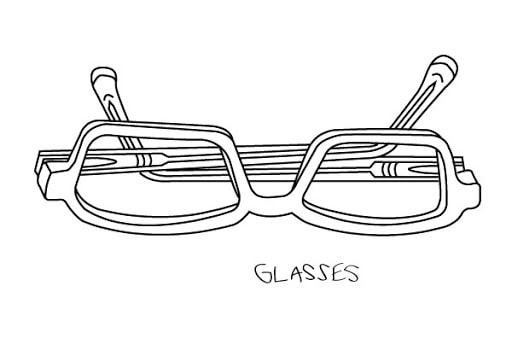
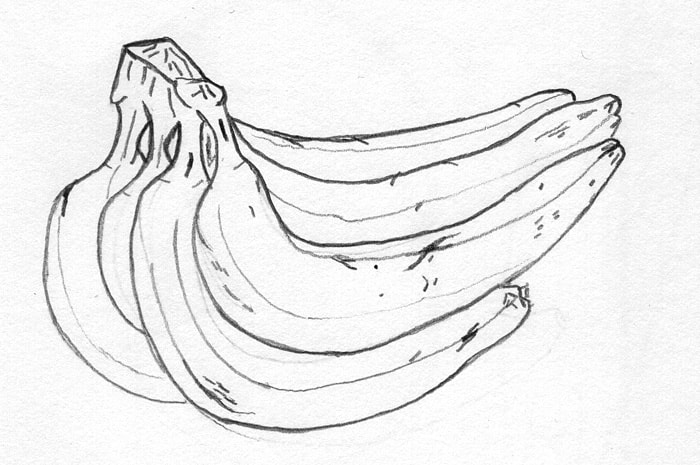
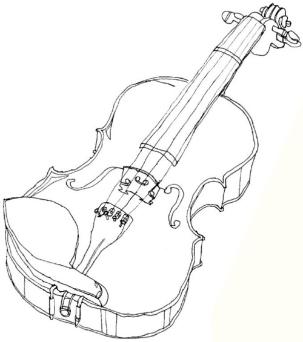
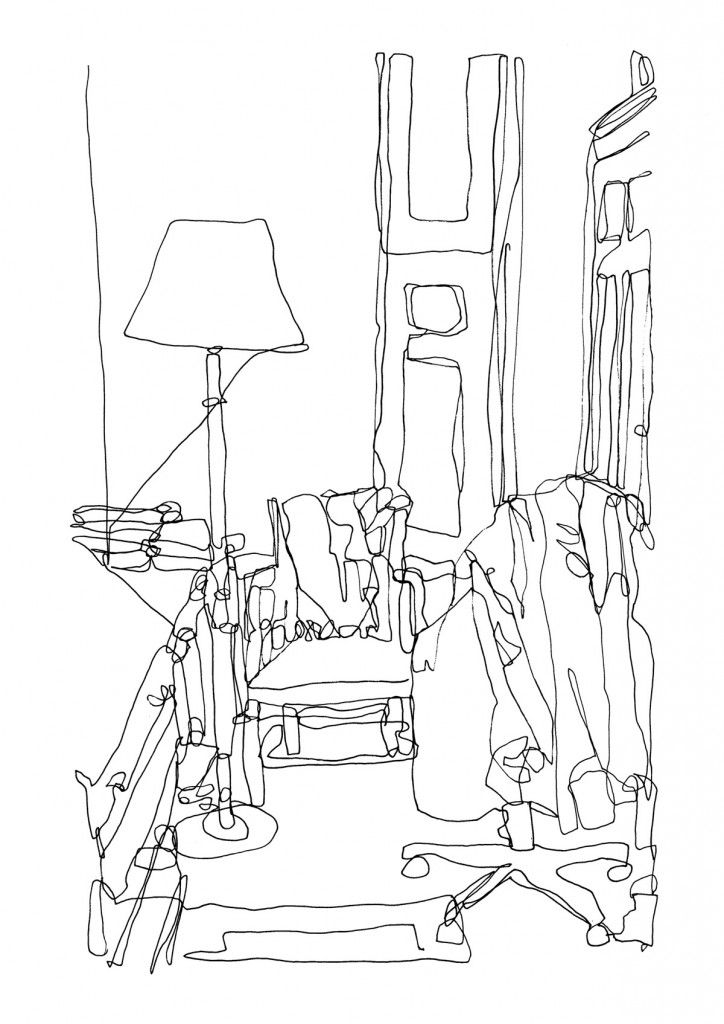
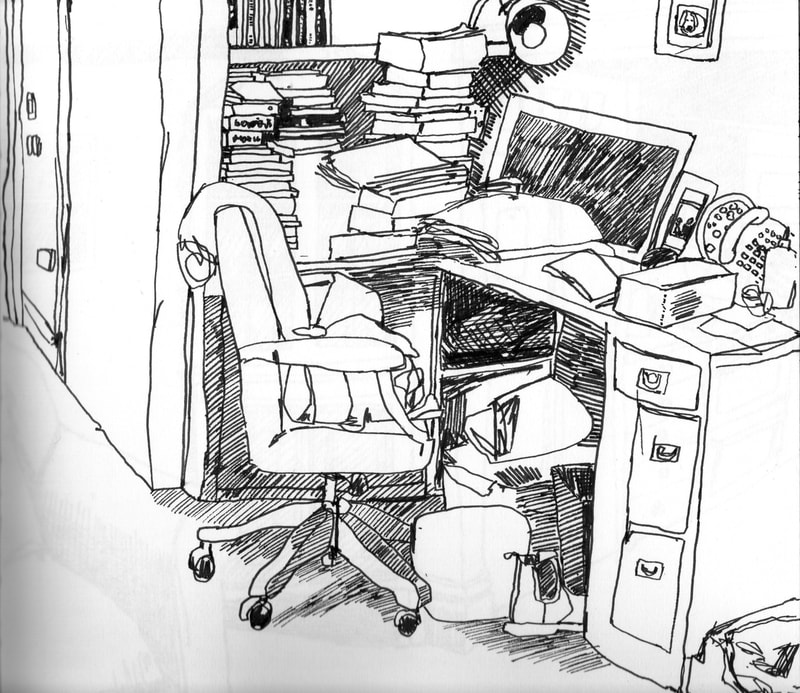
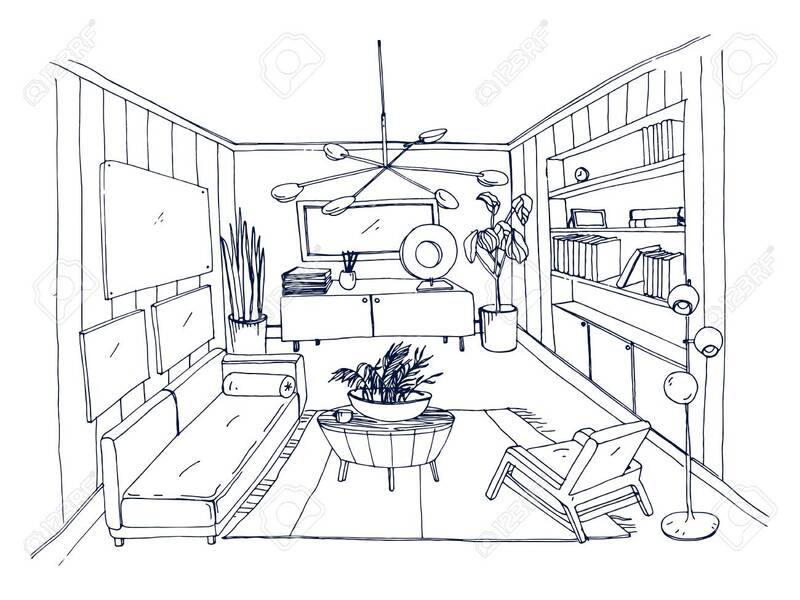
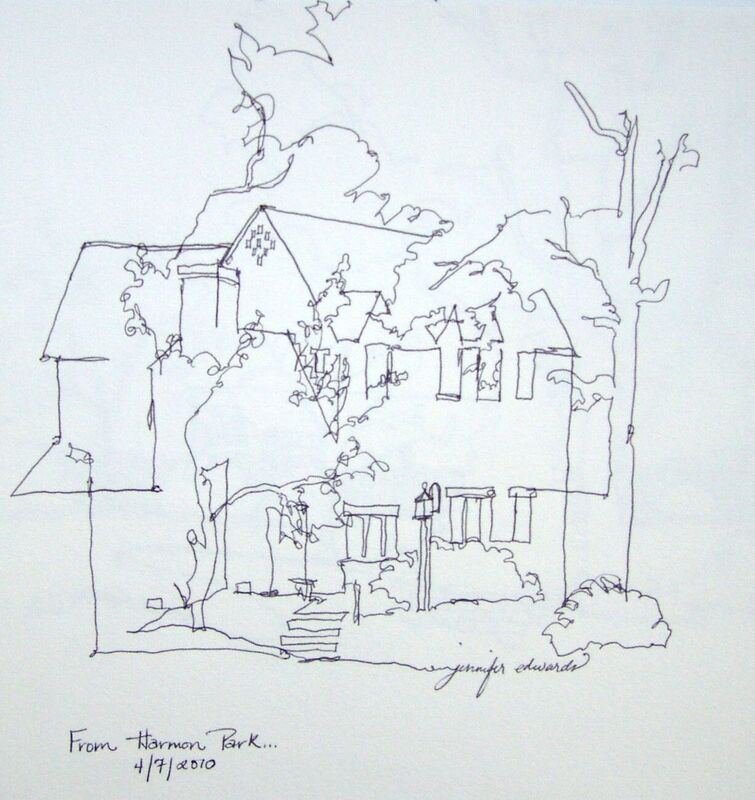
For this project create a black and white drawing on paper using black lines. Make three drawings, or just choose one.
For the "Who" drawing you can draw yourself, family member, pet, or maybe a famous person. For the "What" drawing pick an object, or several objects together. You may also draw a few objects one at a time on your paper overlapping them on top of each other. For the "Where" drawing draw a room in your house, or part of a room. You can also look out the window and draw what you see. If you like you can try a blind contour drawing. Start at one point, but only look at the subject of what you are drawing and not your paper till you are finished. For shading only use hatch lines close or cross hatching lines. Materials- pencil, sharpie, marker, black colored pencil. If you don't have black use a color line. Have fun!
Lesson #11 Drawing from Imagination
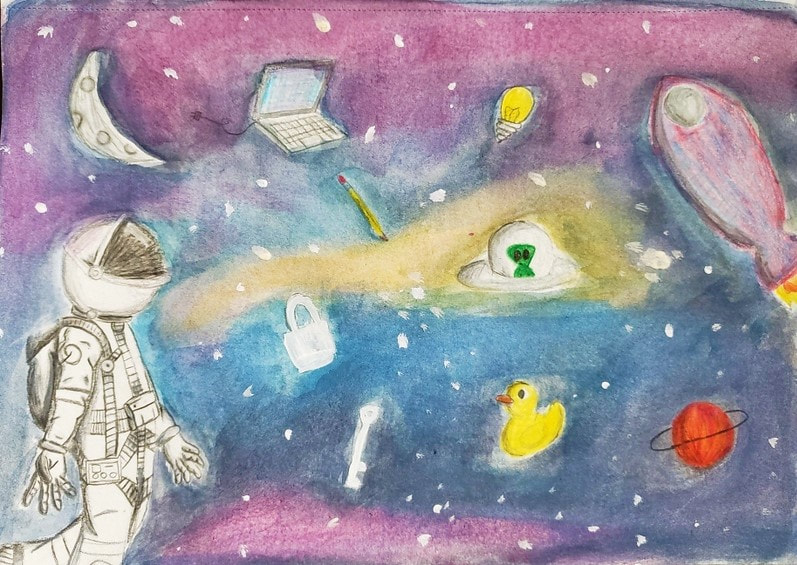
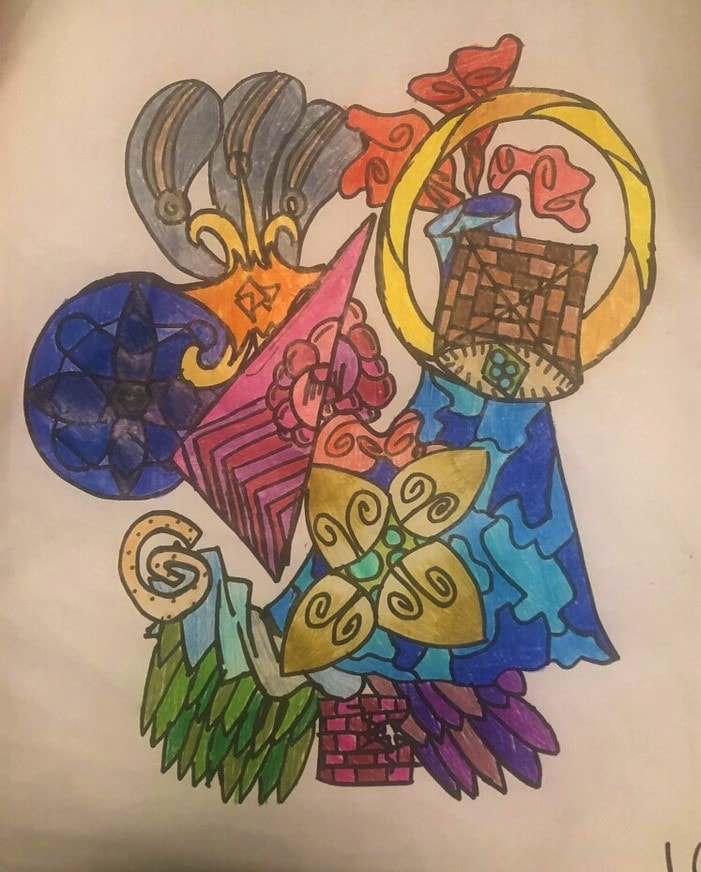
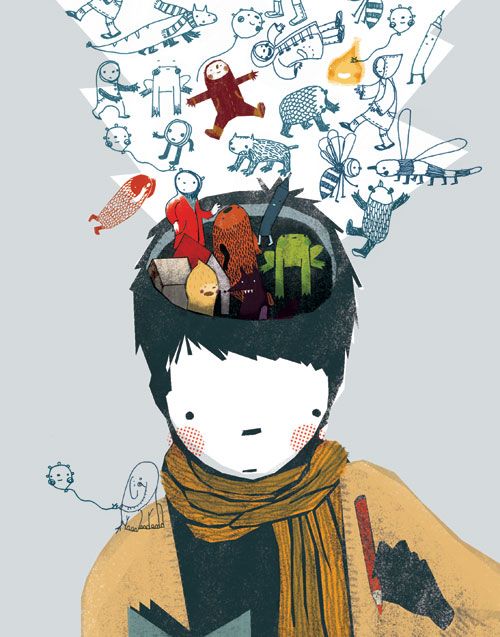
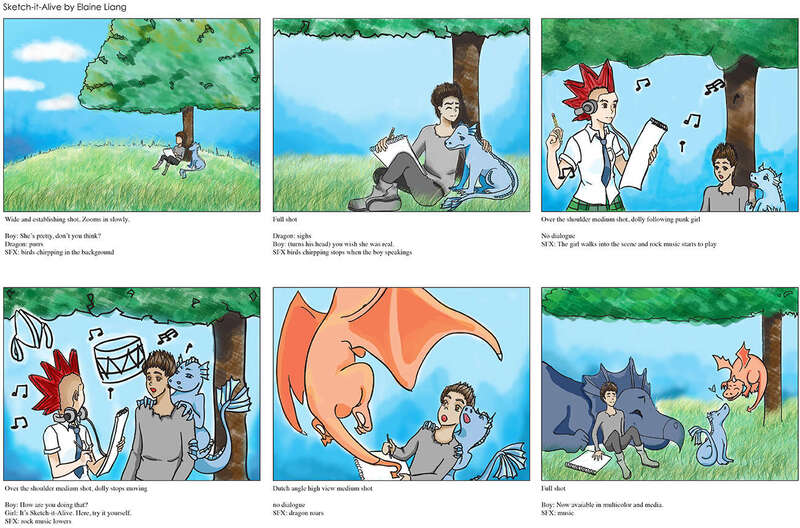
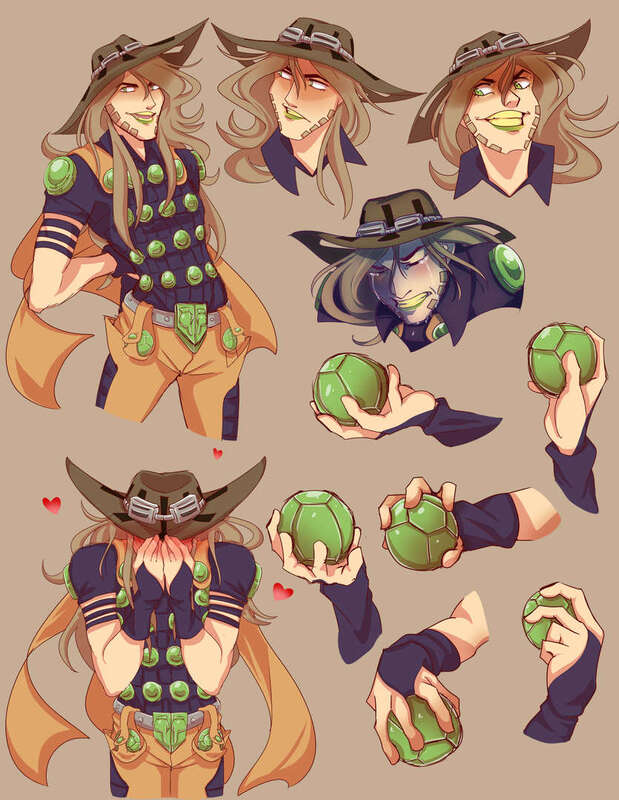
Let your imagination guide you in this project. Create a cartoon character or storyboard. Design a new logo for a product. Remember a dream you had and draw it. Write creative poems, stories, or song lyrics, and illustrate them. Draw thoughts and ideas you have.
Let your imagination guide you in this project. Create a cartoon character or storyboard. Design a new logo for a product. Remember a dream you had and draw it. Write creative poems, stories, or song lyrics, and illustrate them. Draw thoughts and ideas you have.
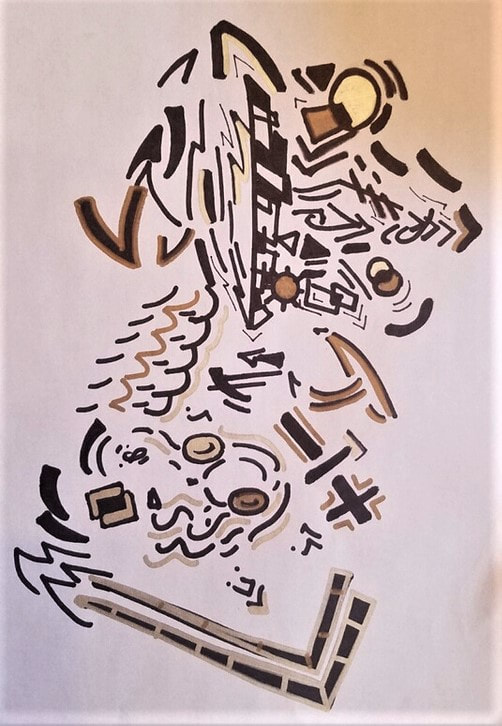
Lesson #12 Negative Space
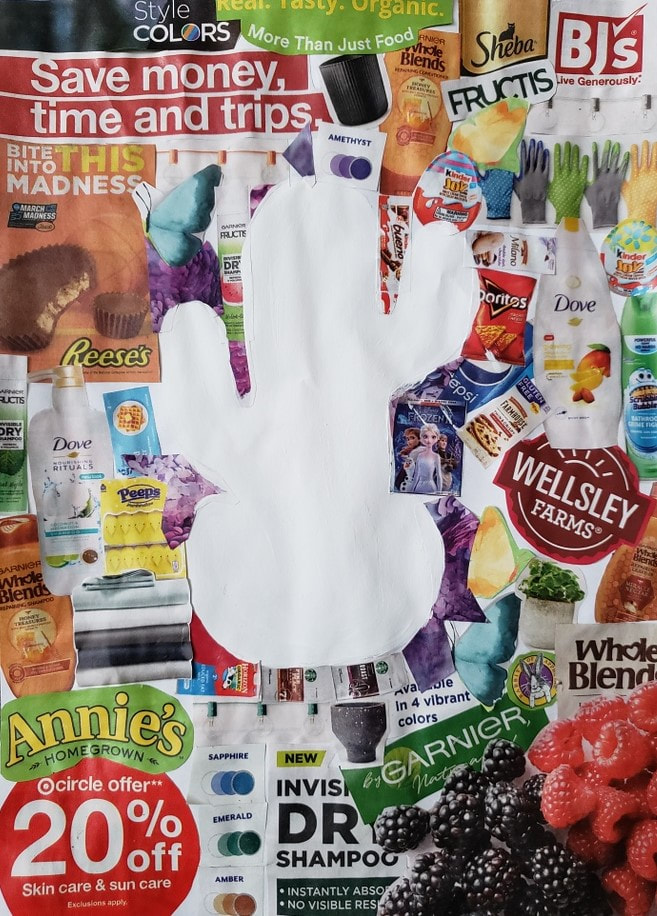
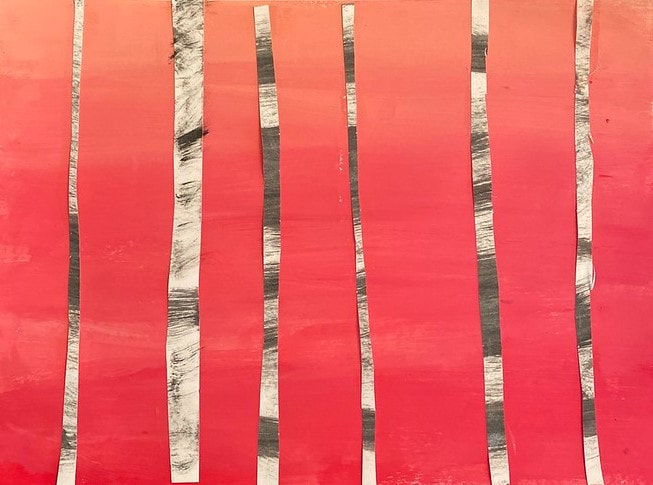
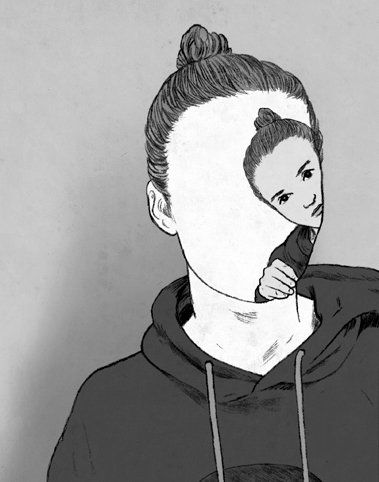
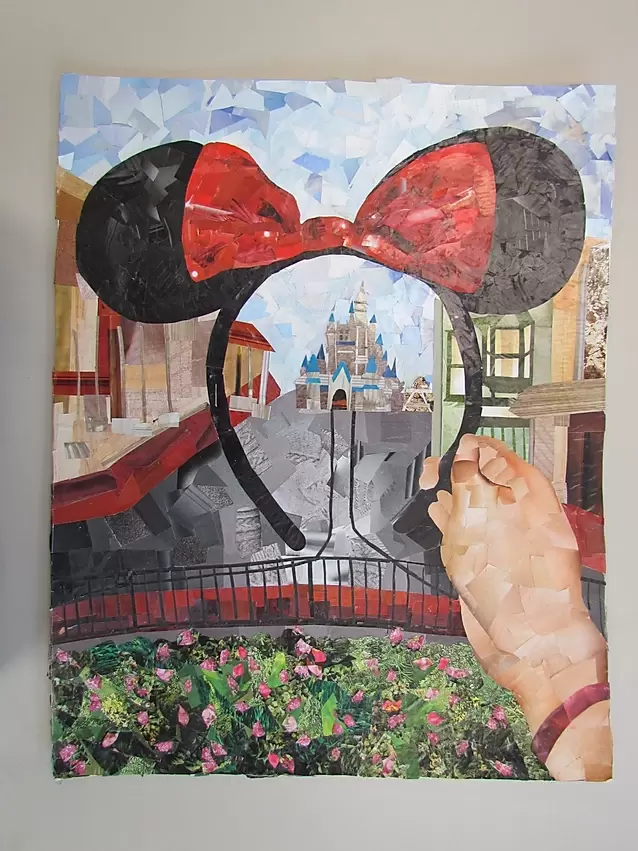
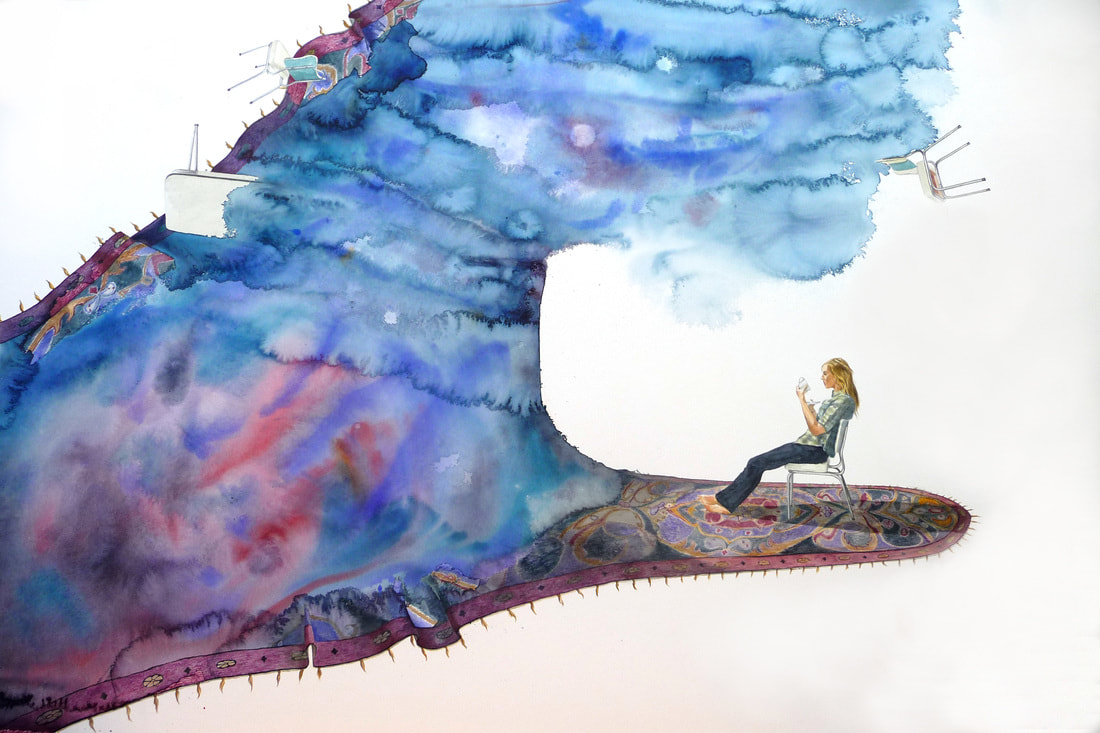
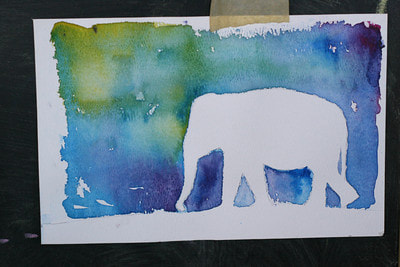
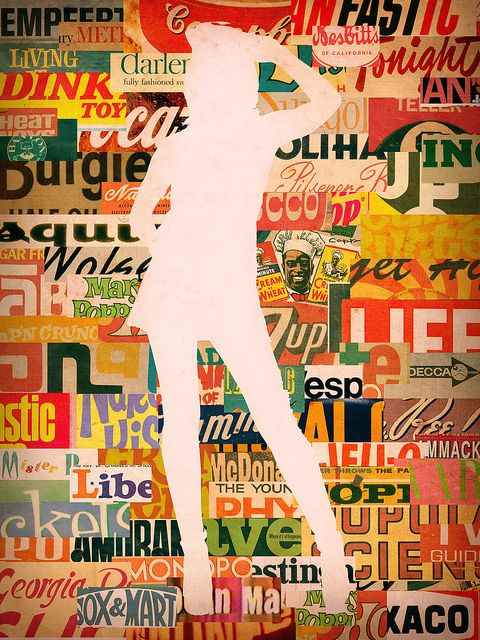
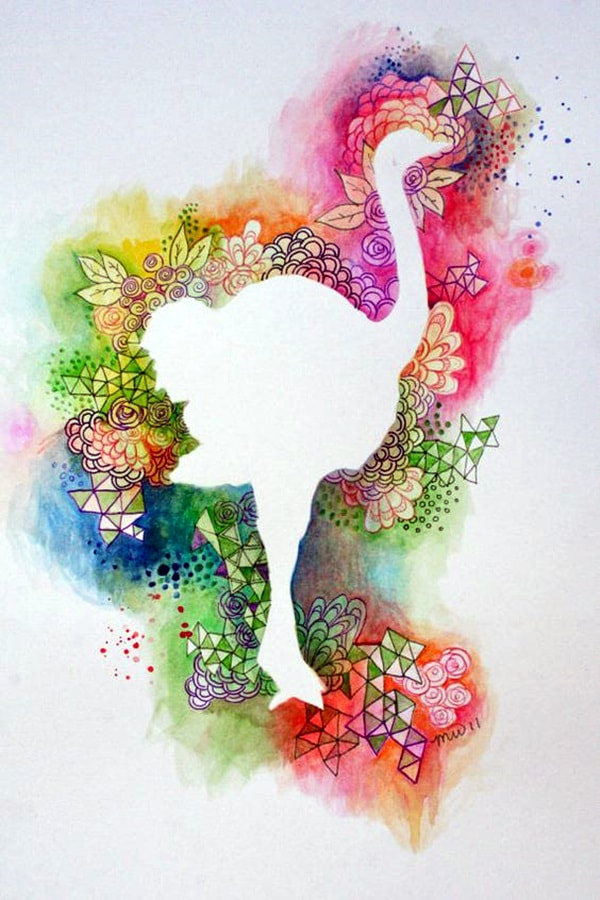
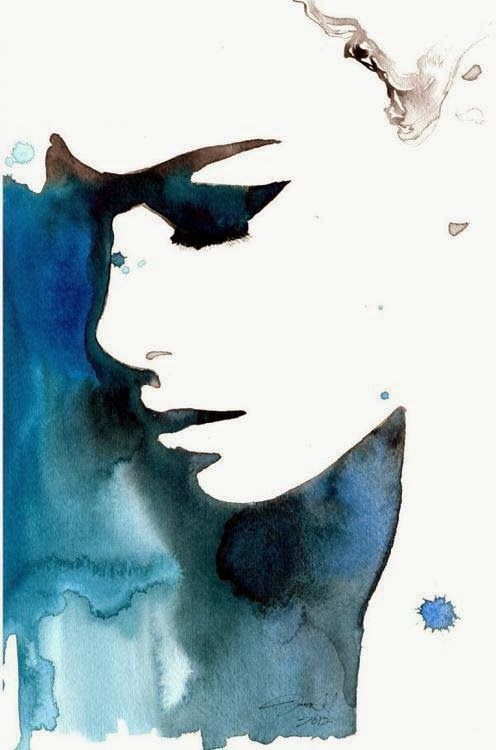
Space is one of the seven concepts in art, along with line, shape, form, Value, Color, and texture. Negative space is the space that is not occupied by the main focus of the piece. It is often seen as less important or even insignificant. The challenge for this project is to “activate” or make it important, so the viewer looks beyond the main subject. Work from your imagination or observation and create an important background or a mostly white background to make the viewer really see your work in a new way! Use any at home materials. You can also collage the background if you like with cut out paper, magazine, or newspaper and glue stick.
To view an excellent online video that I recommend on the concept of Space in art, click here.
|
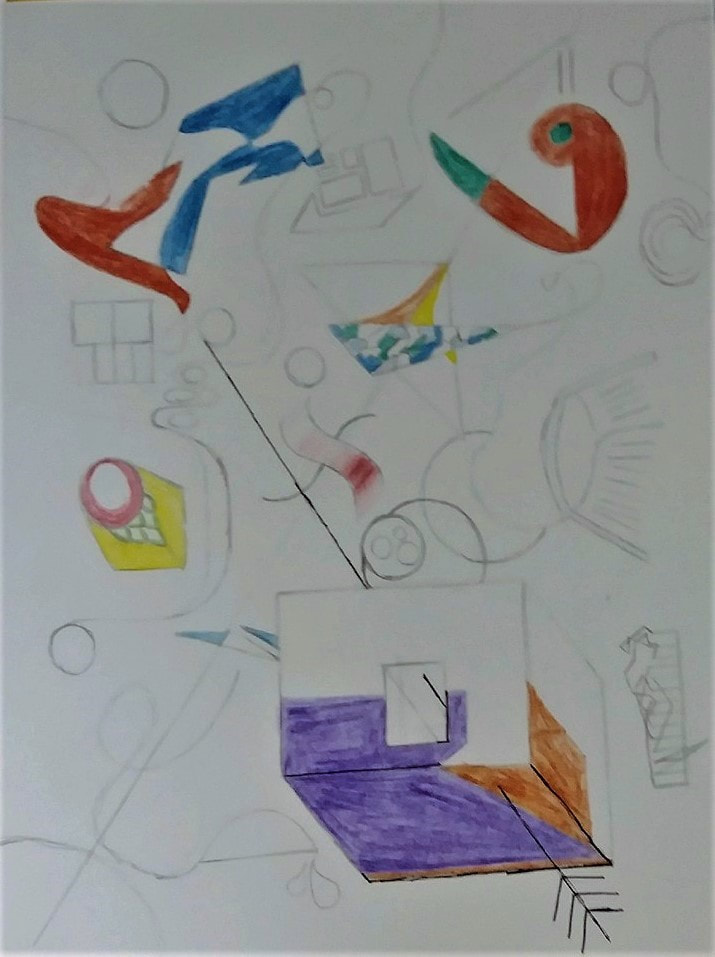
Lesson #13 Advanced Rhythm and Movement
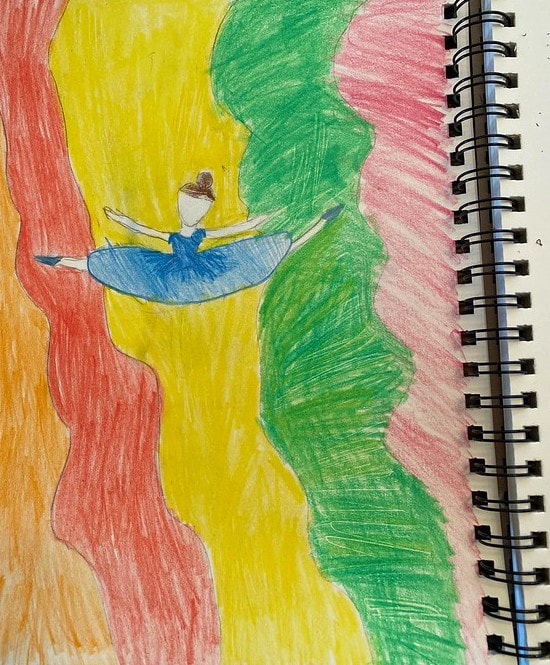
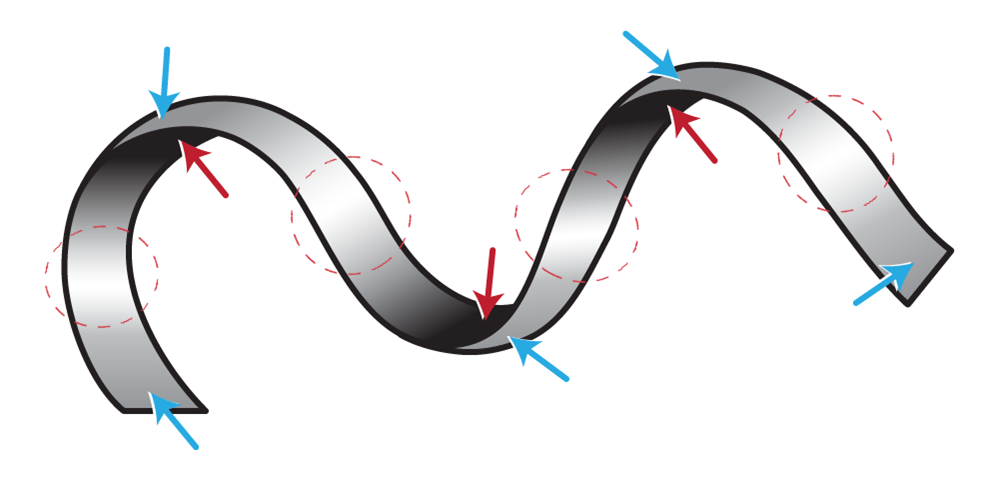
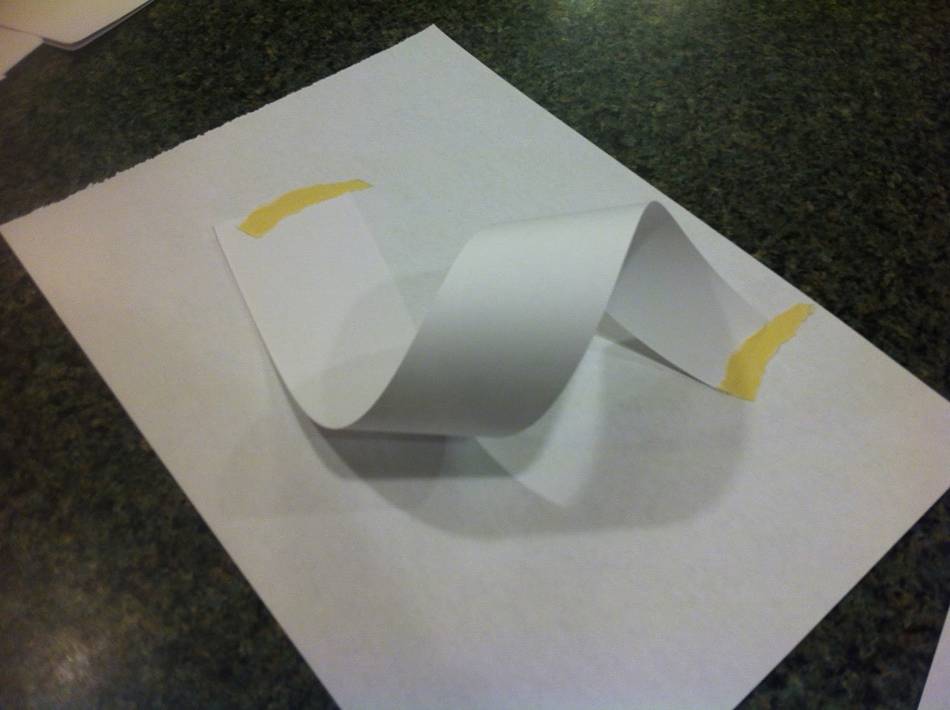
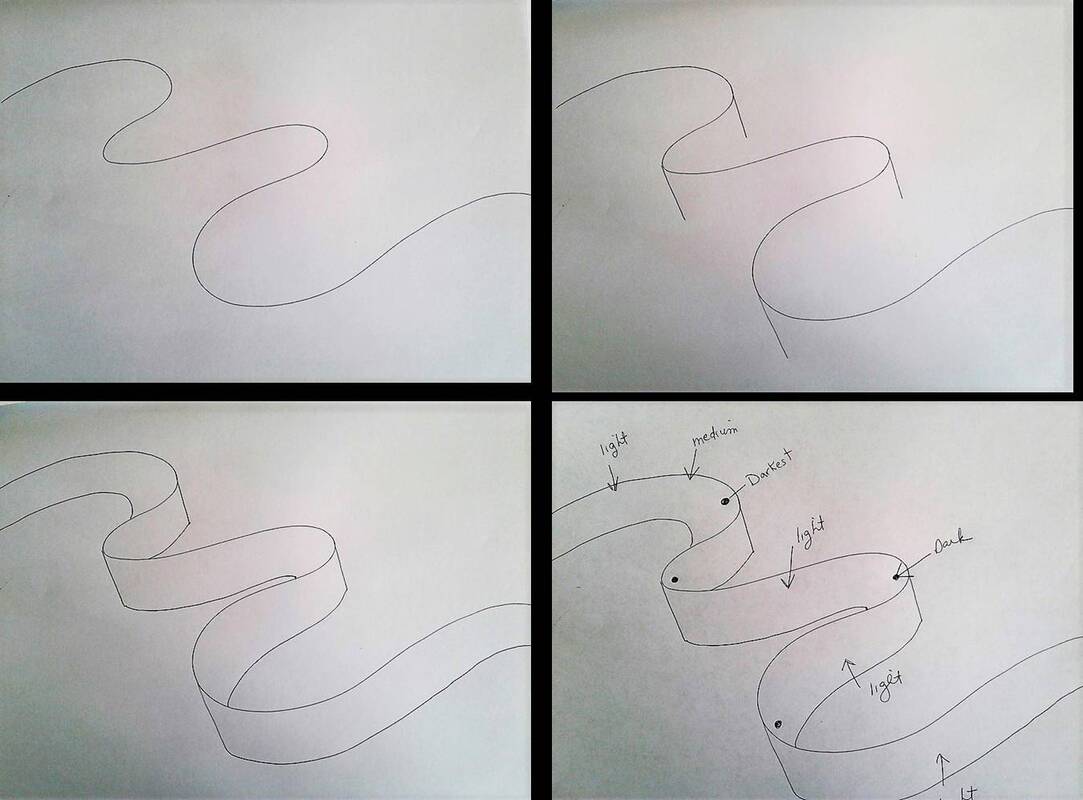
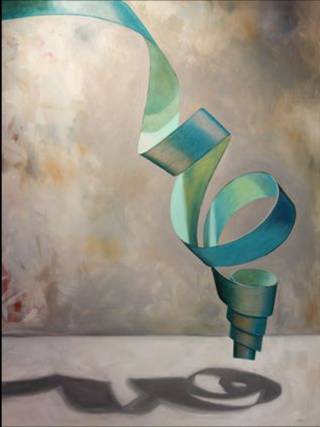
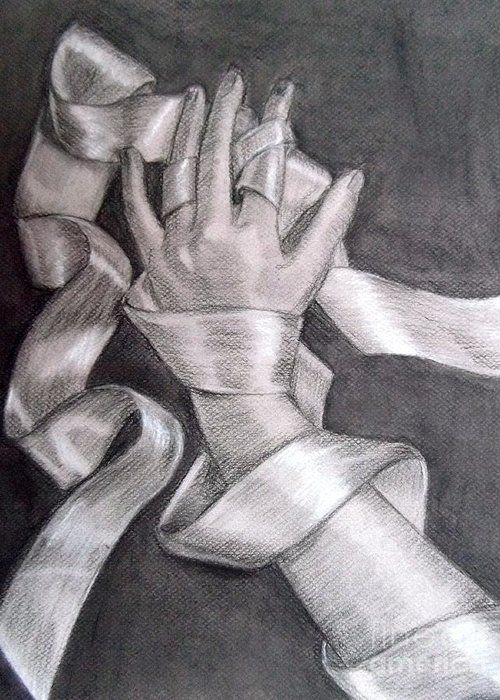
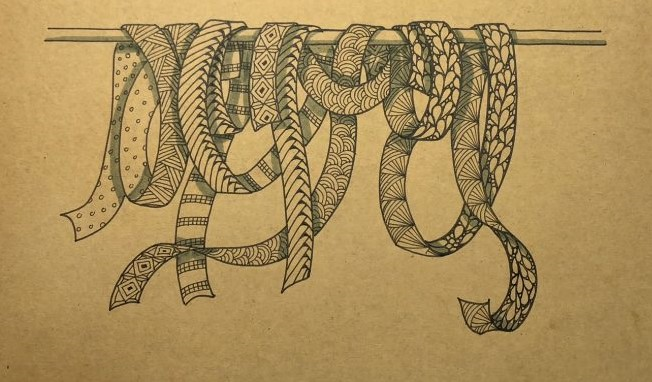
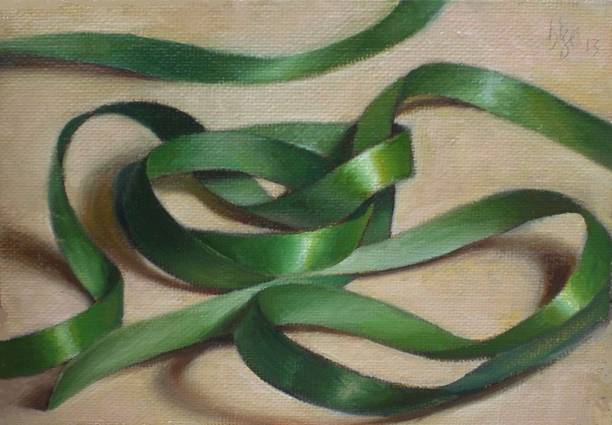
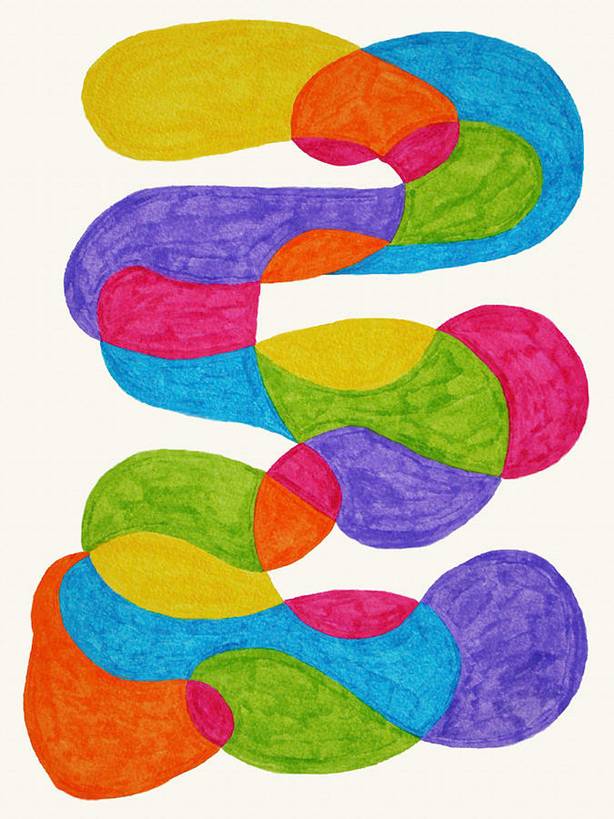
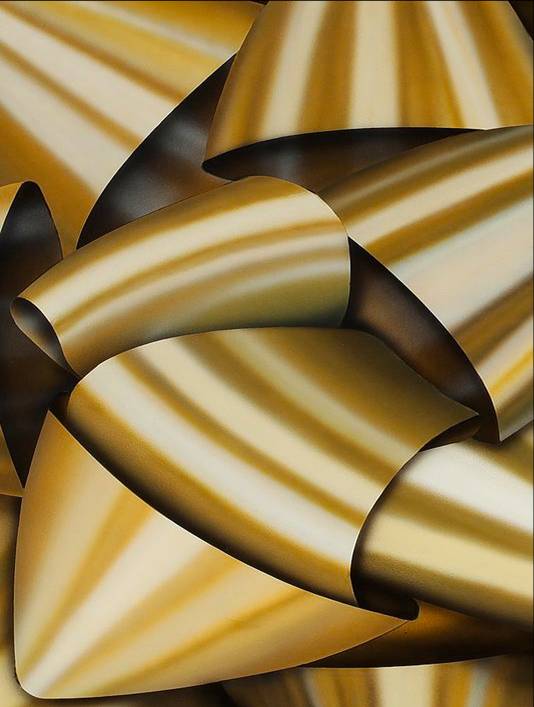
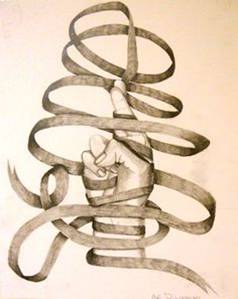
Many of the students enjoyed the Ribbon project from 2 years ago. In this project students can illustrate ribbons and movement in a new way. They can create an abstract drawing or painting with flowing ribbon style colors; draw a hand with ribbons swirling around it; make a dramatic shadow below a falling ribbon; or cut a strip of paper and twist it and tape it down to another paper, and draw from observation. Have fun and remember to use value and contrast to help create the illusion. |
|
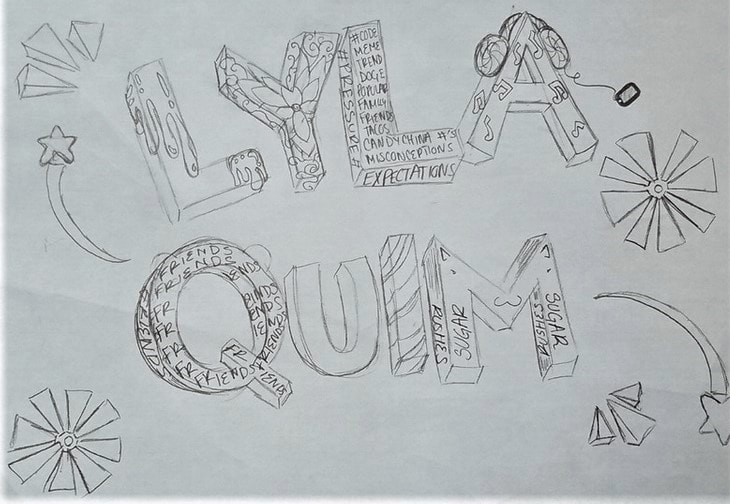
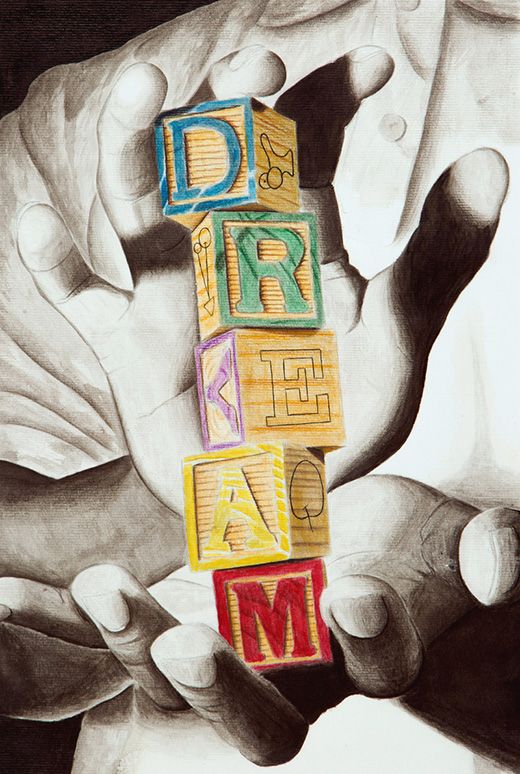
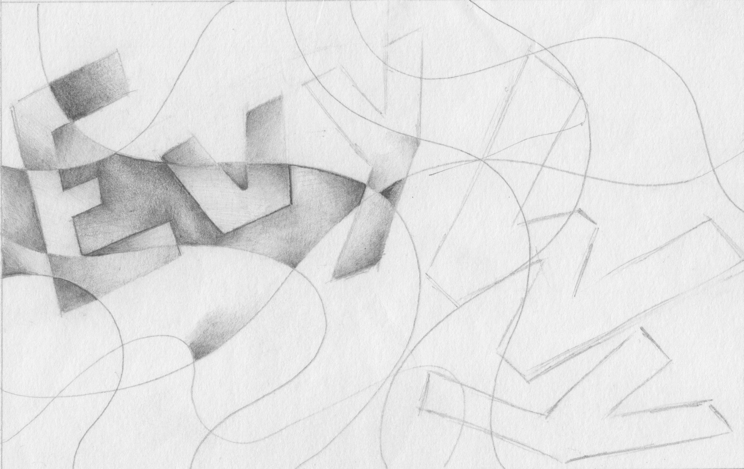
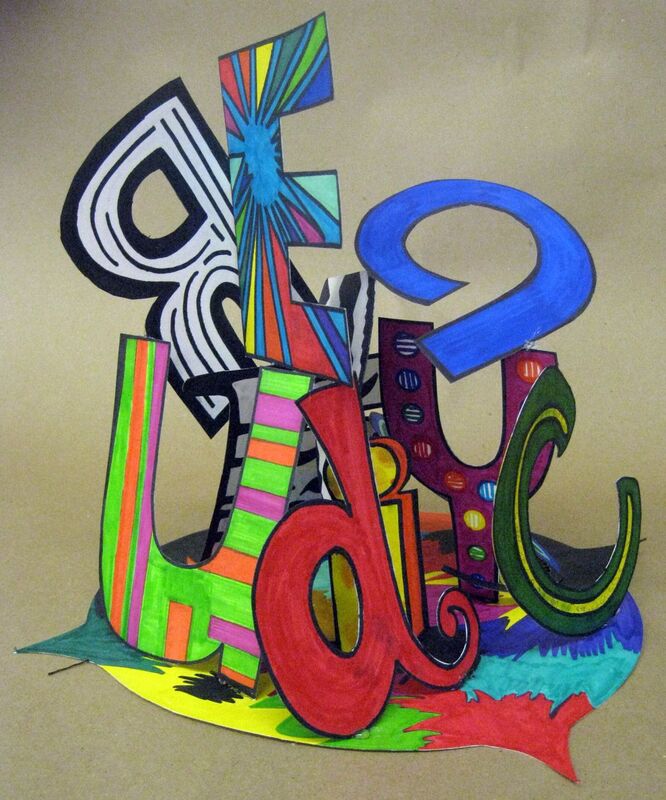
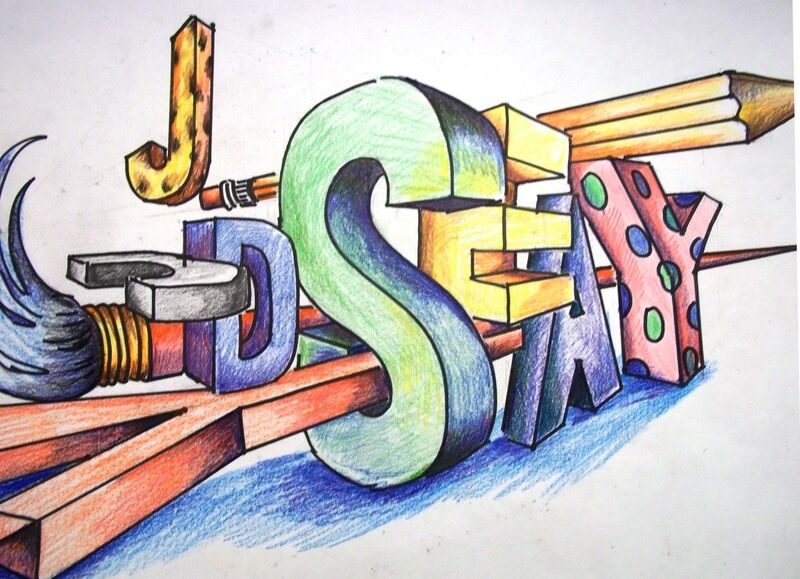
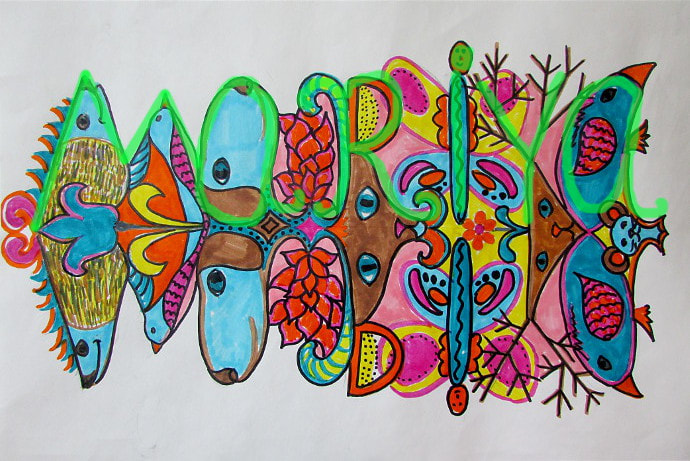
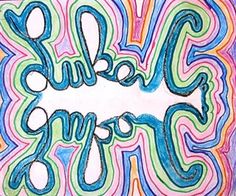
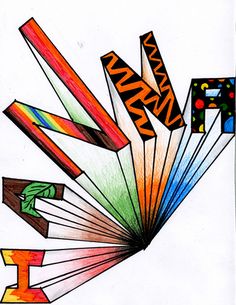
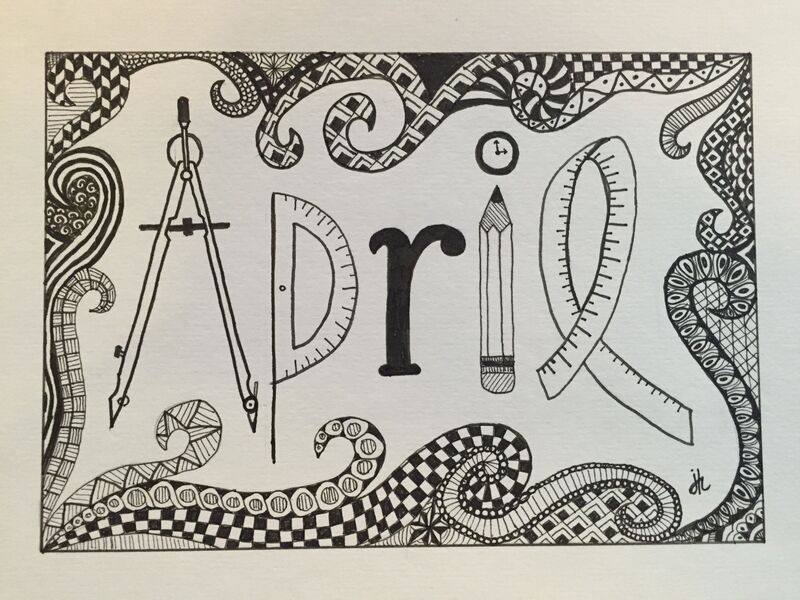
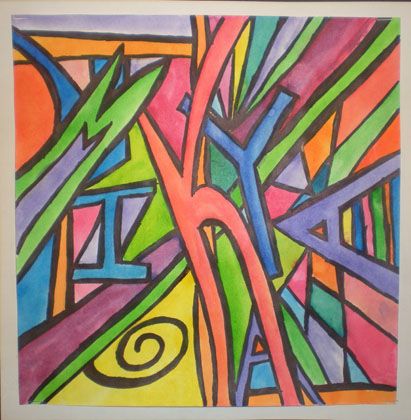
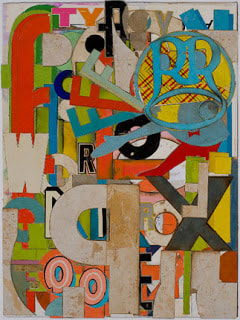
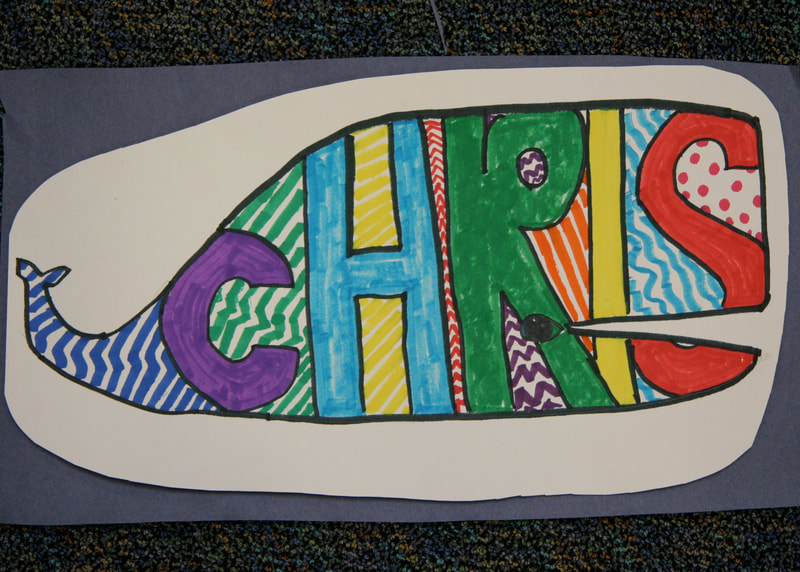
Lesson #14 Letters and Numbers Design
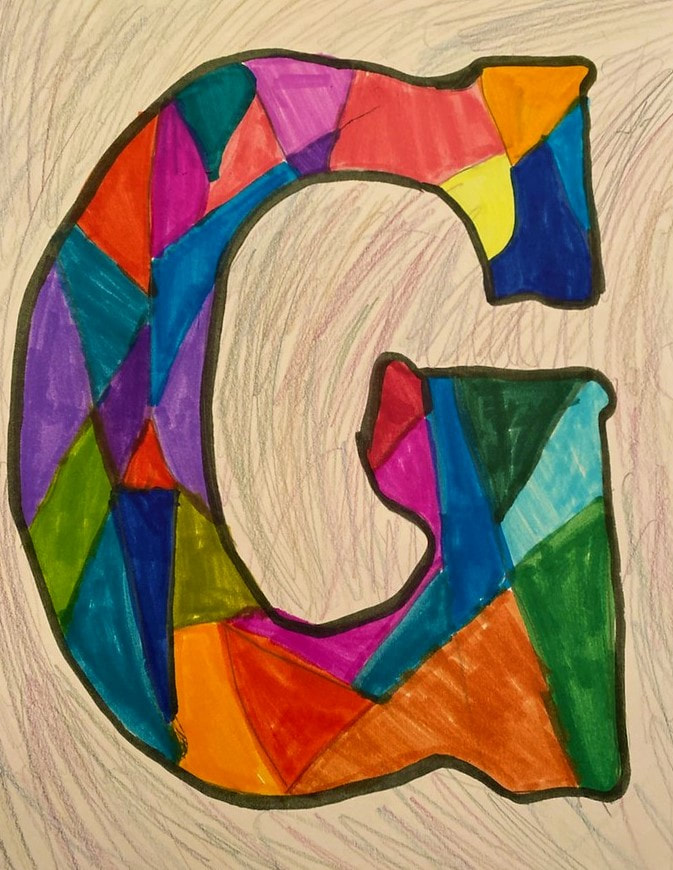
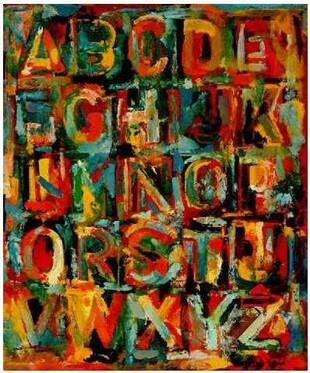
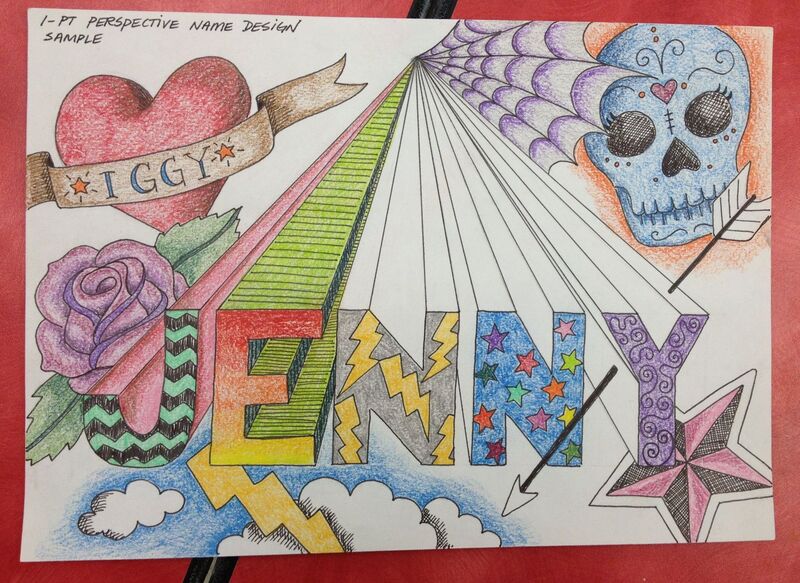
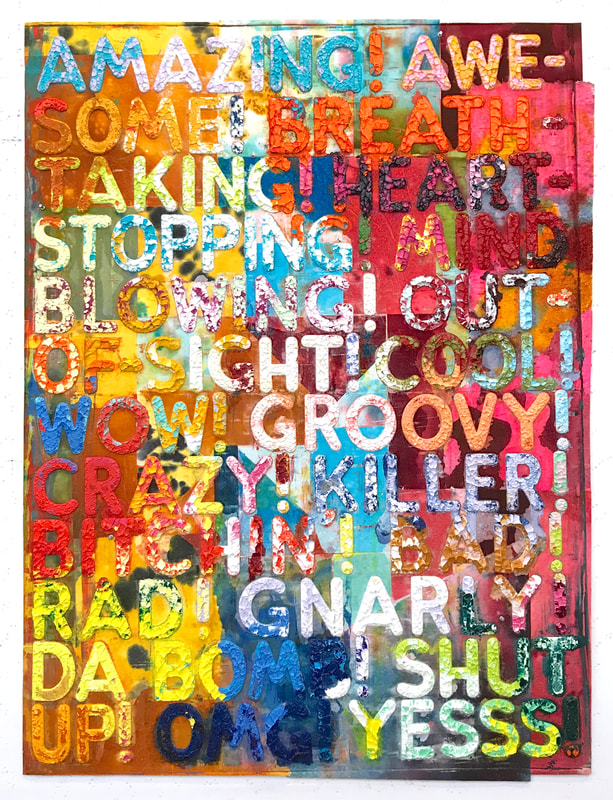
Use your name or random letters and numbers to design an exciting art work. You can use perspective; warm and cool colors; cursive or block lettering; and themes. An example of a famous fine artist who created paintings with letters and numbers was Jasper Johns. If you don't have color materials at home make a value shading design using pencils. You may want to make a 3D sculpture out of cut out letters. (poster board or thick paper works best for that) |


